Cereal Box Makeover #3 – Cereal Box into Notebook in 30 minutes or less

Hi Everybody!
I hope you are having a great week so far!
So we are on week #3 of Cereal Box Crafts.

If you missed Project #1 Cereal box to postcard you can find it here: https://goo.gl/F2CuK4

If you missed Project #2 Cereal box to bookmarks and dividers, you can find it here: https://goo.gl/brvJgG

This project was really fun and only took 30 minutes to complete. This would be great for kids or anyone who likes to DIY their supplies.

This is a great back to school craft!

I had a bunch of loose graph paper just sitting in a drawer….for like years! So I decided to use it in this project in the hope that I would use it. And you know what…I think I will. I really like this project a whole bunch. It is also a great excuse to gather all those loose pages and turn them into something useful.

So here we go!

Cereal Box into Notebook

Gathering your supplies:

Corner Punch
Duct Tape or Washi Tape
Scissors
Hole Punch
Cereal Box
String
Loose Paper

1

Make sure you find a box that will be large enough for the paper you choose to use.

Steps:
1. With box still intact, undo the flaps from the top and bottom of the box, so that      you can lay it flat.

Take the left side of the long side of the cereal box and fold it down the center,      Bringing the side of the front and back of the box together.

2
2.  Keep the side of the box with the folded edge together, then cut off the top and     bottom flaps and the remaining unfolded side. Discard extra pieces.

3

Now if you open up the main piece you have a front, back and the folded side.

4


3.  Keep the folded side folded and cut off about ½ inch or so from the bend. You are      going to sandwich the paper between the two left over pieces, so make sure piece      you are leaving attached is large enough for the hole punch.

5

At this point you should have the front and back of the box with a tiny folded edge along the inside of both.

6

7

4.  Line your paper between the two folded edges and mark where the holes of the           paper are. If you are using paper with no holes. You will want to hole punch your       paper first, then line up the paper with your cereal box.

8

5. Once your holes are marked, make your punches. They need to be on both the           front and back cover little flaps.

9

6.  Now grab some string or twine or even ribbon, and we are going to string               everything together. I started with the back flap first. I strung one end of the       twine in the top hole and one in the very bottom.

10

Add the string through the corresponding hole in the paper, then go out through the flaps of the top.

11

7.  You should have two strings coming out from back, take both those strings, put         them together and string them through the middle hole together. Once the strings       are on the back side, pull tight.

12

8.  Repeat one more time. Take the strings that are now in the middle hole, separate       and string one through the top and one through the bottom holes back through to     the front. Then once in the front, gather both and string them back through the         center hole.

13

9.  Now all strings should be in the back. Pull Tight.
Knot both sides of the string to the existing string.

14

15
10.  Then I knotted them together and cut off the excess.

16

17

Opened up.

10.  Now when you close it, It has a raw edge with the side of the pages sort of            sticking out. To make it look more neat, I used duct tape and covered the side.      You can also used washi tape, I just happened to have duct tape on hand.

18

19

20

11.  For the final touch, I used a corner rounder to round the corners of the cereal           box. Completely optional.

21

22

And you’re done! Woo hoo Cereal Box notebook. Bonus, it has a game on the back!

You can always take this a step further and use Mod Podge to cover it with paper or fabric. Or use gesso to make a white background and you can decorate it all yourself.

I personally like the box showing. It would be super cute with different boxes.

I hope you all like this one! Let me know how yours come out or what you think.

Have a wonderful weekend, Happy Crafting!
 

Composition Notebook Cover Re-do #4 Fabric!

Hello Everybody!

I am finally at my last Composition Notebook Cover post….for now.

If you missed any of the last 3 post on how to redo your notebook covers you can find there here:

  1. Composition Notebook Cover Re-do #1 Paper Decoupage https://goo.gl/qSGXIh
  2. Composition Notebook Cover Re-do #2 Gesso & Paint  https://goo.gl/nzdMIP
  3. Composition Notebook Cover Re-do #3 Yarn! https://goo.gl/Dbg4OJ

This week is the final post on Composition Notebook Redo’s. I thought it would be fun to finish up with some fabric. What is better to use than scraps! I am always looking for an excuse to use up scraps. I have this weird condition where I refuse to throw anything out, because I am absolutely sure I am going to need it one day. It’s not fatal but there is no cure and I do believe it was passed down genetically from my mother. ;D

So here we go!

Things you need:

  • Fabric Scraps
  • Mod-Podge or Elmer’s glue
  • Scissors
  • Optional: Stickles Glitter Glue or Puff Paint
  • Composition Notebook

Steps:

  1. Gather Supplies Gather Supplies
  2. Pick your favorite fabric scraps Scraps!
  3. Cut fabric into squares of various sizes. I was not careful in any way. You can cut perfect squares, I just chose to do the cover with a bit more random bits.
  4. Use a brush and add a layer of Mod-Podge or Elmer’s glue to a small area of your notebook. Then line up the squares and start to add fabric to the Mod Podged area. I started from the inside moving out so. That way if your scraps do not line up perfectly you can just trim the excess off.
  5. Keep adding squares… 
  6. Add Some More… Make sure all pieces are completely glued down, cover with mod podge again if you want to be extra sure.
  7. Keep on going.. add some more… 
  8. Until…It is finally all covered 
  9. Let dry completely.
  10. Once it is dry, I added a border line around all the small pieces with stickles glitter glue. I even highlighted the random scraps to fill in the weird gaps.
  11. let dry.

Ta-Da!! and Woo-Hoo!! DIY Quilt style composition notebook cover out of fabric.

Finished!

Finished!

Can you imagine the possibilities! All those scraps so little time!

What do you think? I would love to know.

Have a wonderful week everyone!

Before and After

Let’s Make Stickers!

Hi Everyone! I hope everyone is wonderful.  I spent this weekend going through some of my office supplies, and I found a bunch of packs of labels. Then it happened…the idea!

I don’t know why it took me so long to do this. I love stickers.. I mean LOVE stickers. I have a wicked collection.

Lately, I have been sealing packages and letters with them but I wanted something more personalized without spending a bunch of money.  Then lightning struck, I can make my own!!

So, if your like me your might have packages of labels around collecting dust. I always have leftovers from yard sales and organizational sprees, or if you burn your own CD’s, you might have those CD Label making programs,they usually leave you with left over sticker parts. I keep everything I might be able to use later on (no, I haven’t reached hoarder status…yet).

stickers

stickers 2

I kept the CD label thingy because I thought I could use the round part or the thin CD case labels.

So lets make some stickers…

You want to start with a background.

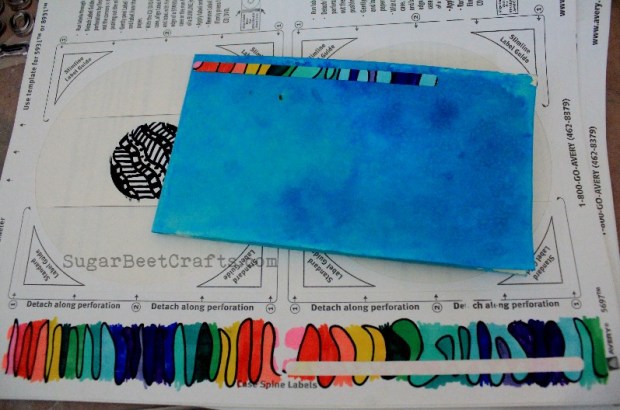
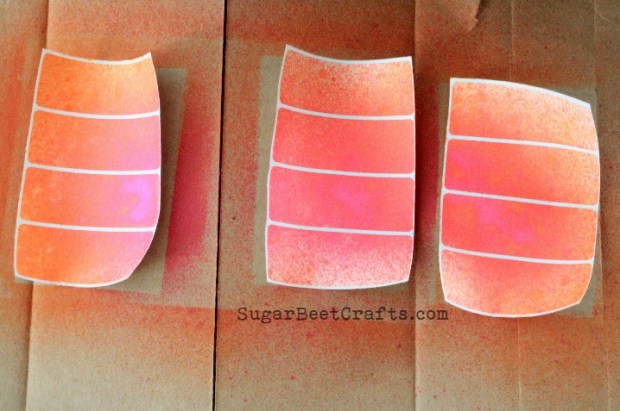
I used Dylusions Ink spray and sprayed the labels. You could totally use ink pads or markers. Once covered let them dry.

stickers 3

Next, Use a lighter color stamp pad to stamp a pattern onto the background. This part is fun, you can do a million different things.

stickers 4

Next, More stamping..Use letters, pictures, whatever your heart desires. I was making Thank You & Sugar Beet Crafts Stickers.

Stickers 6

Stickers 7

ScreenHunter_141 May. 18 20.23

You can use a white or metallic pen to make some fun highlights…

ScreenHunter_142 May. 18 20.23

sticker 17

Here are some more fun ideas…stamps and markers. The background was done by rubbing the labels with a stamp pad, stamping and filling in with markers.

Stickers 7

sticker 8

ScreenHunter_120 May. 18 17.29ScreenHunter_118 May. 18 17.29sticker 8ScreenHunter_116 May. 18 17.28

Here is a fun way to use the thin strips of sticker for the side of the CD case…

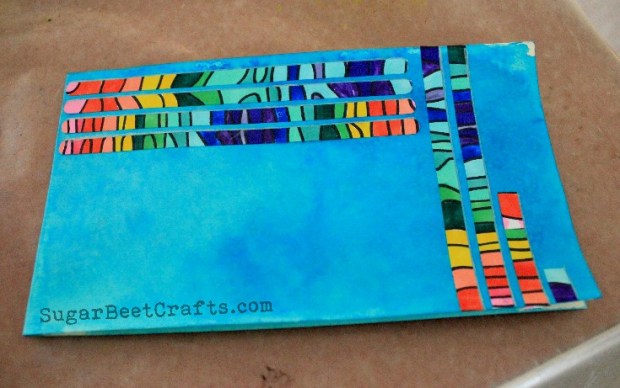
Doodle across the lines…

sticker 15

Then remove for an awesome sticker!

stickers 18

Use it to decorate a card..

sticker 18 ScreenHunter_136 May. 18 19.31

I am already totally addicted. It is a fun way to add some pizzazz to any project. It’s also super sweet to get a personalized handmade anything.

This would be so fun to do with kids, and you have no guilt because you get to use up some extra’s lying around. The environment gives you a big hug for that!

I hope this gets your imagination going!

What will you make?

I would love to see your stickers!
Dylusions Spray Inks by Dyan Reaveley and Ranger

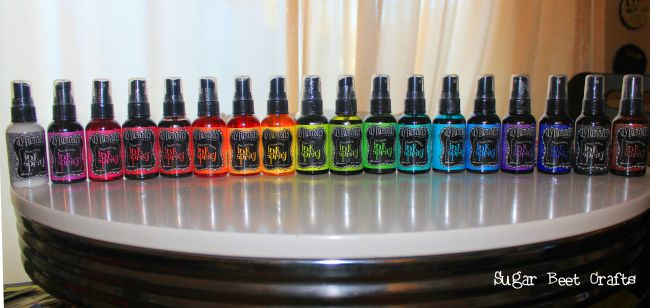
For Christmas I was lucky enough to receive the full set of 18 Dylusions Ink Sprays, and I have to say I love them!!! Not a day has gone by that I am not covered in colors and happy as a clam about it. These inks have so many possibilities and are so much fun. Thank goodness they are super easy to get off with water if you accidentally *ahem, spray your floor counter and toaster oven, Tee Hee. My boyfriend is very tolerant.

If you have been curious or have never heard of these sprays you should absolutely check them out.

Image

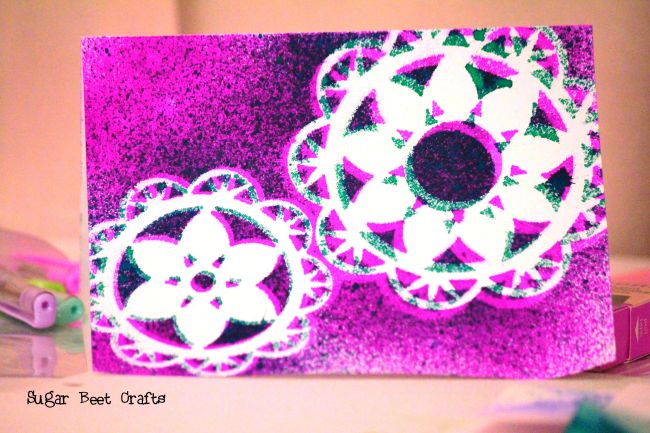
Here is the very first thing I made….

Image

Bad picture but in real life it looks 3D.

Many more pics to come of my adventures in inks.

OH and on a side note, I don’t usually plug companies unless they really deserve it. I have to say Ranger has the best customer service. They are super nice and have a quick response time.

Who else loves Dylusions? What projects have you created?

Have a wonderful Weekend!

w/ Love Sugar Beet Crafts!

blinkieI love dylusions