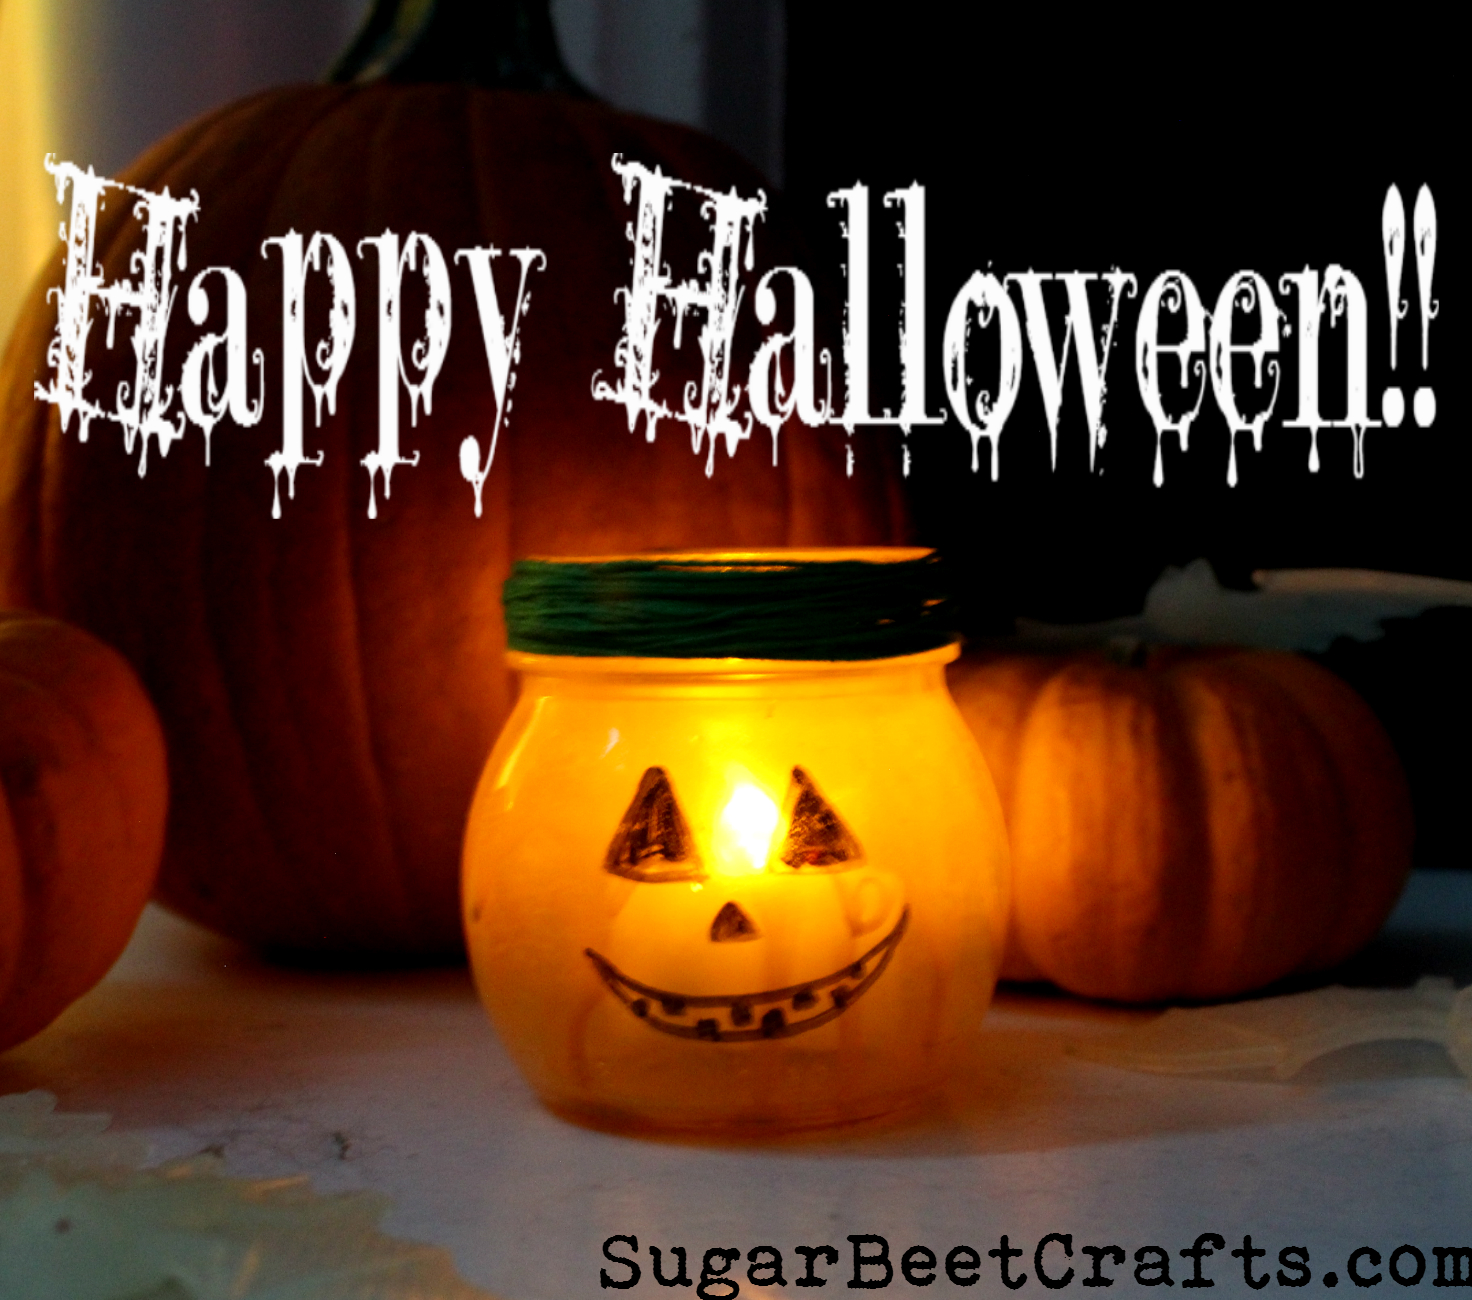
 Have a fun & SAFE night!!
Month: October 2014


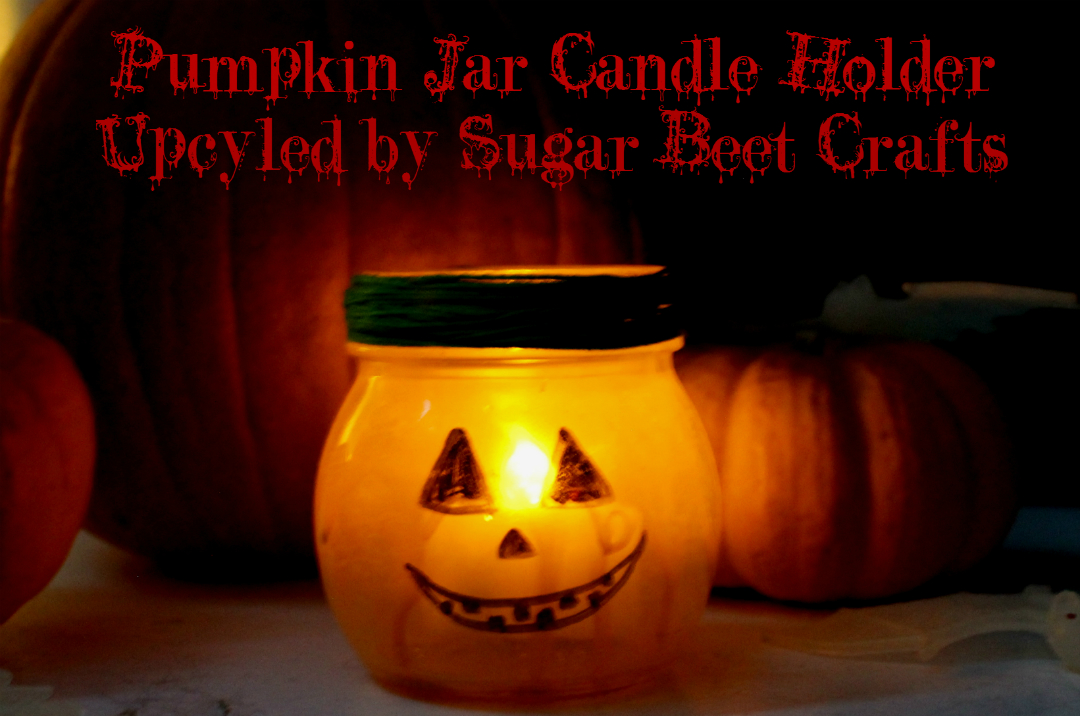
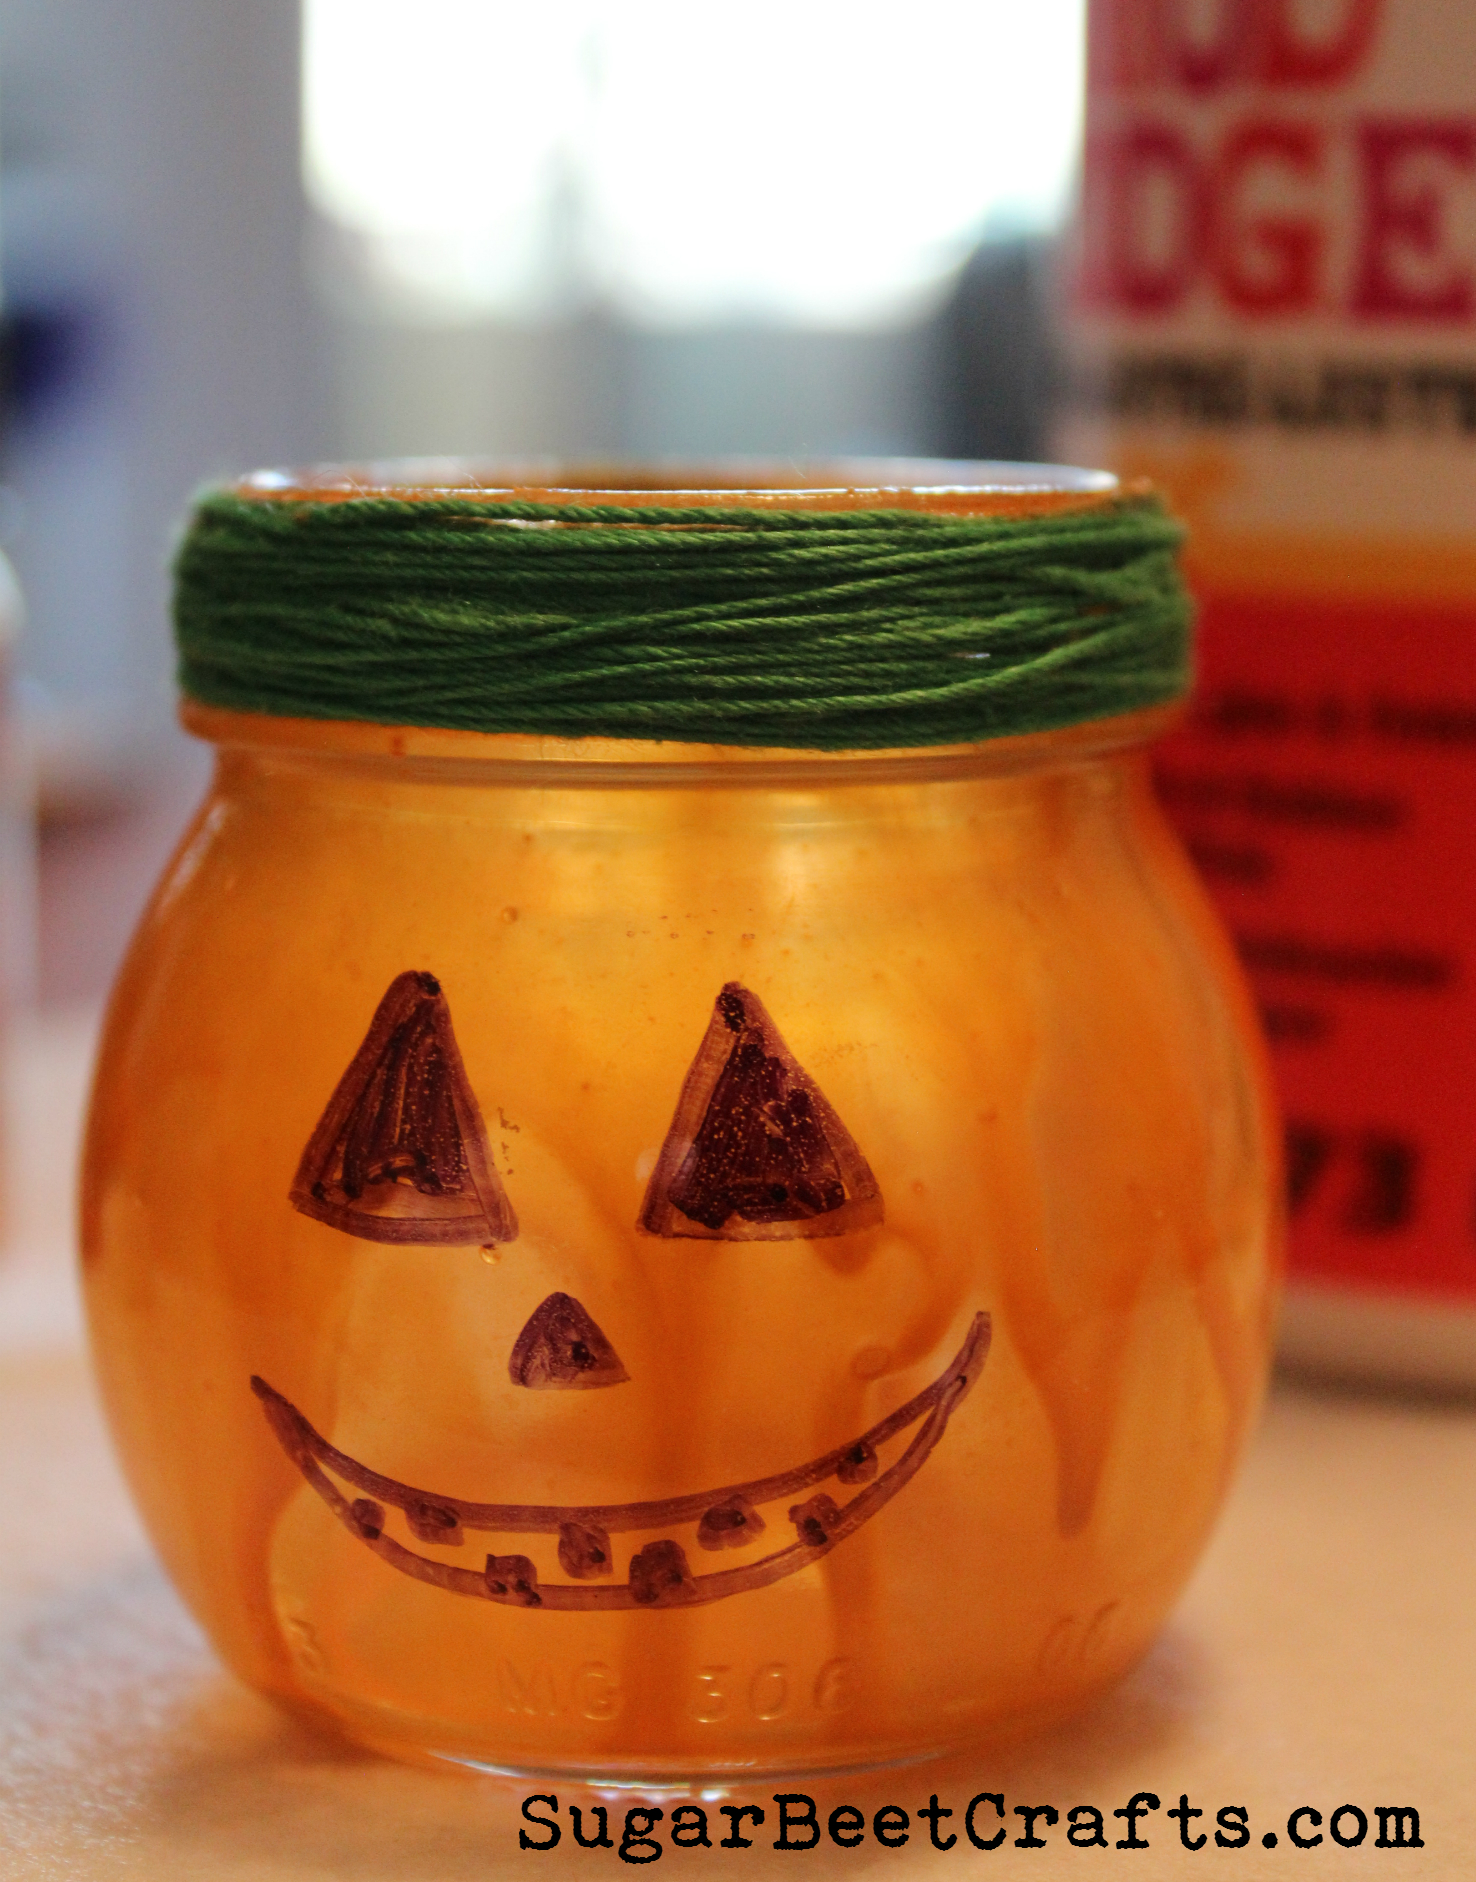
Upcycled Jar Pumpkin Candle Holder
Hello!!
I hope this Halloween week has been fantastically spooky! I keep watching scary movies and giving myself nightmares!
I have one more Jar Project for Halloween. The recycled Jar Pumpkin Candle Holder! This project is super simple!
What you need:
- A Jar
- Some Paint – Acrylic works really well
- Mod Podge- optional
- green string or ribbon
- battery candle

Add just a few drops of the paint and Mod Podge to the jar. I used a bit of ink spray but it just to brighten the color.
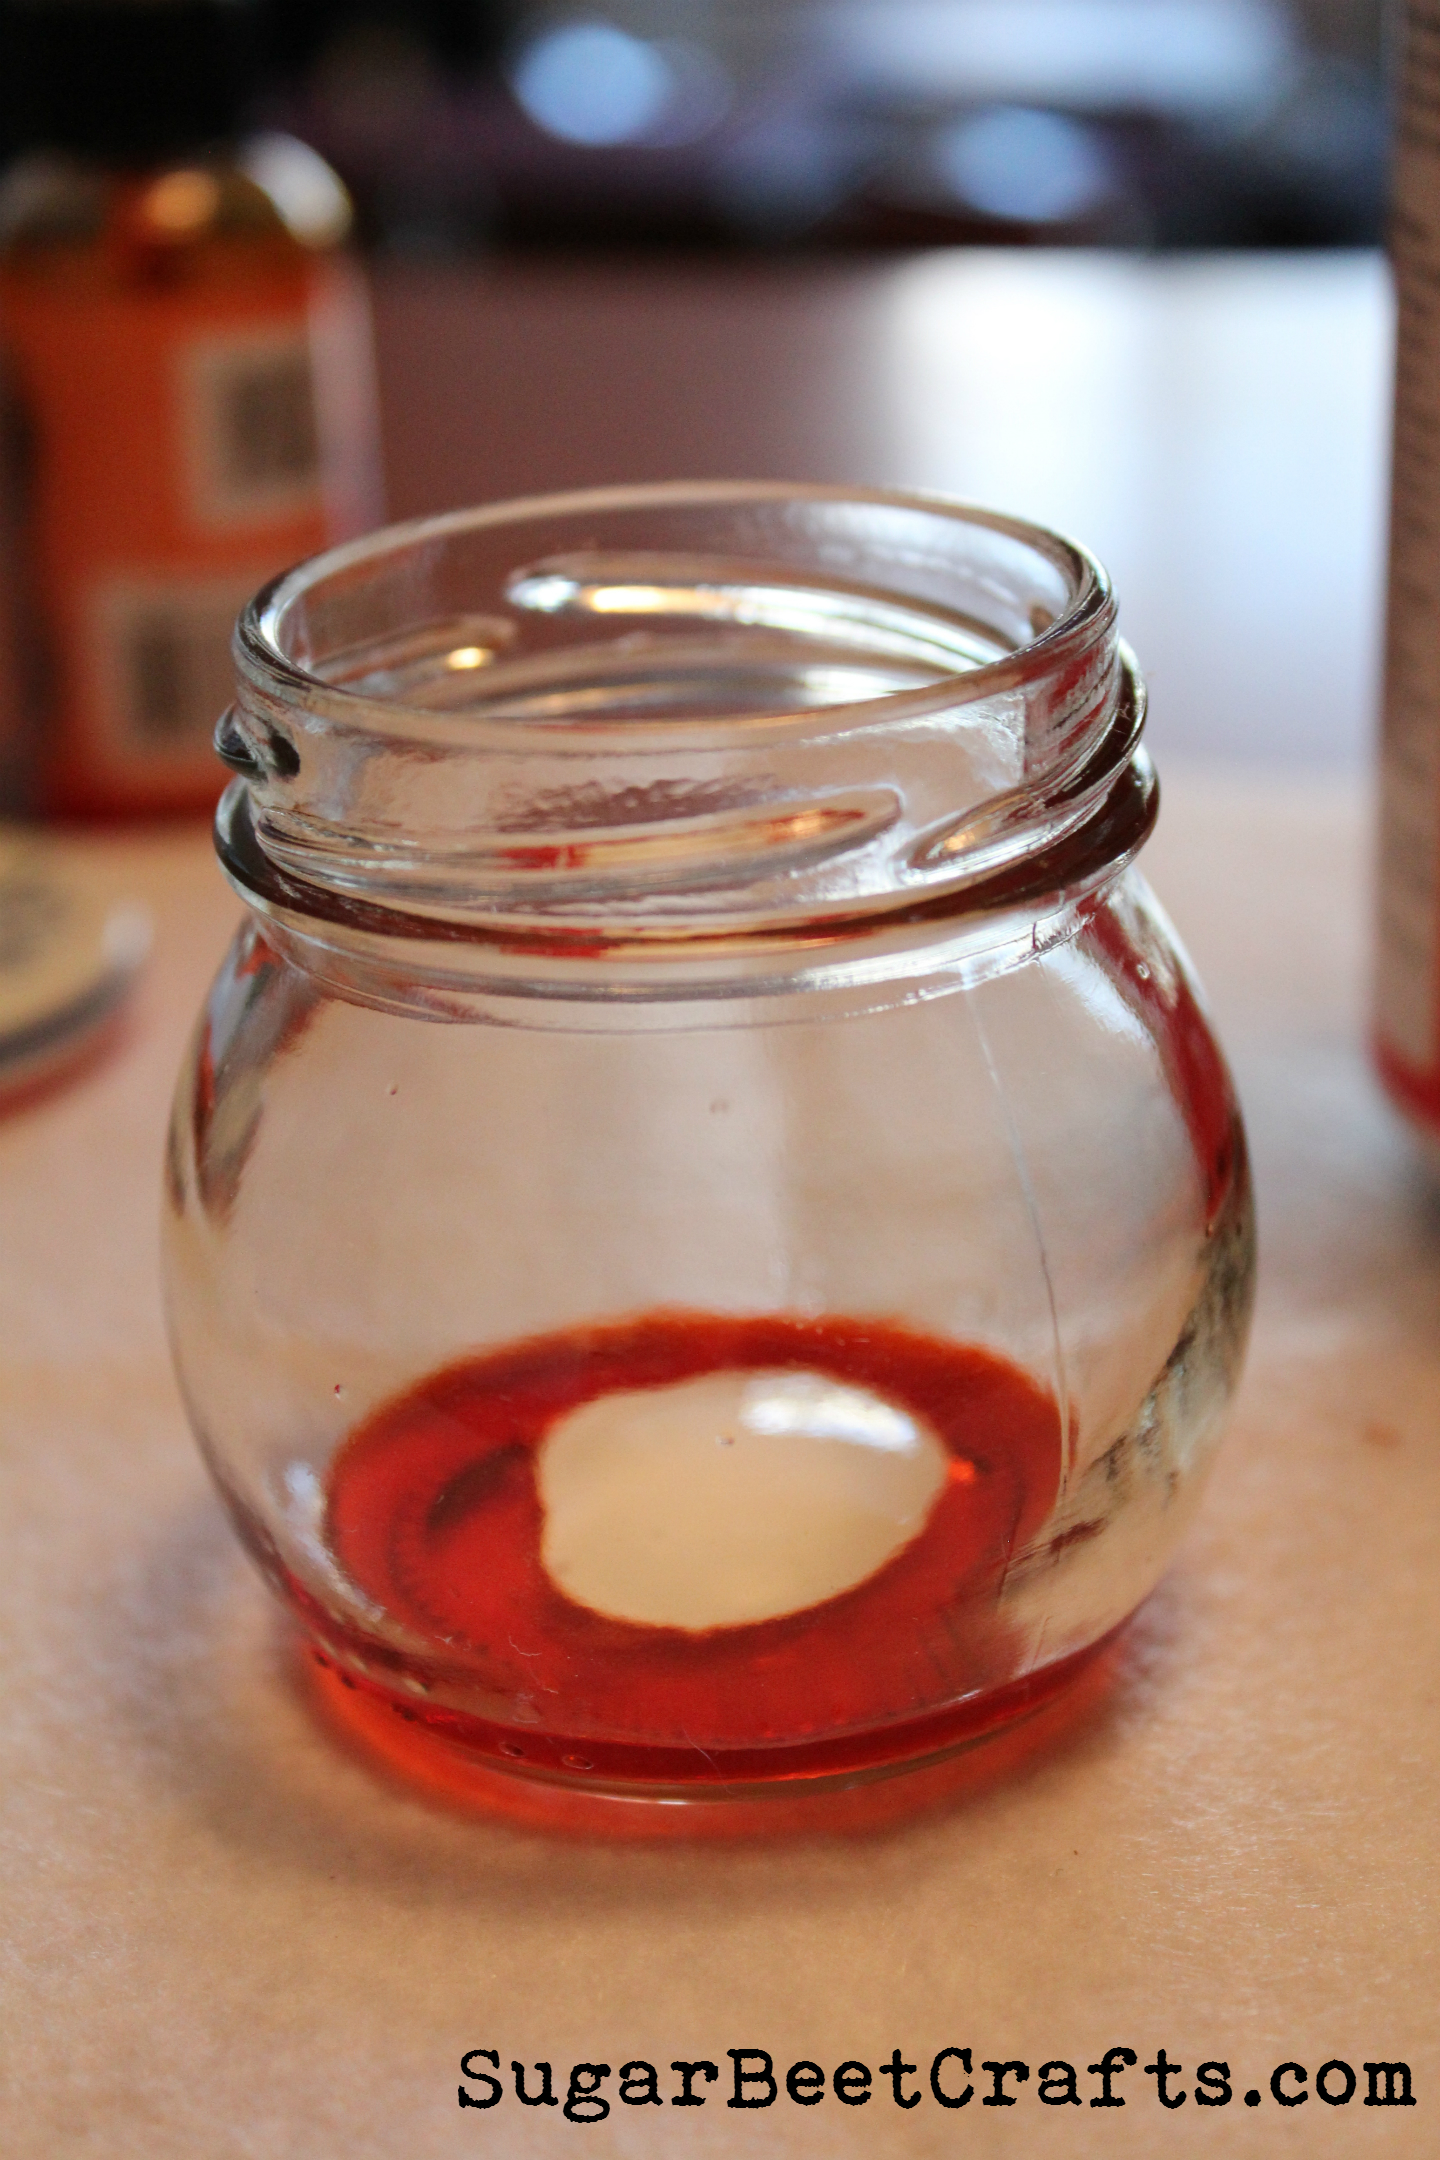
Then put the cap on, and shake and swirl. You may have to do this a few times while it dries to get the right amount of paint around it. I wanted it a little clear and streaky so i just let it dry as is. but you can keep coating until its nice and consistent.
Once done with the paint, flip the jar upside down on a plate or stack of old newspapers so the excess paint has somewhere to go. Let dry.
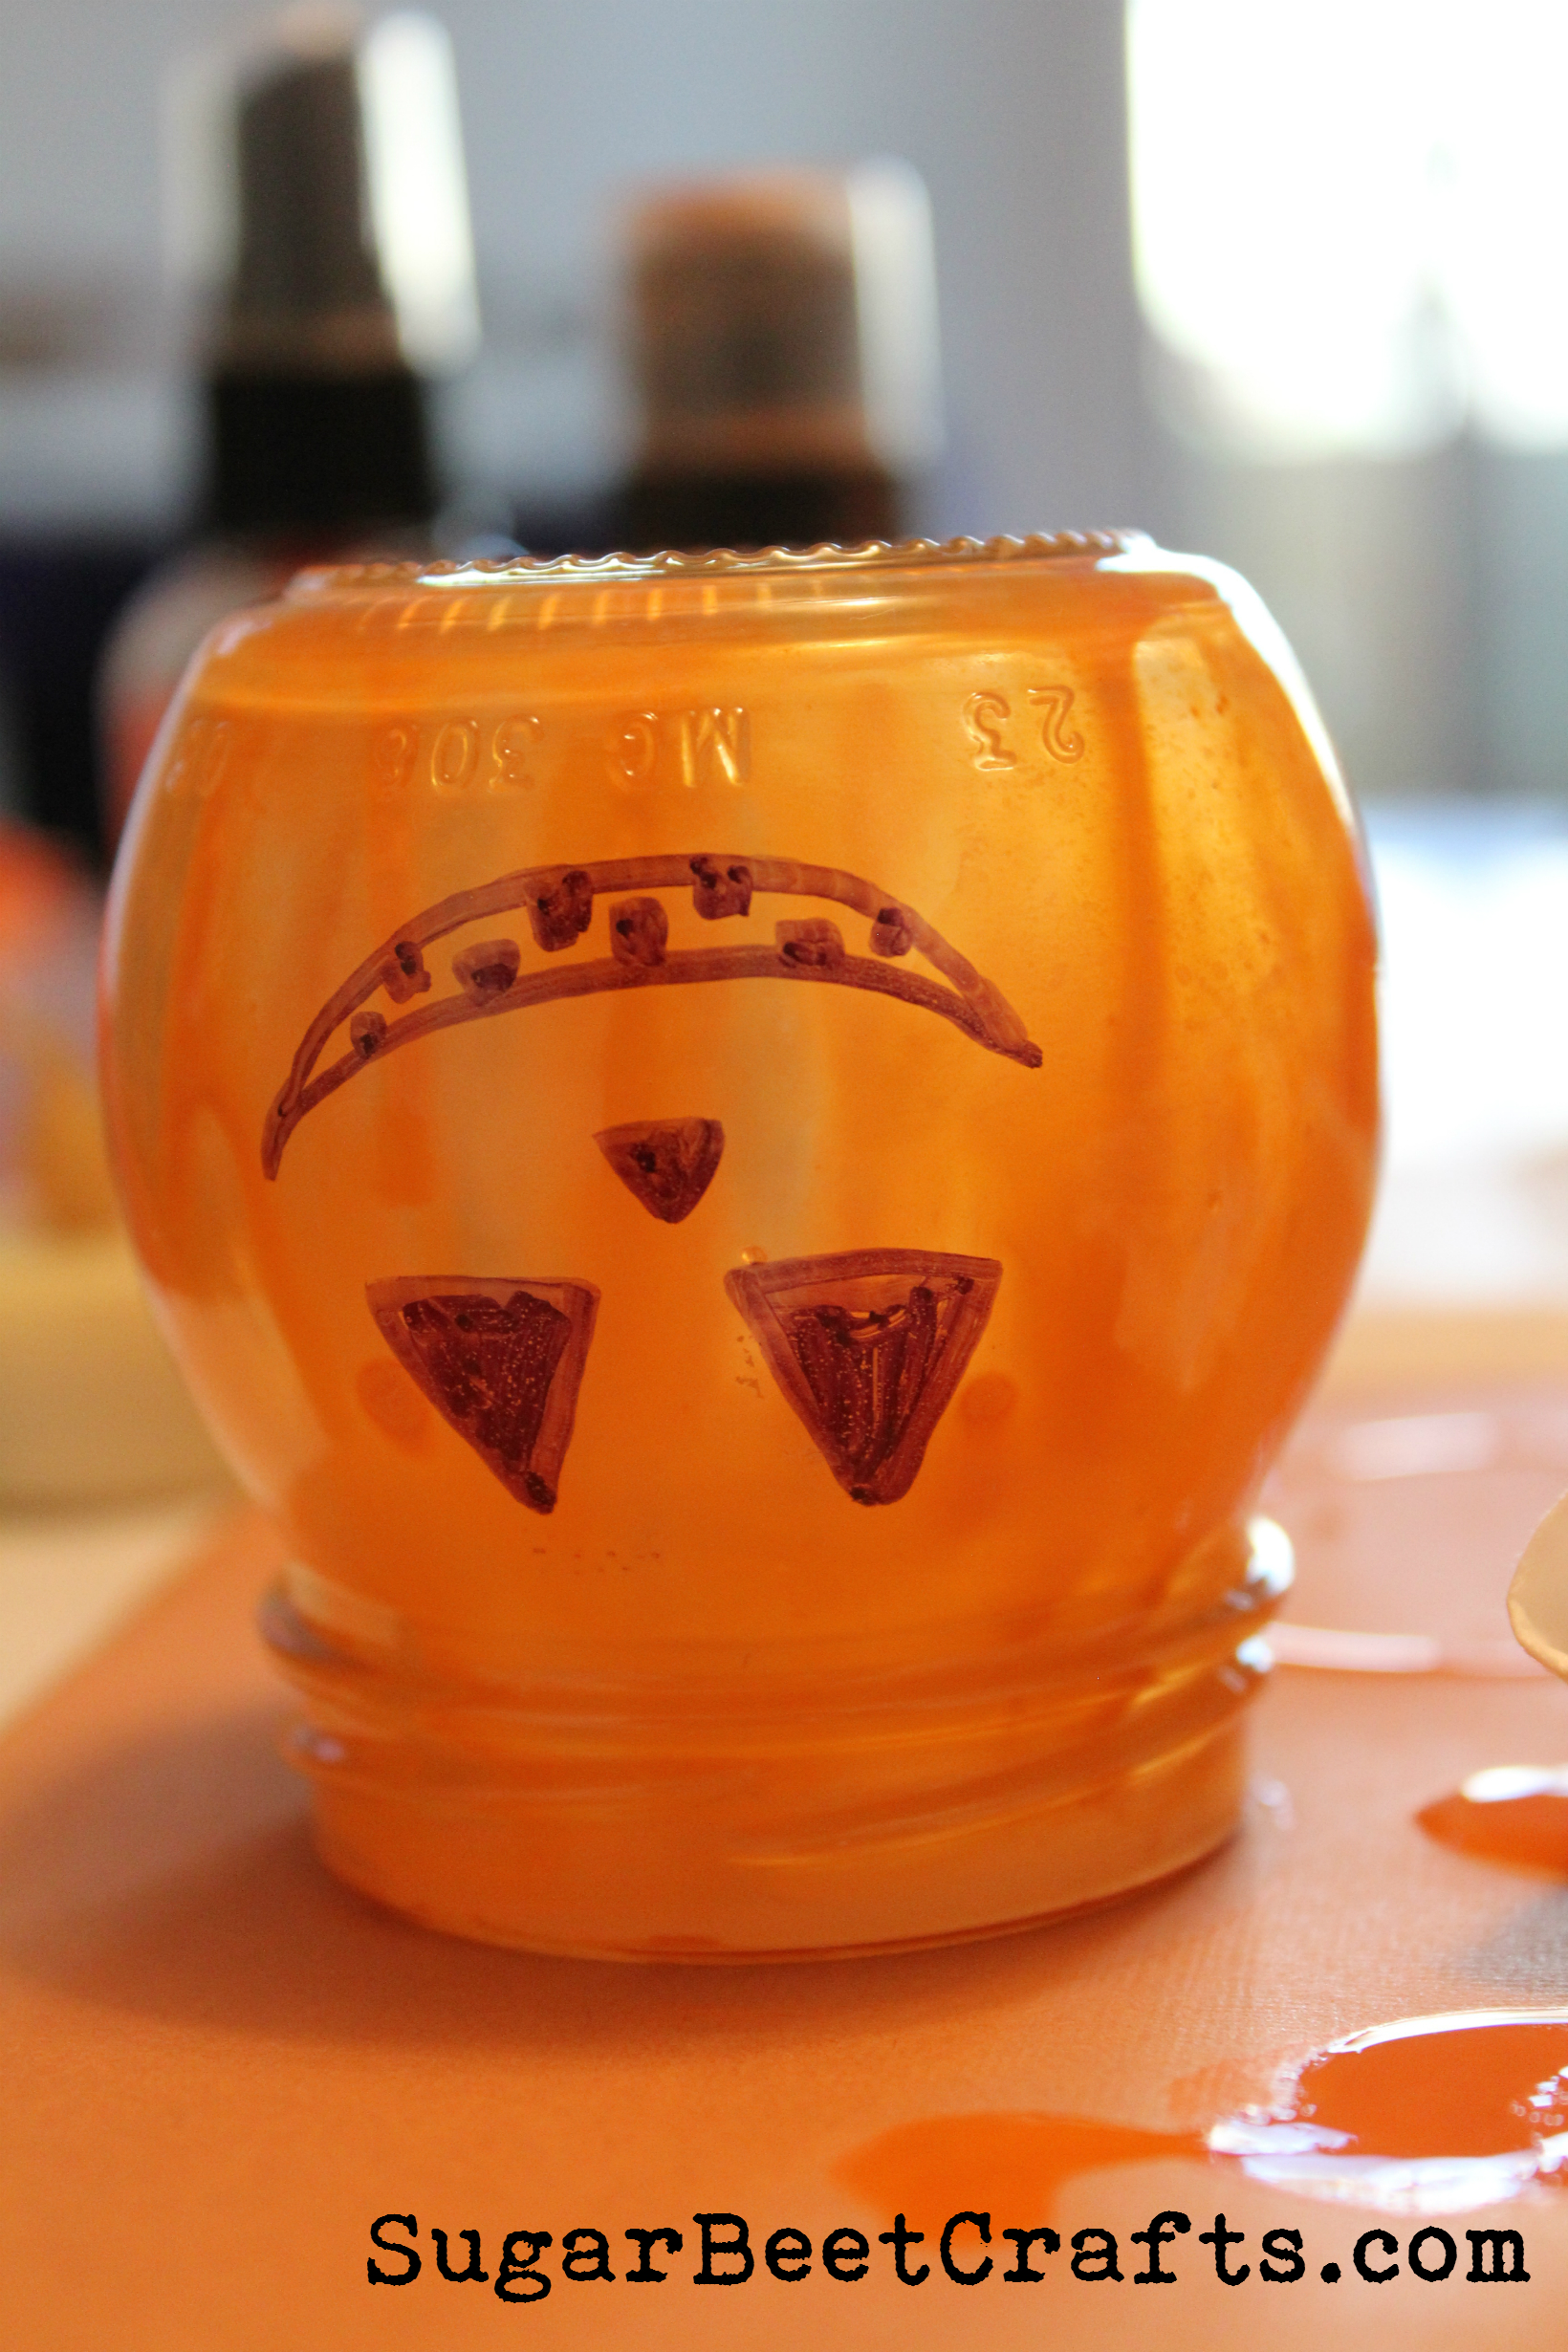
I drew the face on with sharpie while the cap was on and I was swirling the paint around, but you can certainly wait until its dry. I did intend to Mod Podge the eyes nose and mouth with a fine brush then add black glitter, I was just too busy.
After everything is dry, add a bit of glue or Mod Podge to the very top of the jar and add either string or ribbon for a more finished look.
Once that is dry, add your battery candle and enjoy!!
Please Share I appreciate it!:


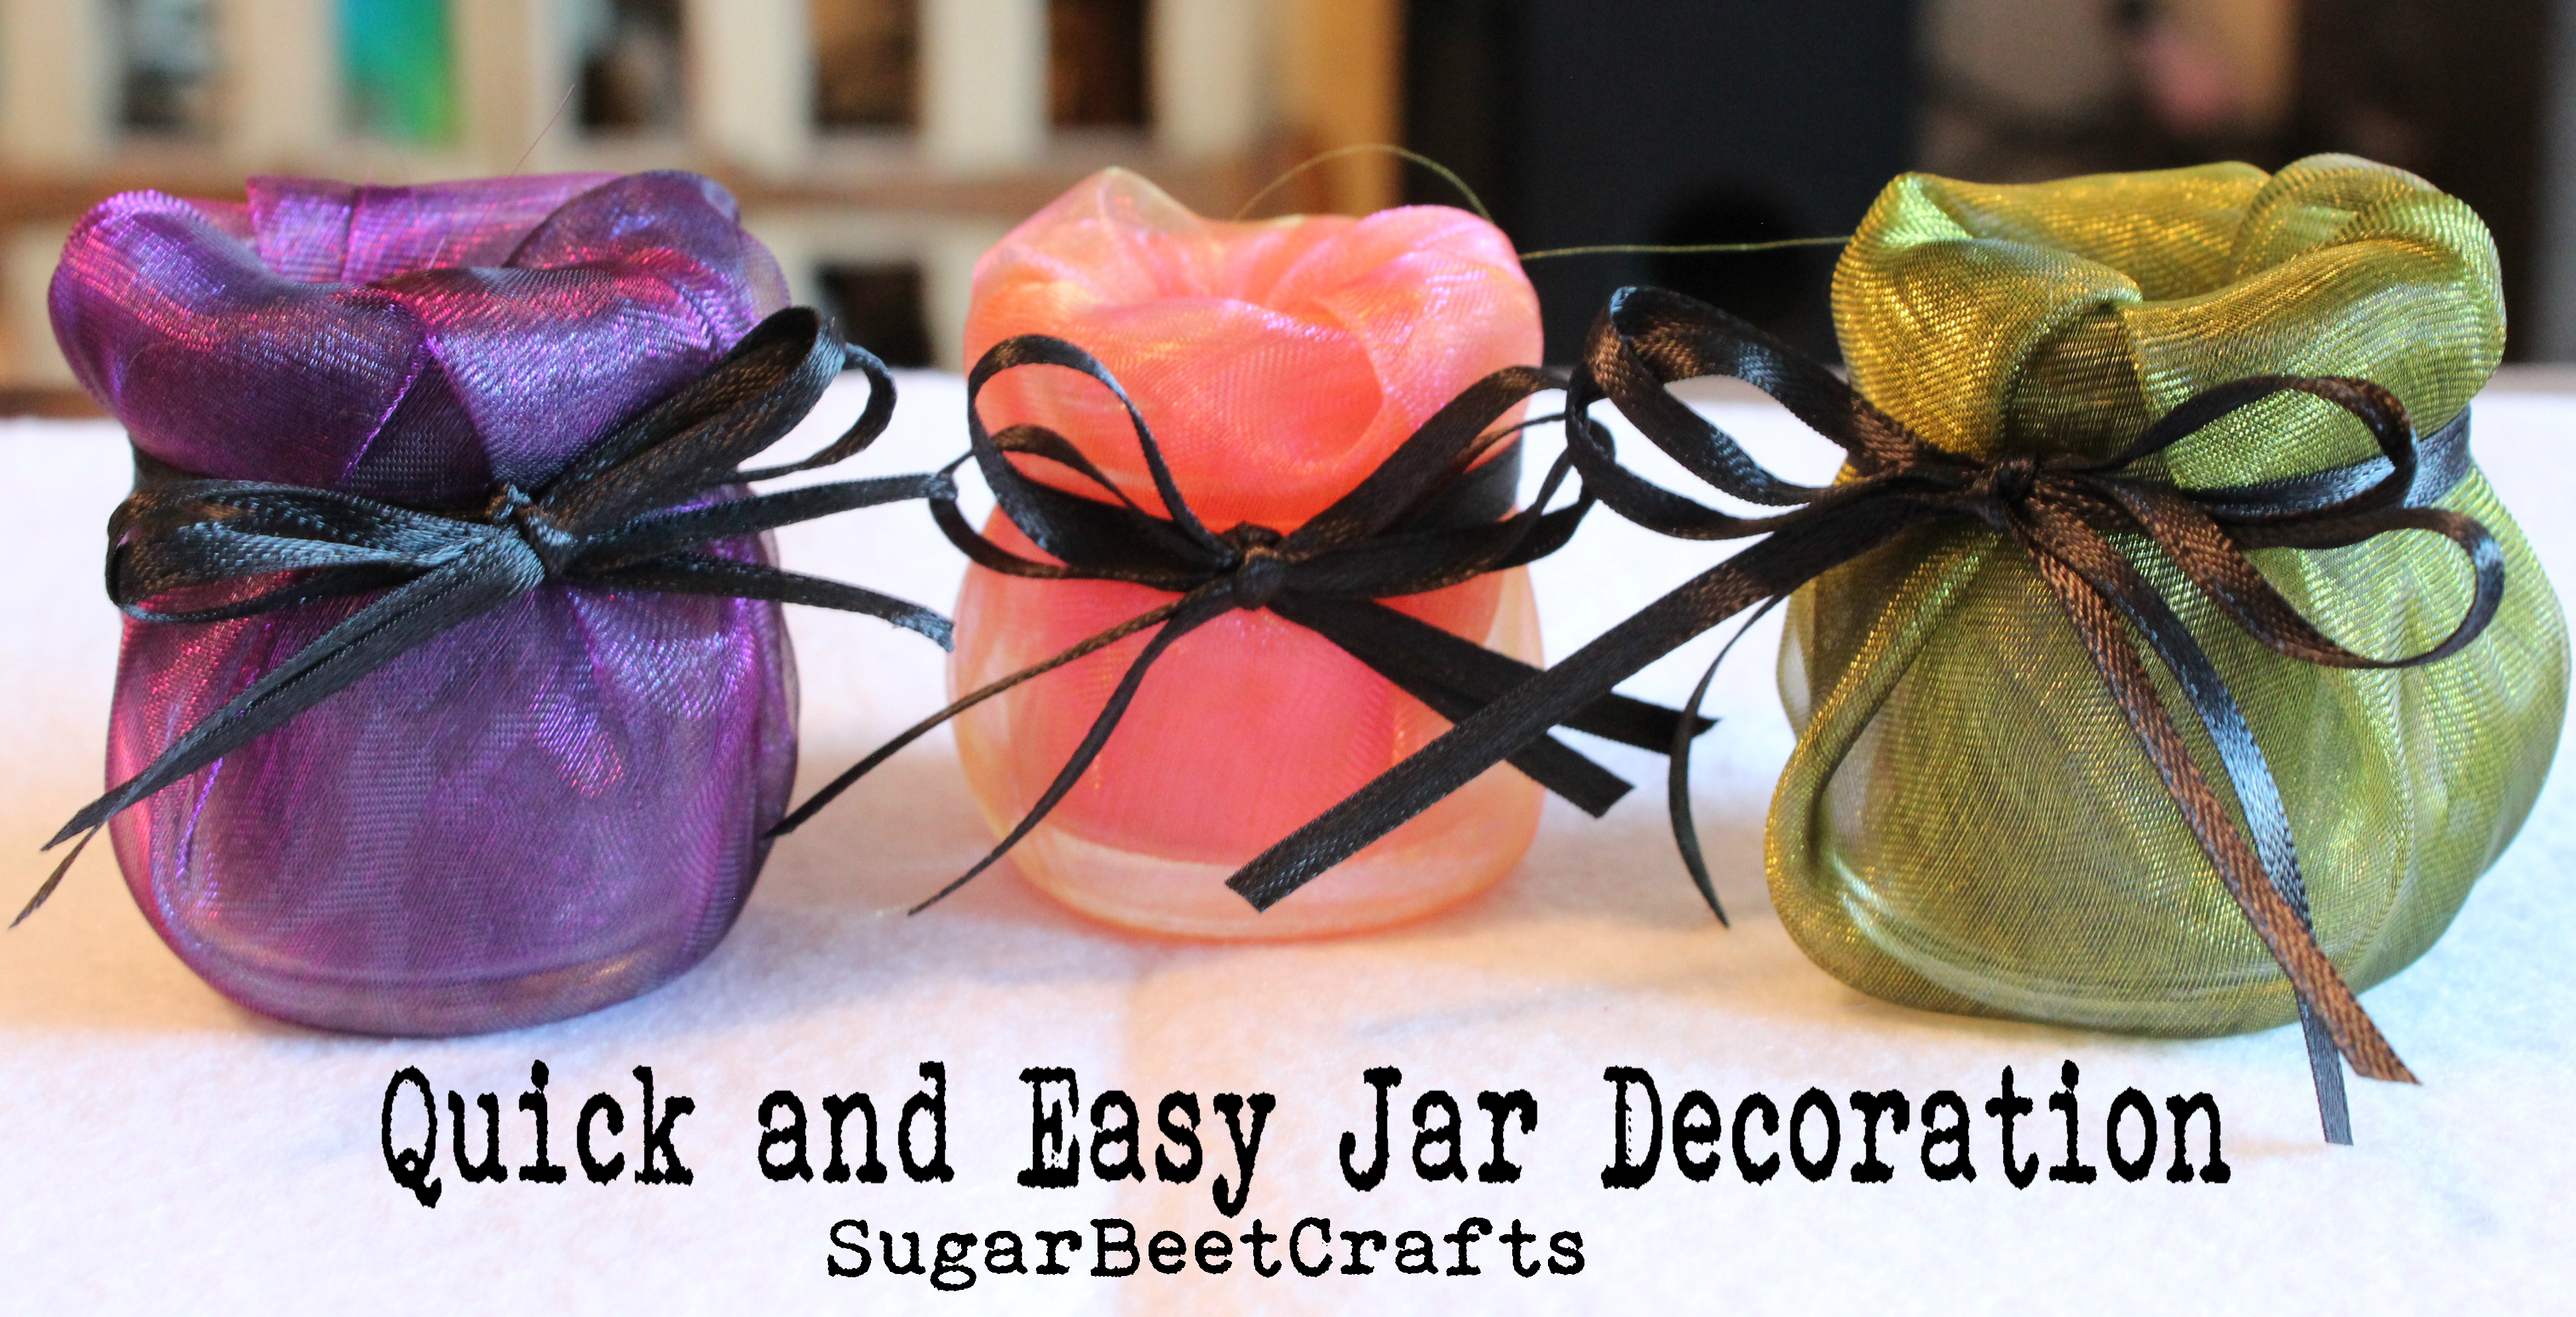
Quick and Easy Jar Decoration
Hello Everyone! I hope your Halloween season has been spooktacular so far!
Here is a super easy and quick way to add some pops of color and decoration around the house with stuff you probably already have.
These adorable fabric wrapped jars are great to add to any center piece, or table or just about anywhere. You can even add a candle and make them super awesome candle holders. Or shove some candy in them for a cool display
You just need:
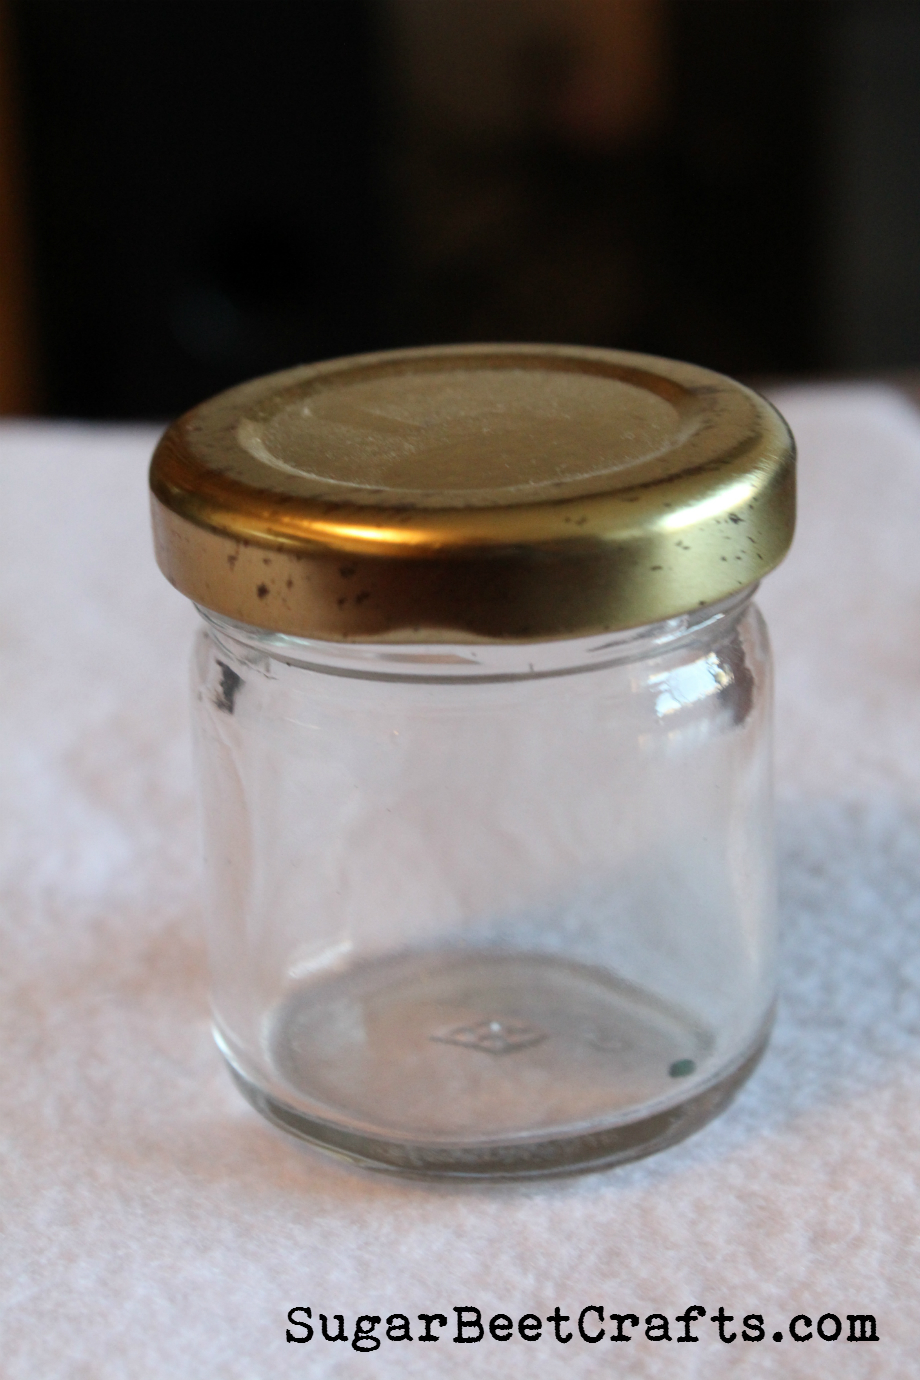
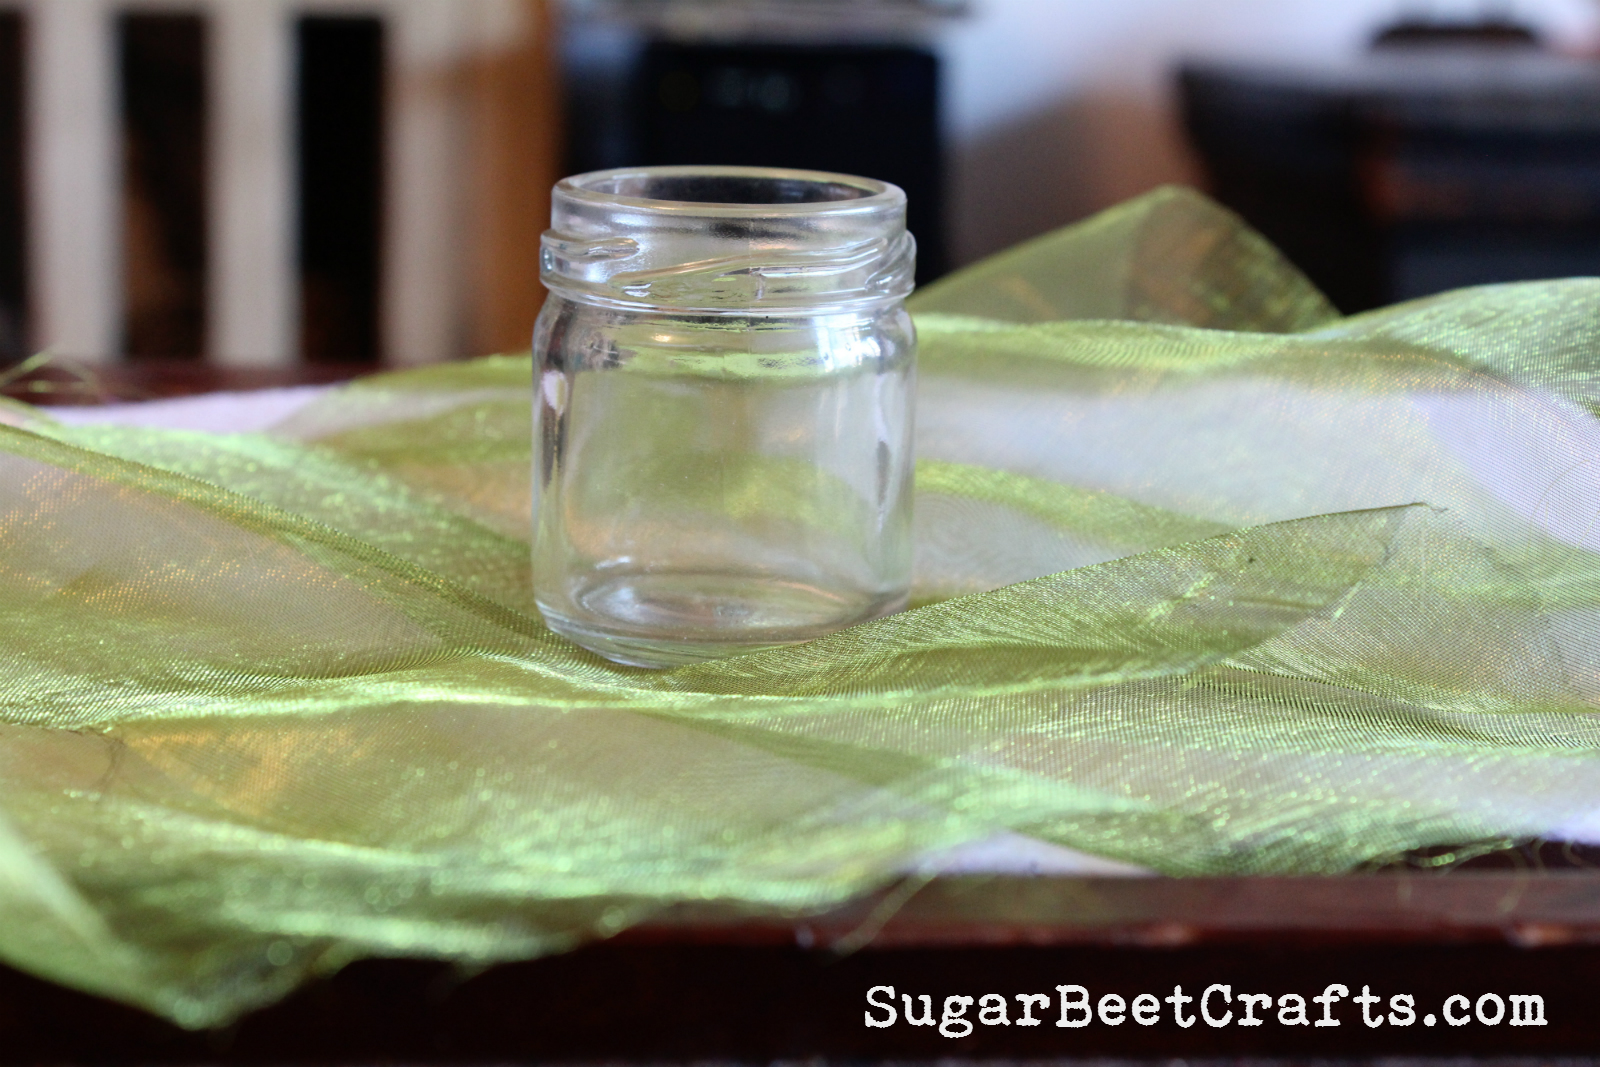
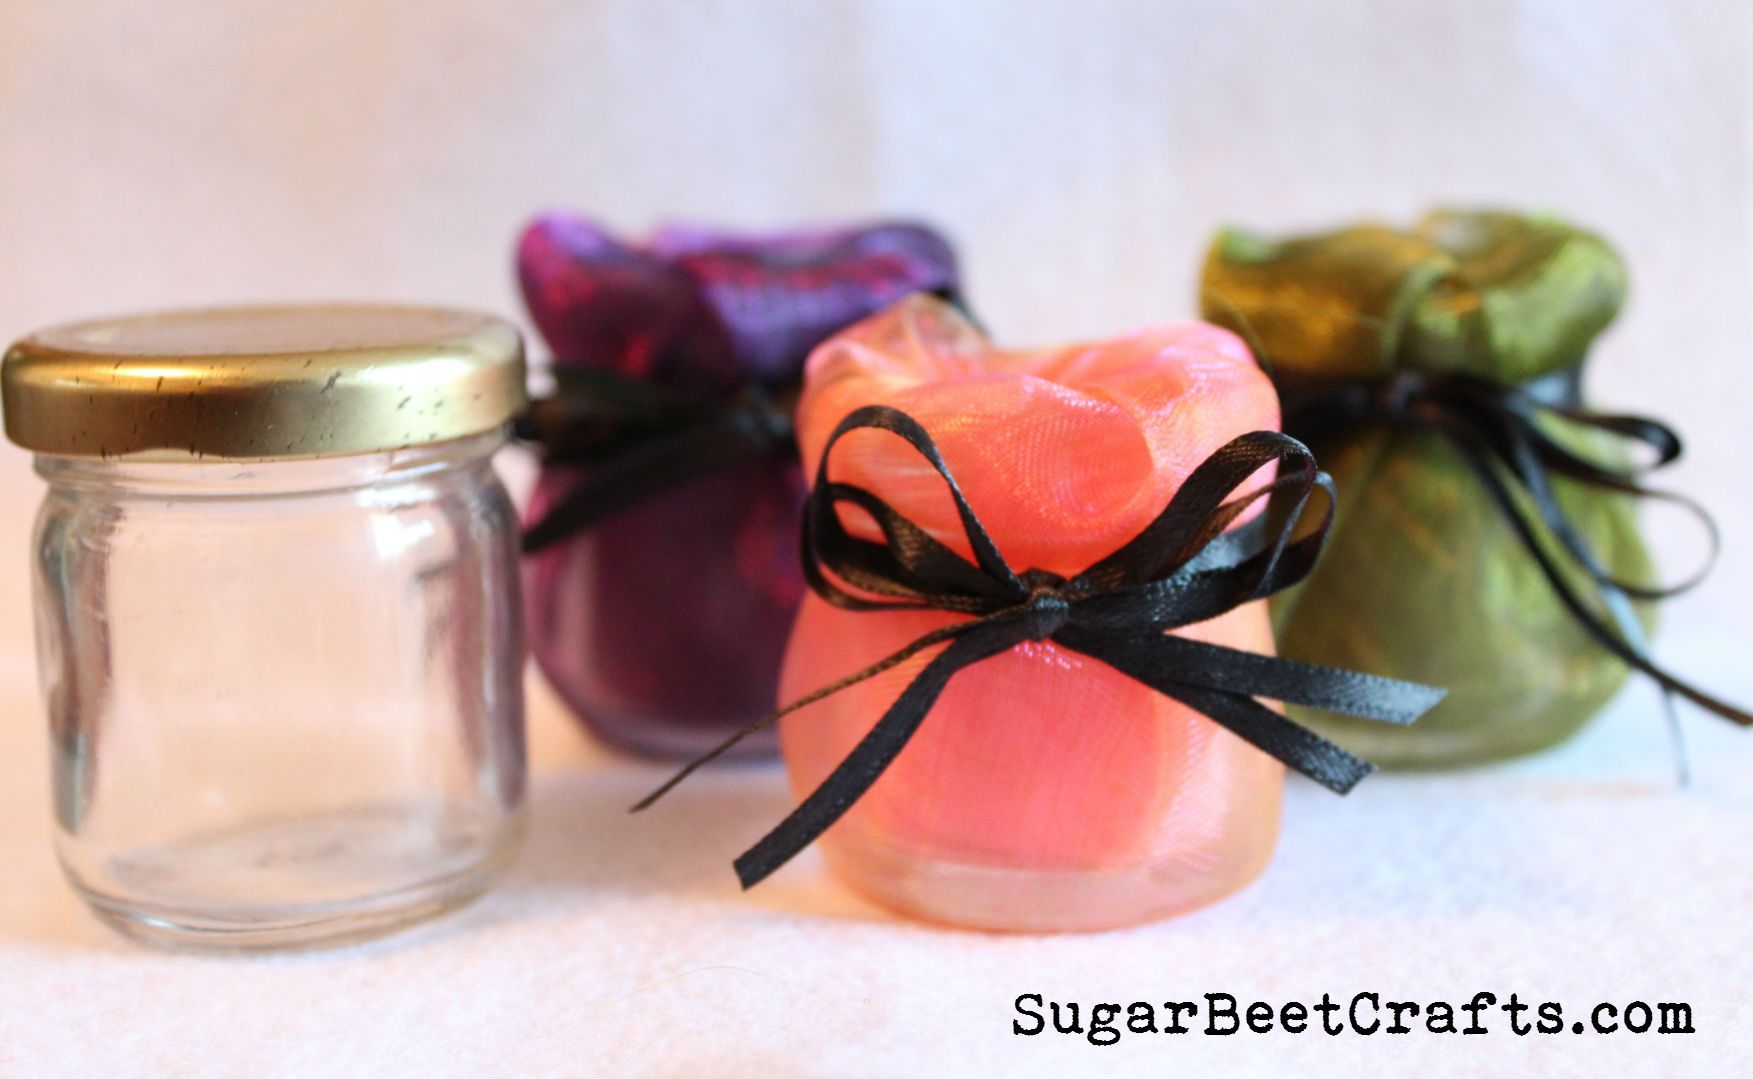
- A jar (the one I used is super small they are about 2 inches. I think they are used for spices.
- Some fabric. (any will do, it just needs to be big enough to stuff into the jar.
- A bit of ribbon
Thats it!
Here is my little jar.
Jar and Fabric, The fabric is super sheer shinny material.
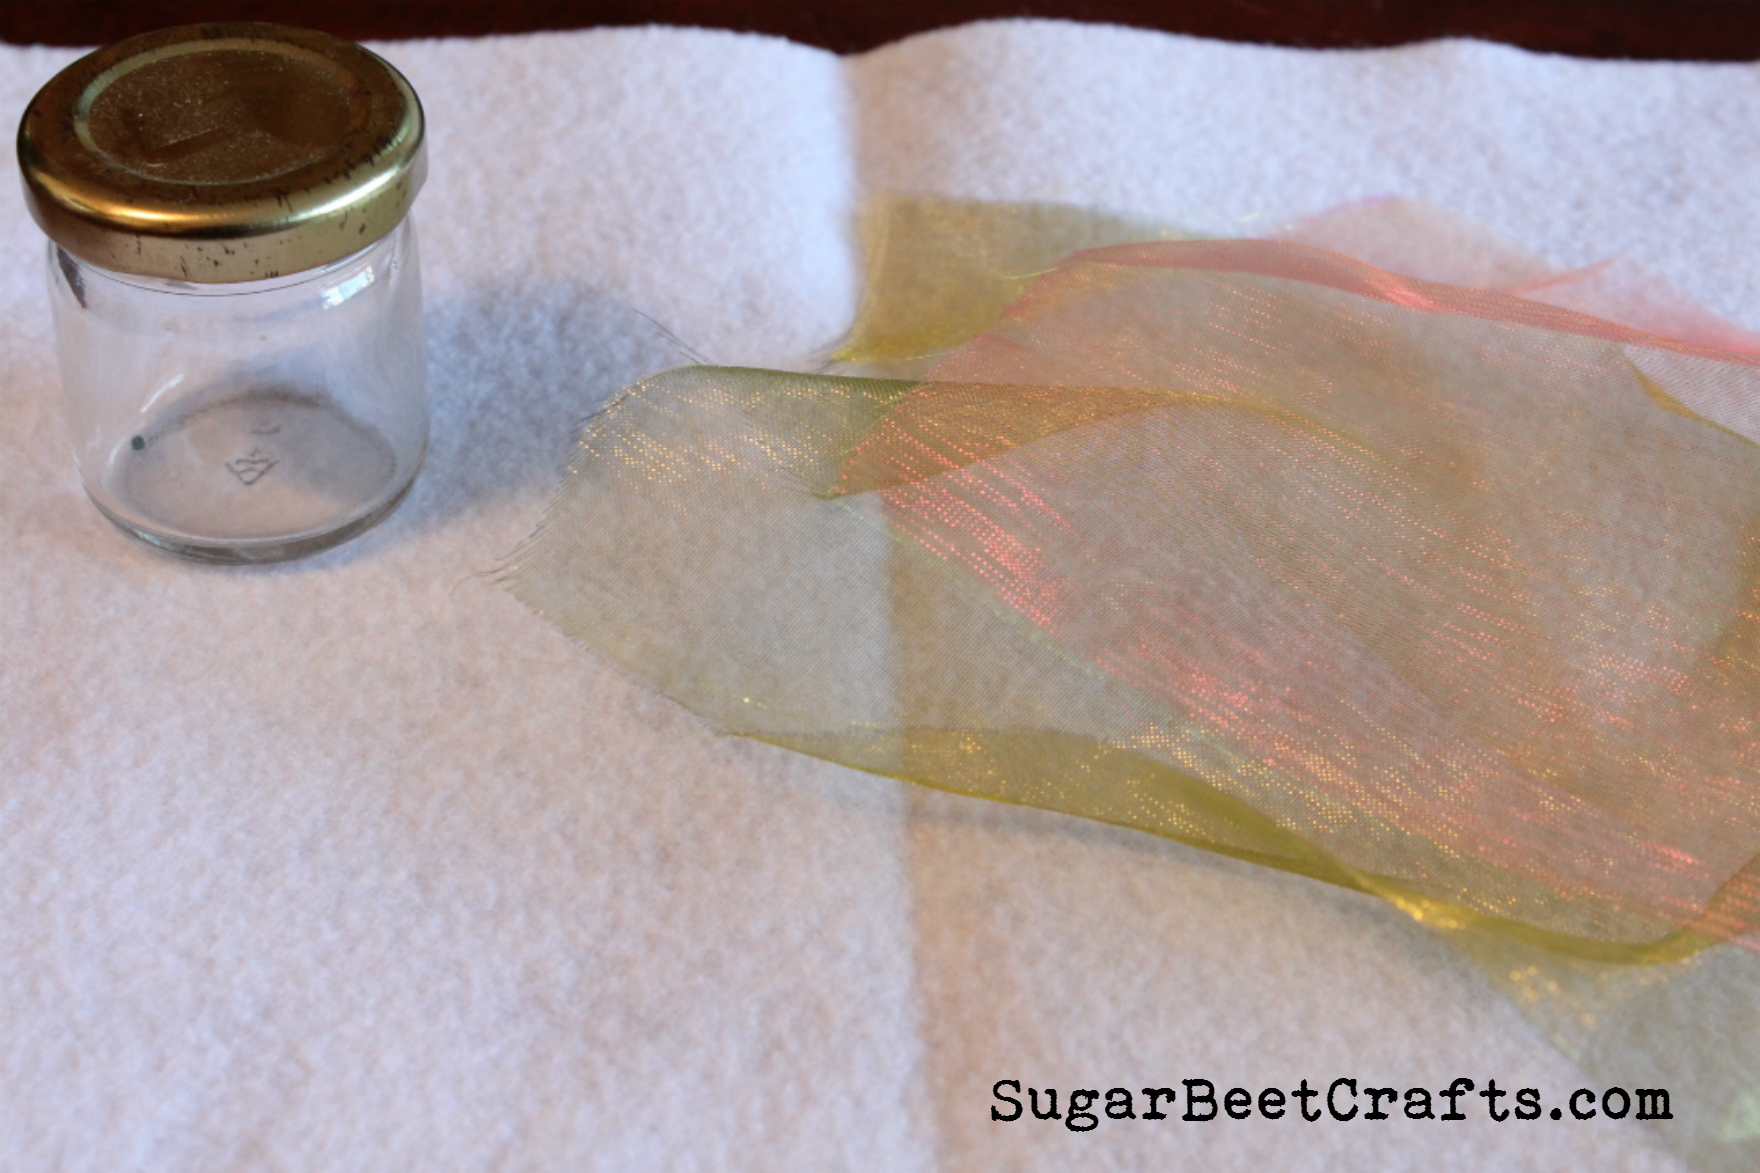
Lay down your material, then lay your jar in the center on top. I used 2 layers of fabric because the material was so sheer.
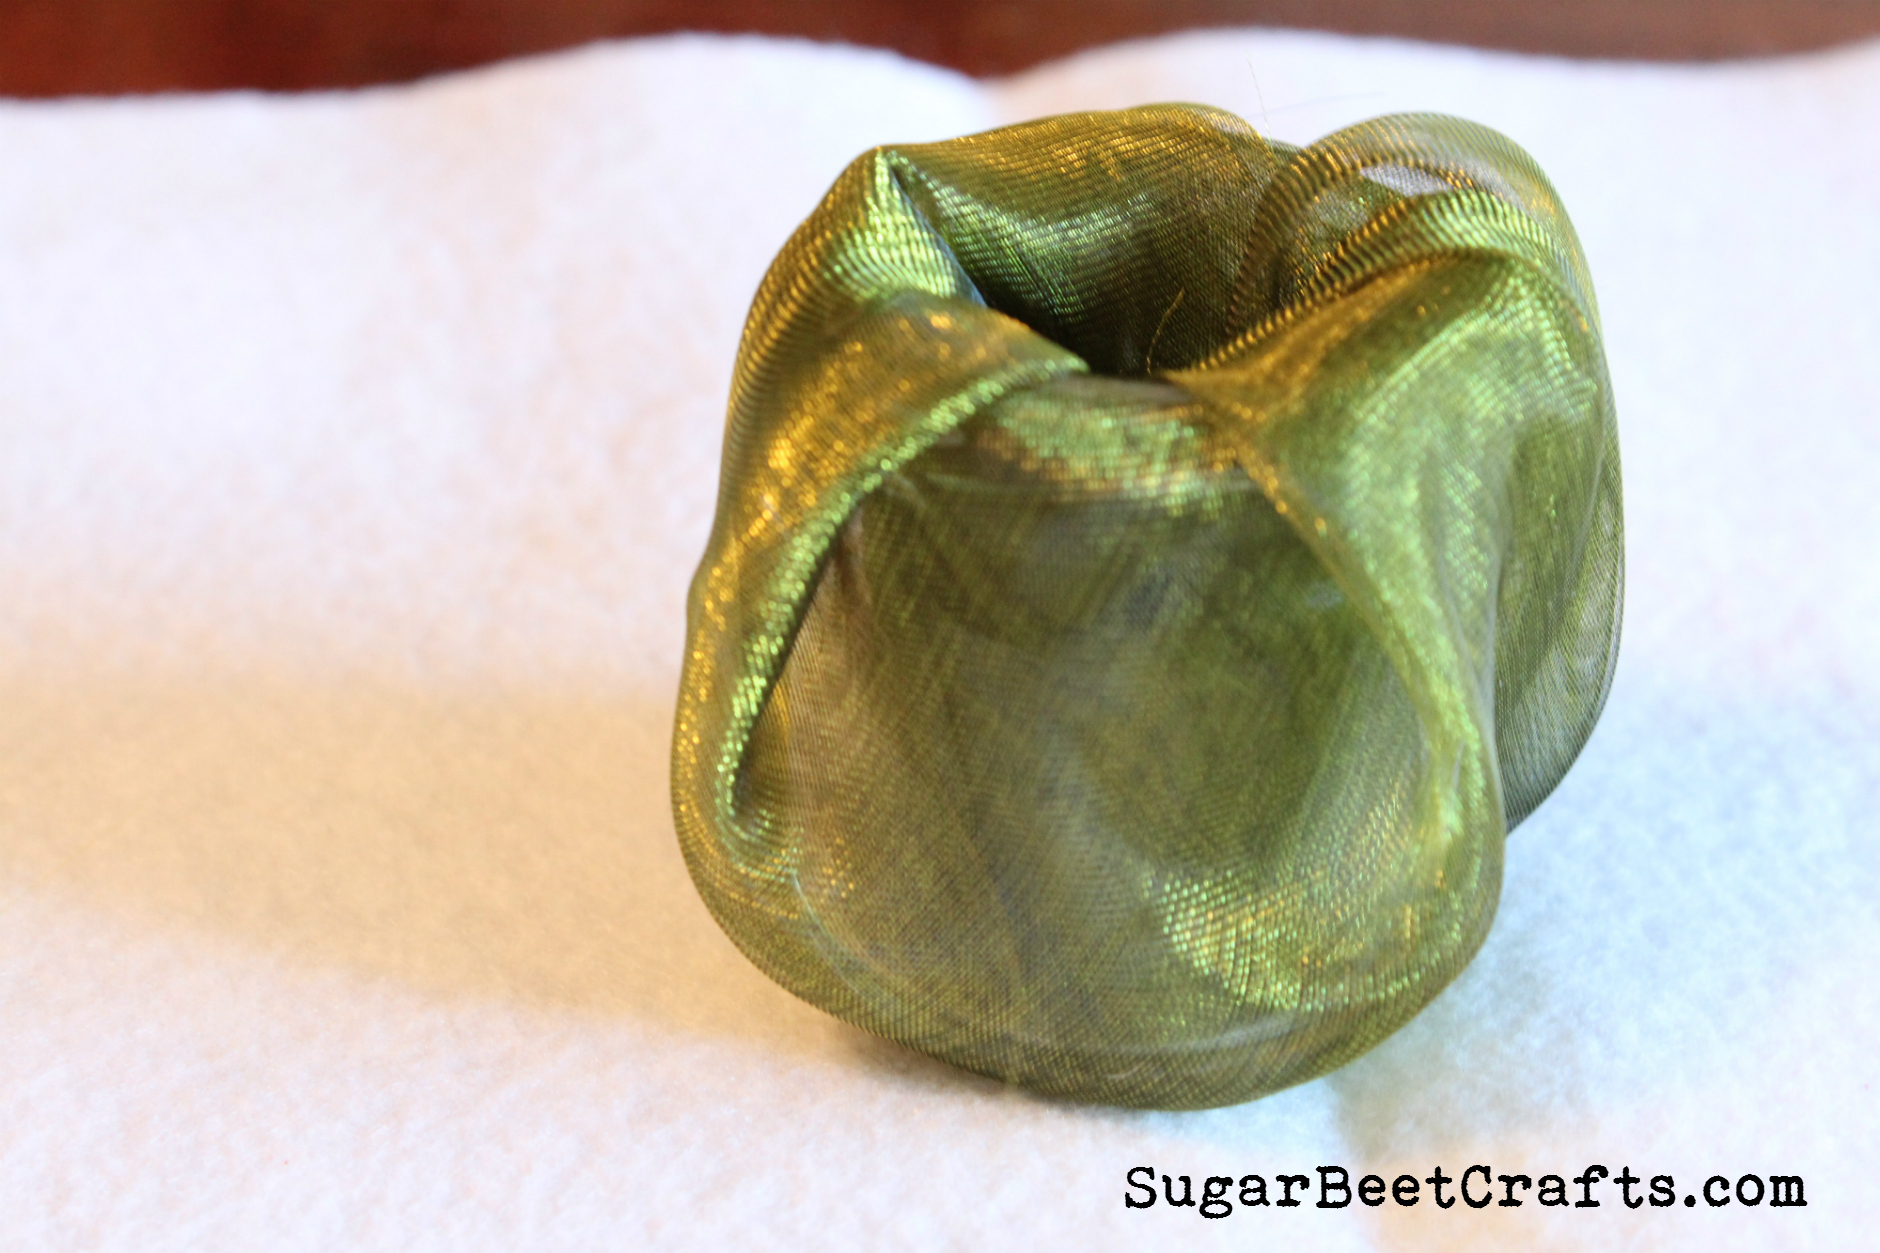
Tuck the fabric into the jar. Press it all the way in so it doesn’t come back out.
Wrap some ribbon around the top, and tie a bow.
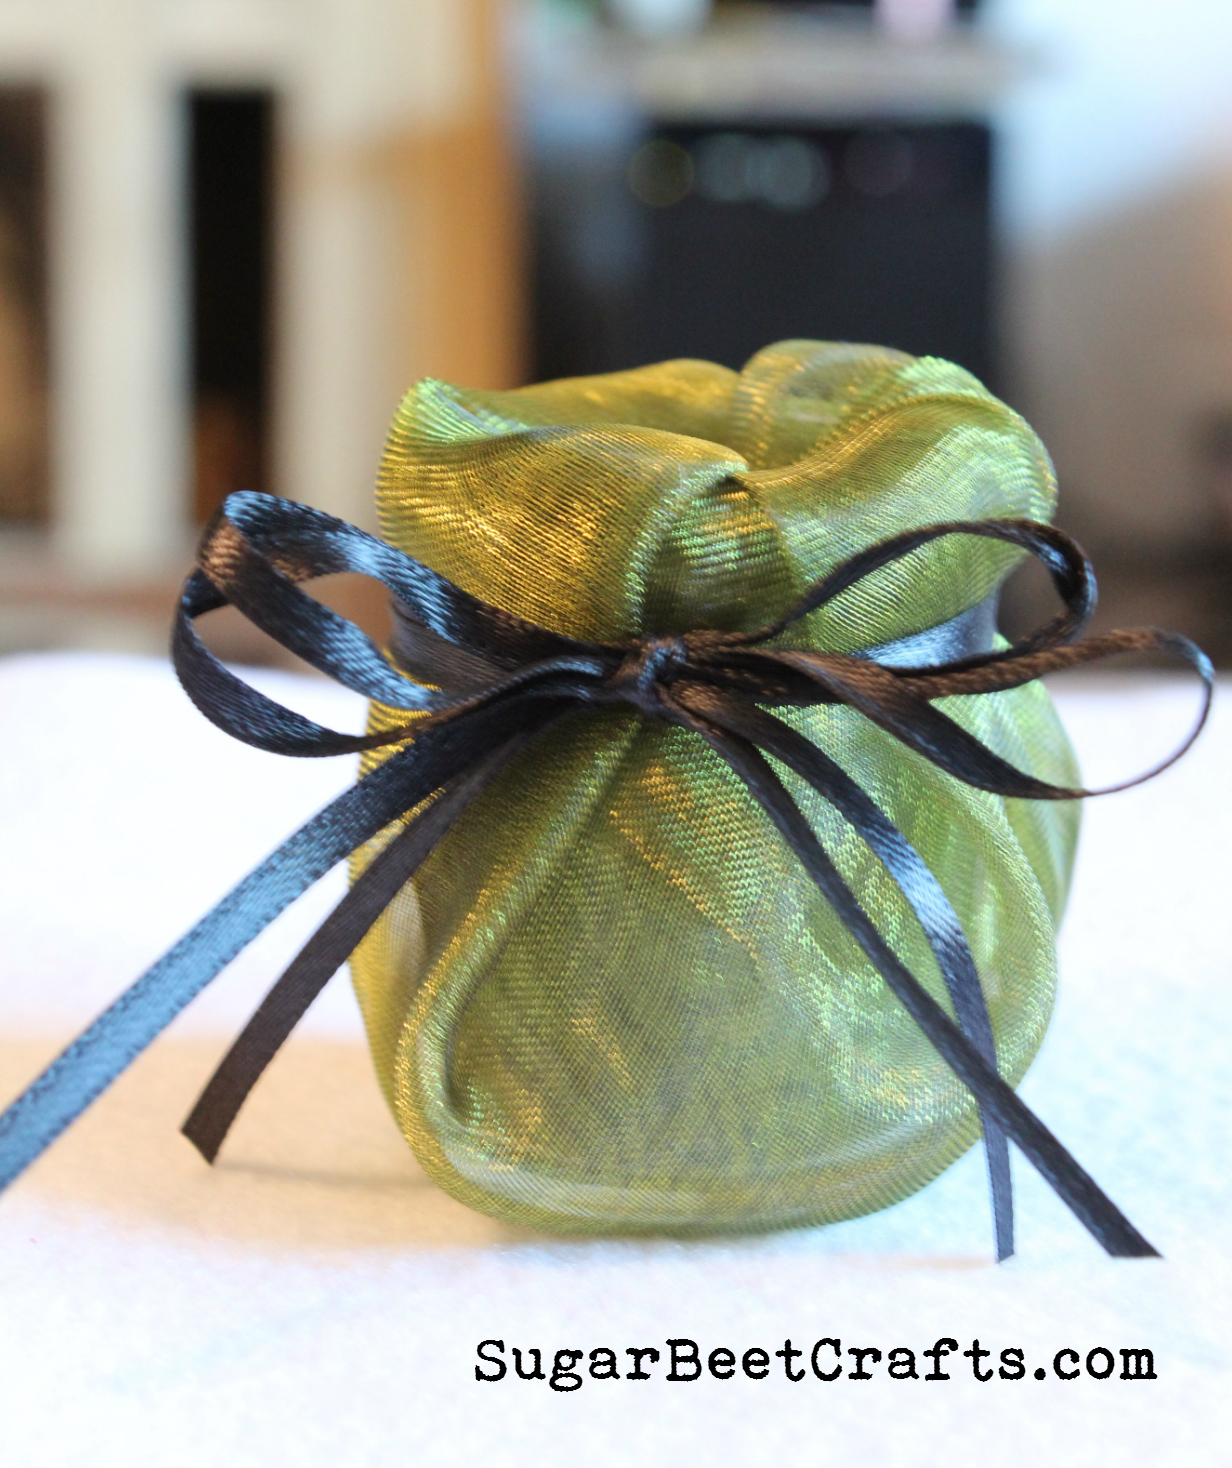
And there you go!
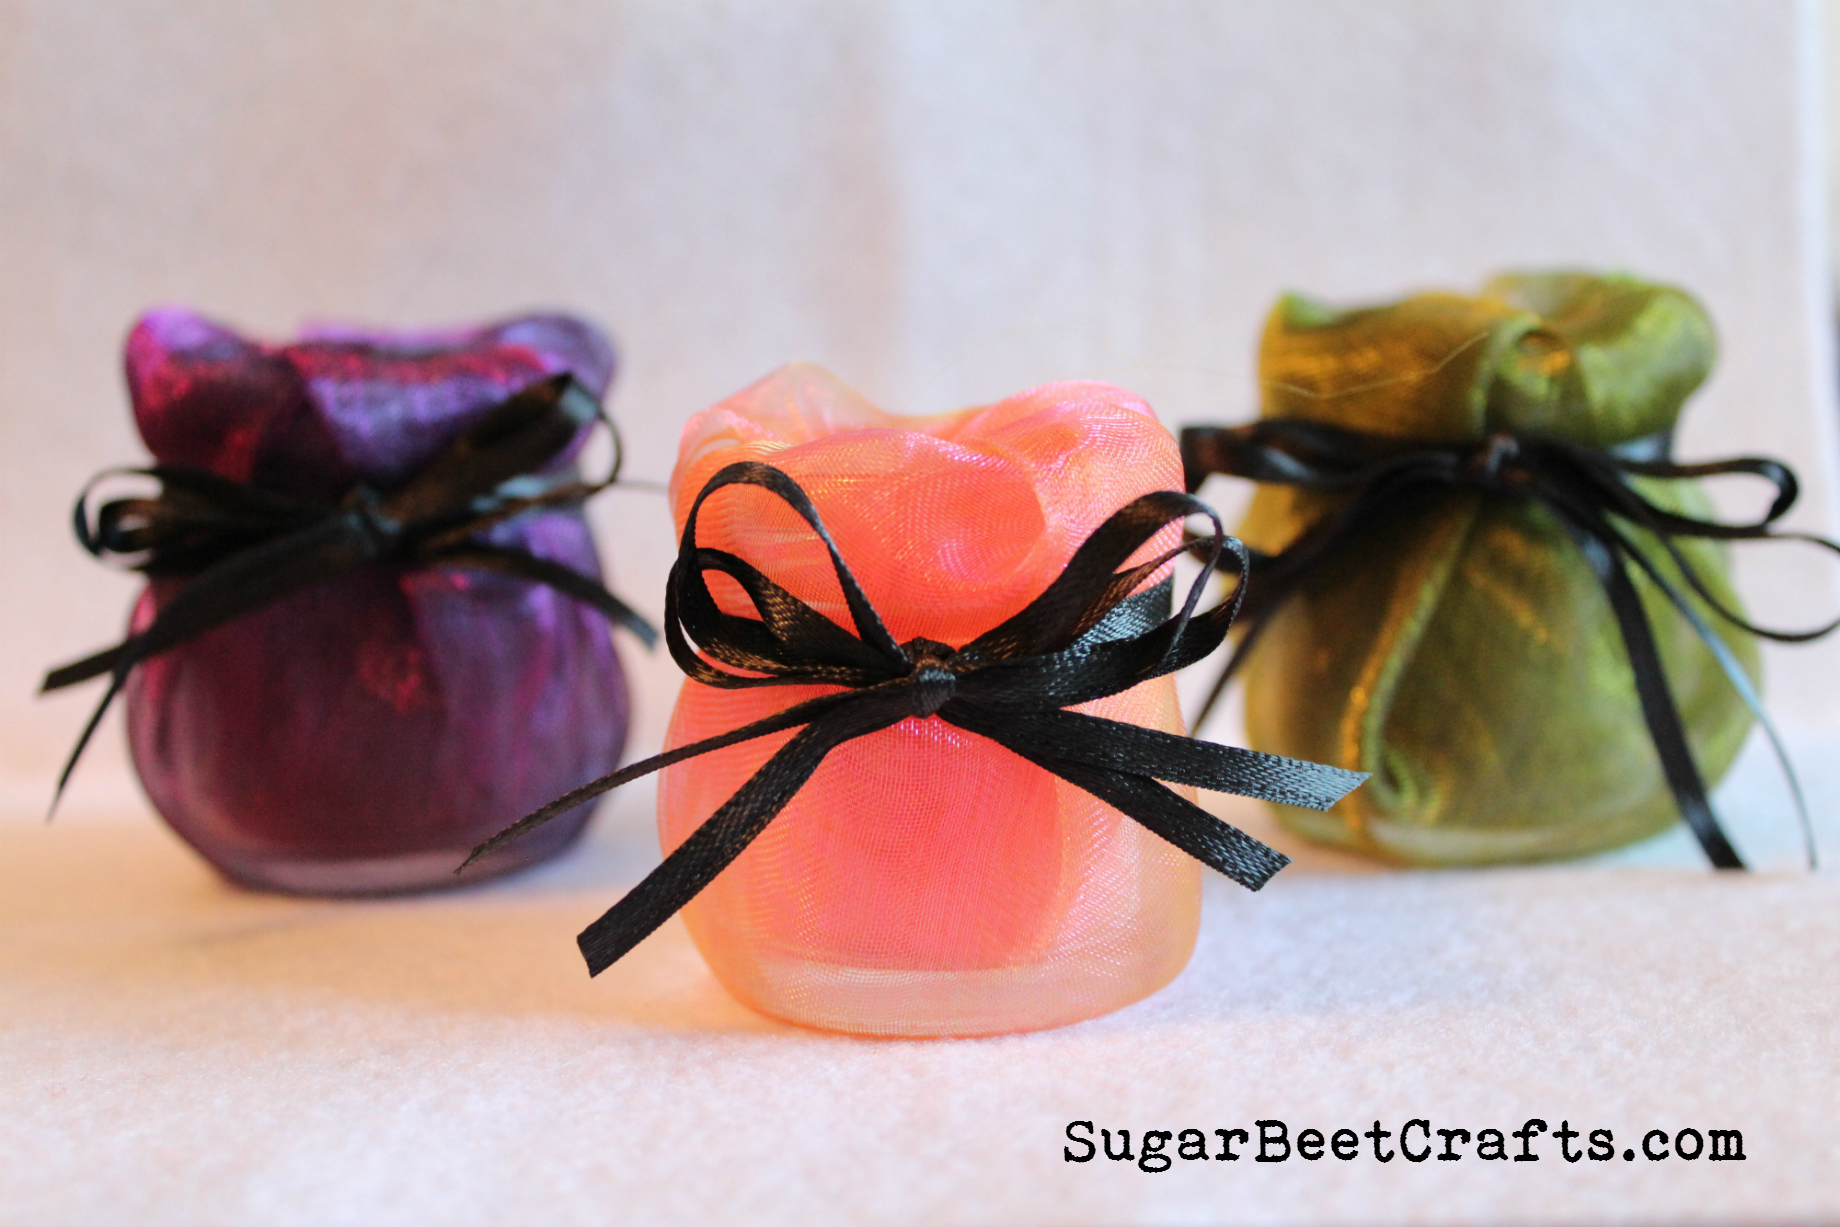
A super simple, very quick way to add a bit decor this holiday season!
Happy Crafting!!!
What simple ways do you like to dress up you home for the holidays?
Please Share I appreciate it!:


Adventures of Caterpillar Friend
This is just a fun photo post for anyone that did not see the daily updates of Caterpillar Friend on Twitter or Facebook:
How I met Caterpillar Friend…
So let’s start at the beginning. It all started with the balcony…

and my loved tomato plant that I grew from a rotten tomato.

The tomato plant grew to almost 6 feet tall! It was full of tomatoes and lots of pretty green leaves. One morning I went out to water the tomato plant and noticed half the leaves were gone, and the other half were all chewed up. So I explored and explored.
Then I found them, little caterpillars all over the plant!
I refuse to use pesticides or anything like that, so I just sat there picking them off for relocation to the park across the street.
But…I kept one…for the love of science, in a very cozy jar 😀

(No caterpillars were harmed during the making of this post!)


He didnt want to go at first but once he realized he could fly I let him go.
I love science! Do you?


You must be logged in to post a comment.