
Hi Everyone!
Can you believe it is already September!? I know I can’t! I recently started a new job and time has been flying by.
This is #4 of Cereal Box type crafts..if you missed the first three you can find them here:
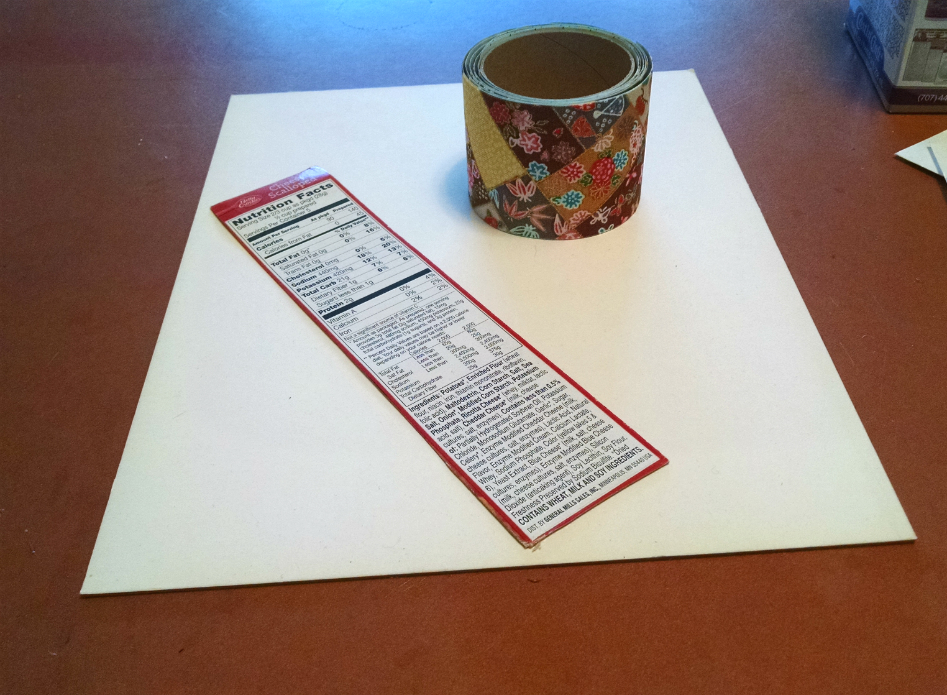
Cereal Box Makeover #3 – Cereal Box into Notebook in 30 minutes or less: https://goo.gl/YmTLlt
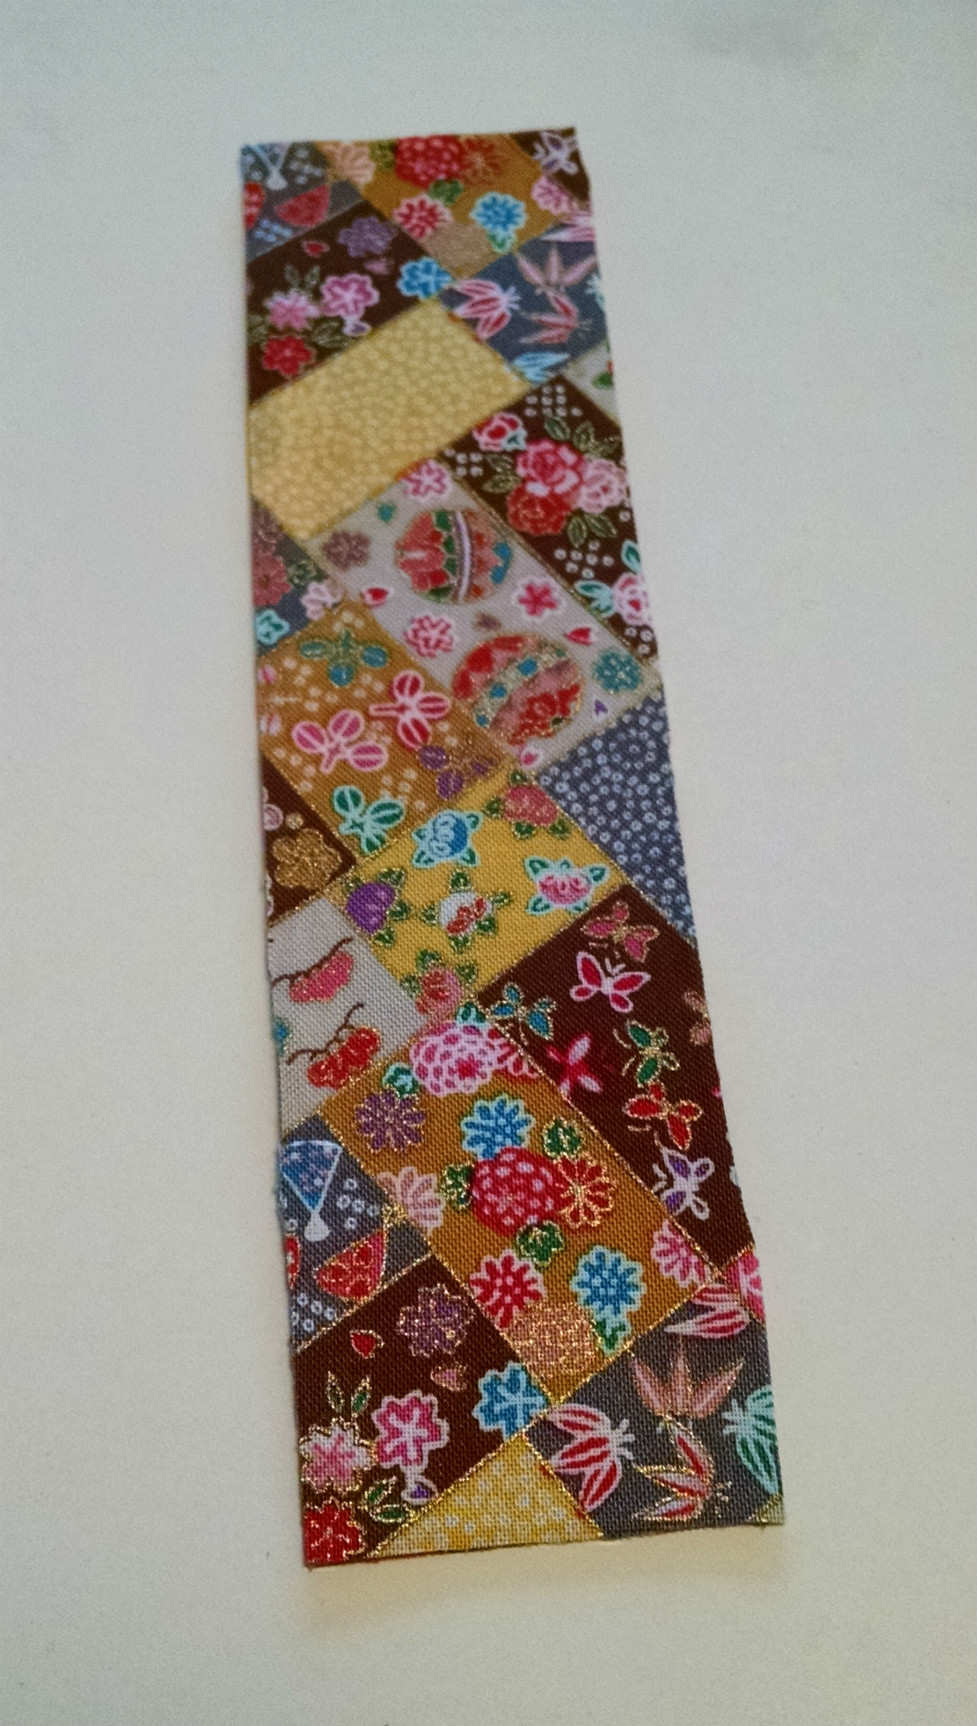
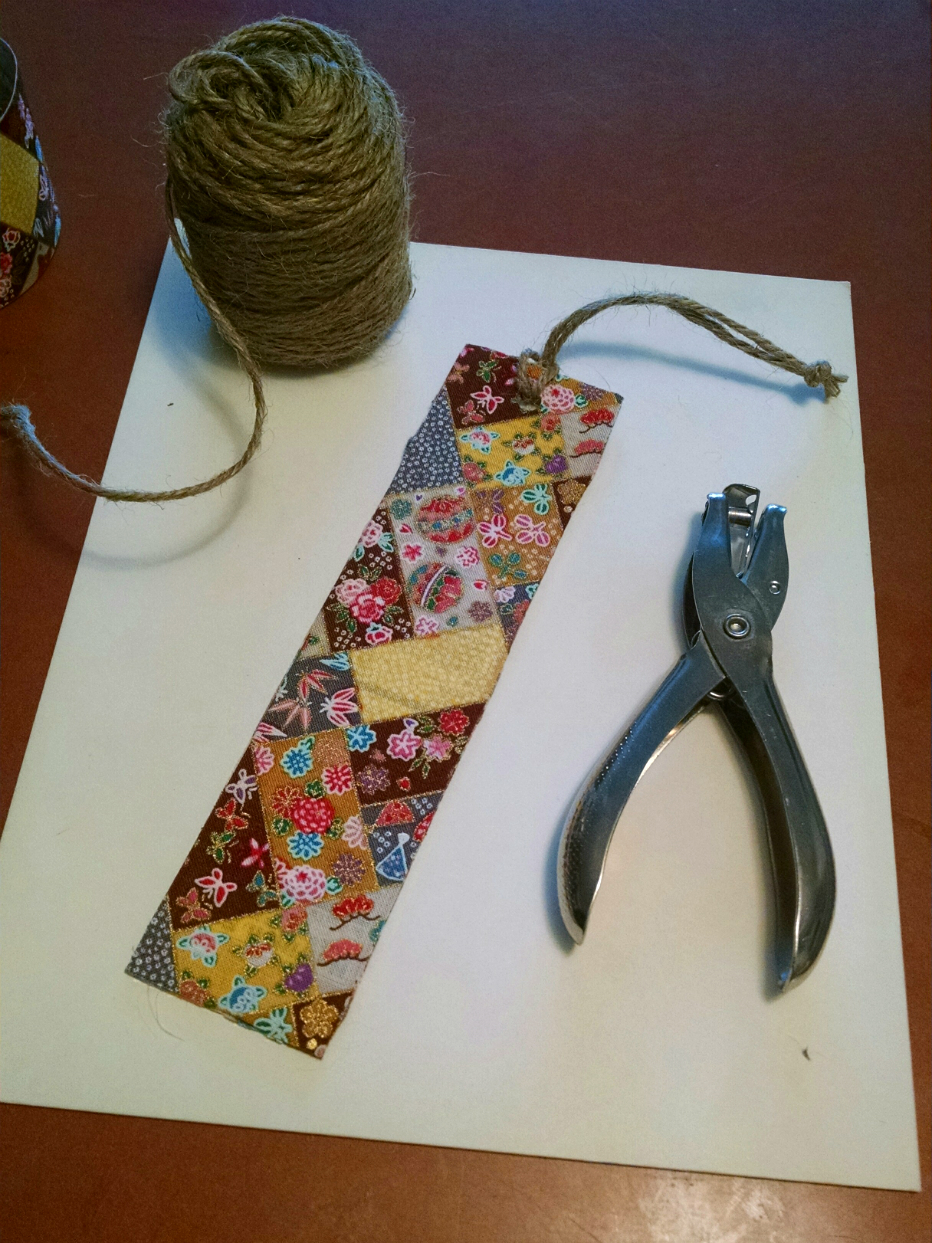
Cereal Box Makeover #2 Cereal box to bookmarks and dividers, you can find it here: https://goo.gl/brvJgG
If you missed Project #1 Cereal box to postcard you can find it here: https://goo.gl/F2CuK4
My next project well…It is much like the notebook, but a tad different. I don’t know about you, but I have been hoarding stationary since I was little. I love it, but I never use it. I always feel like I like the pages are too nice to use. So I just stash it. I use some of the sheets, but I always keep some. I realized this is an issue when I found stationary from the early 90’s when I was like 10. My name is Brandie and I am addicted to stationery!
Since I love it so much I thought I would collect it all up and make it into a weird journal. That way I can keep my pages all nice in a book, keep adding pages if I need to and still use them for personal writing. The unique and fun pages I have collected over the years will make me want to write. The random makes my head happy. 😀
So without further ado…
The cereal box personal stationary journal. Woof, that is a mouthful.
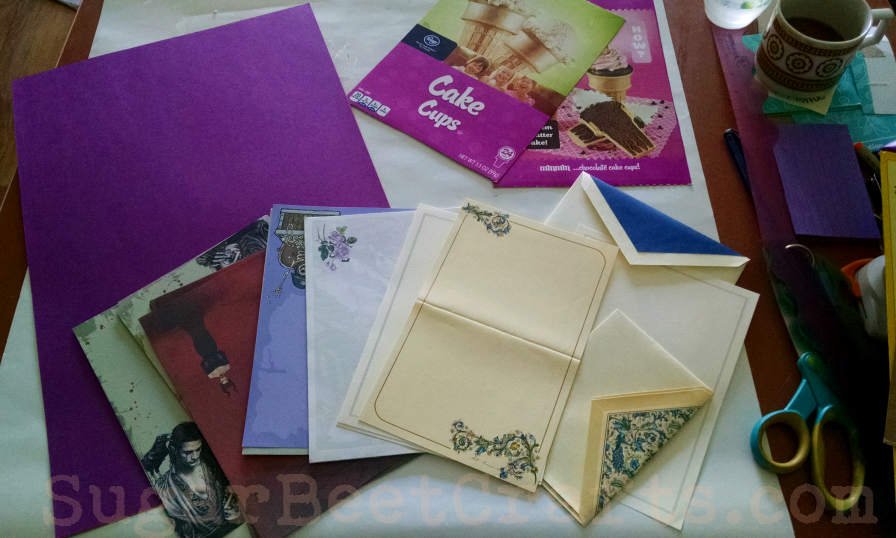
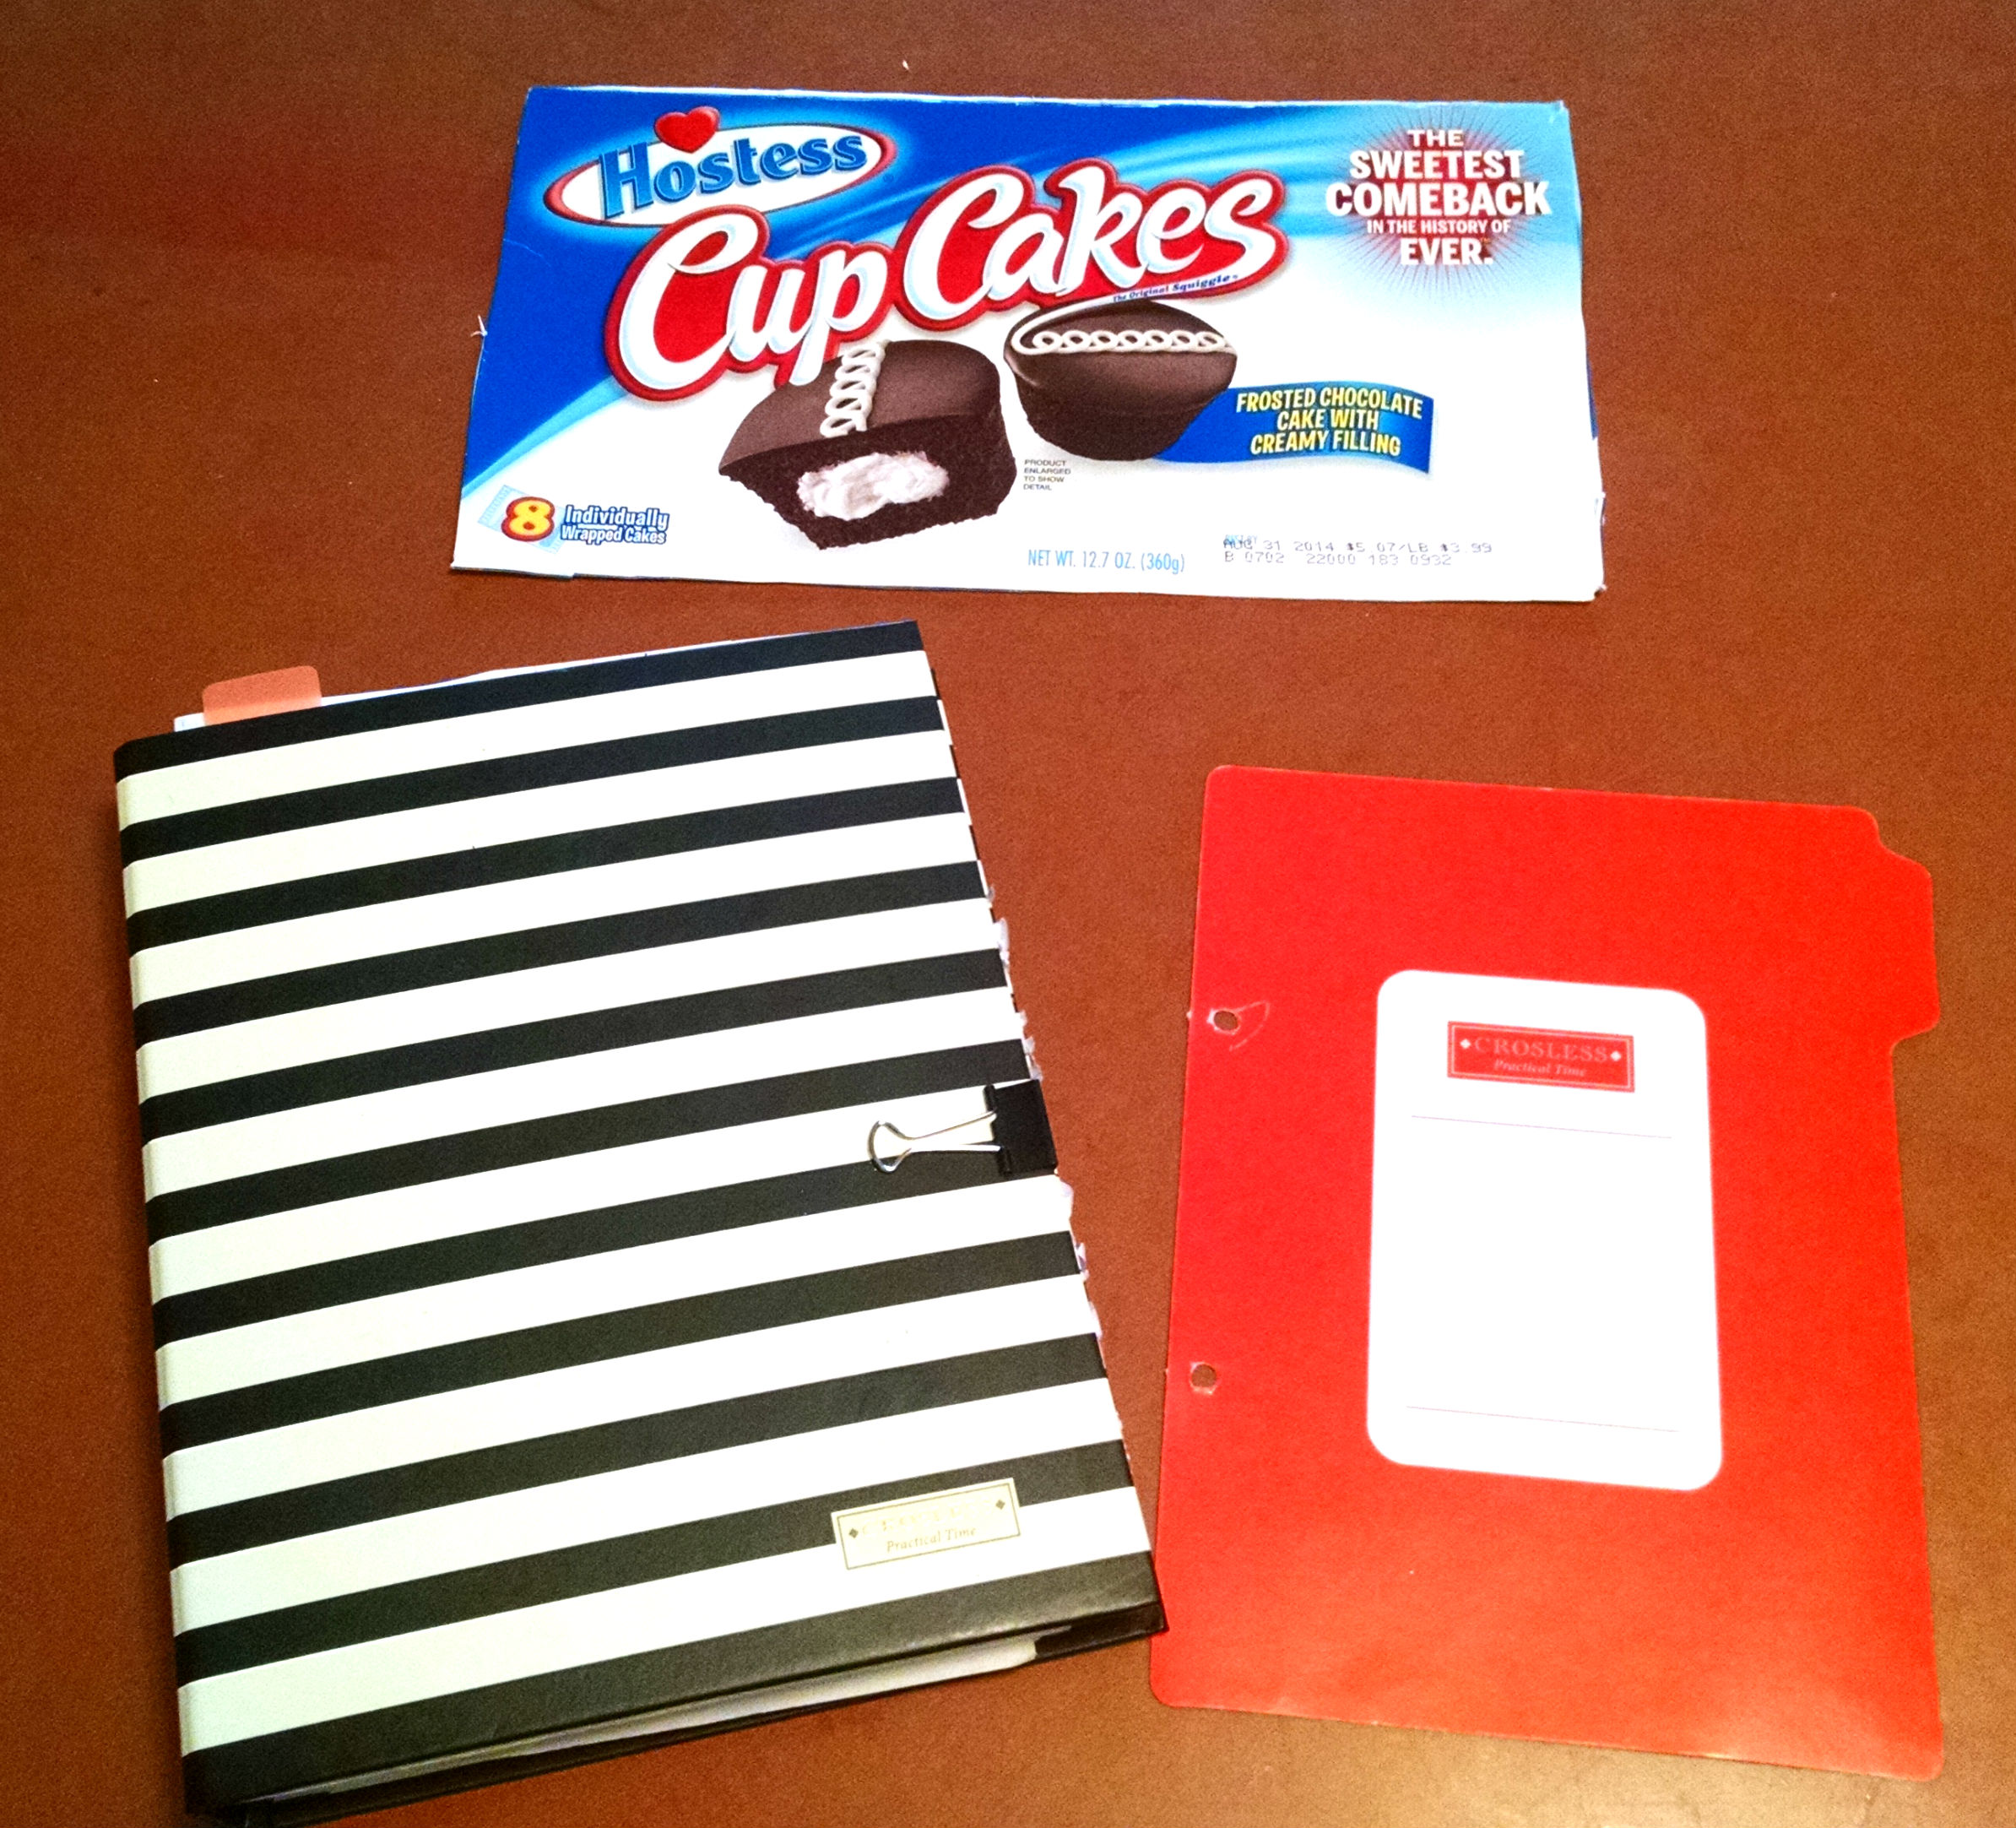
First Things First, You will need:
- A few cereal boxes or food boxes
- Scissors
- Ruler
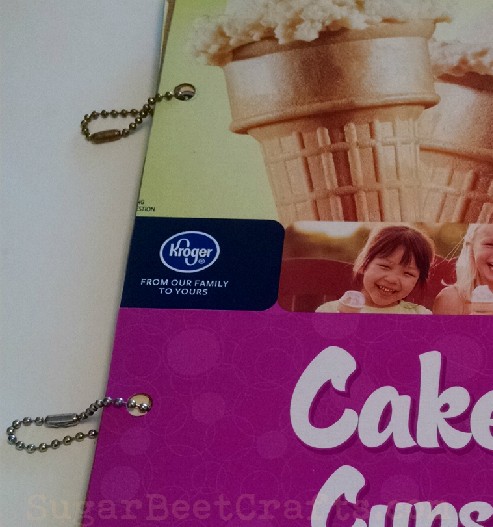
- 2 or 3 Small Ball Chain with Connectors
- Stationary Pages
- Envelopes
- Marker (optional)
- Mod Podge
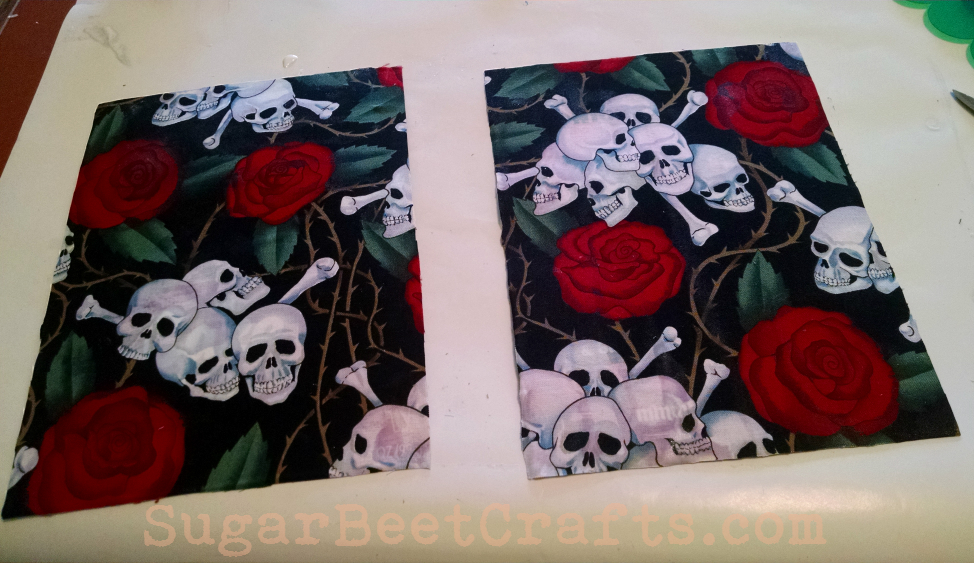
- Fabric
- Hole Punch
Instructions:
- Gather your supplies


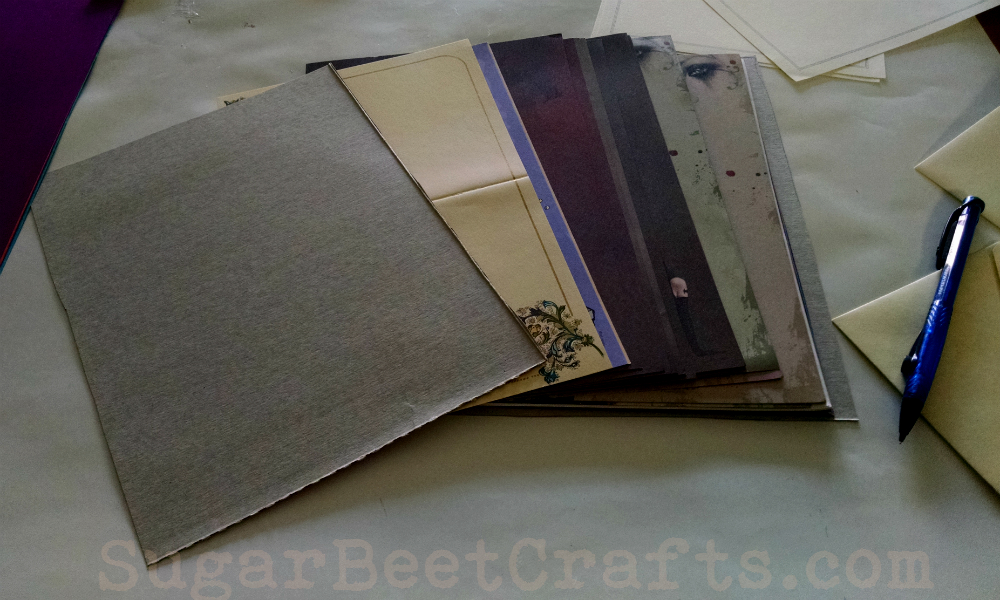
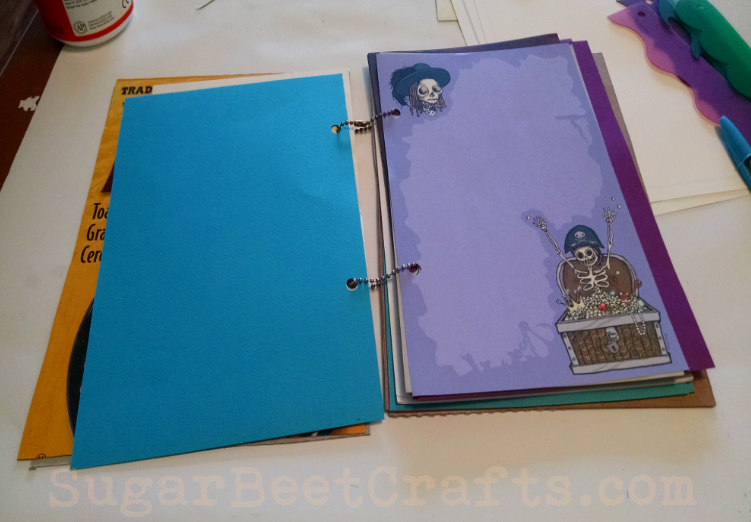
2) Find A box that will fit your stationary, use the ruler and cut the box down to size if needed.

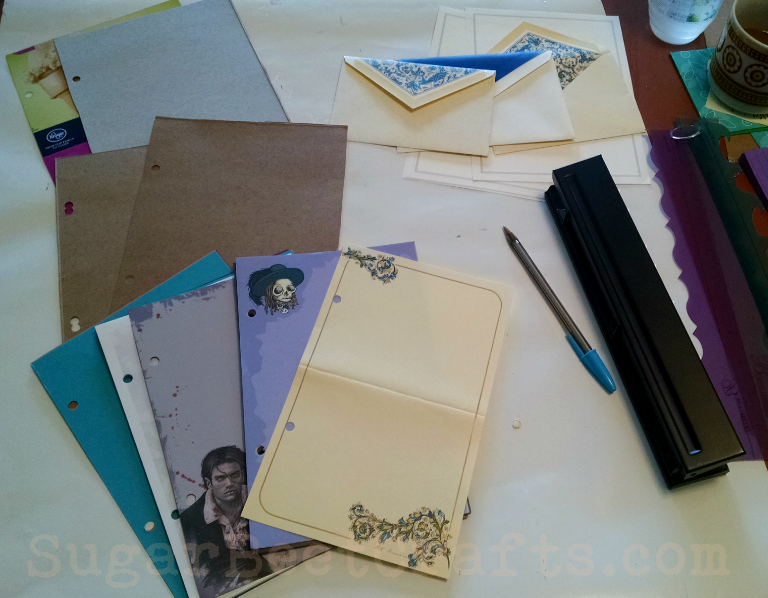
3) Next, Figure out where you want your holes. Then punch the holes on all your stationary, the front and back cover and any additional pages you may have.

4.) Link everything through with the small ball chain and connectors. Make sure you put everything in order. Front, stationary, back. Plus any extra dividers. You can add and move things around later if you don’t like the order. You only need about 2 inches of chain, if that, plus a connector for each hole.
And PA-Zow! Journal…

Close up of Chain and connector.


Now you can stop there…But I didn’t.
Although… I did do this kind of the lazy way.
What I should have done is:
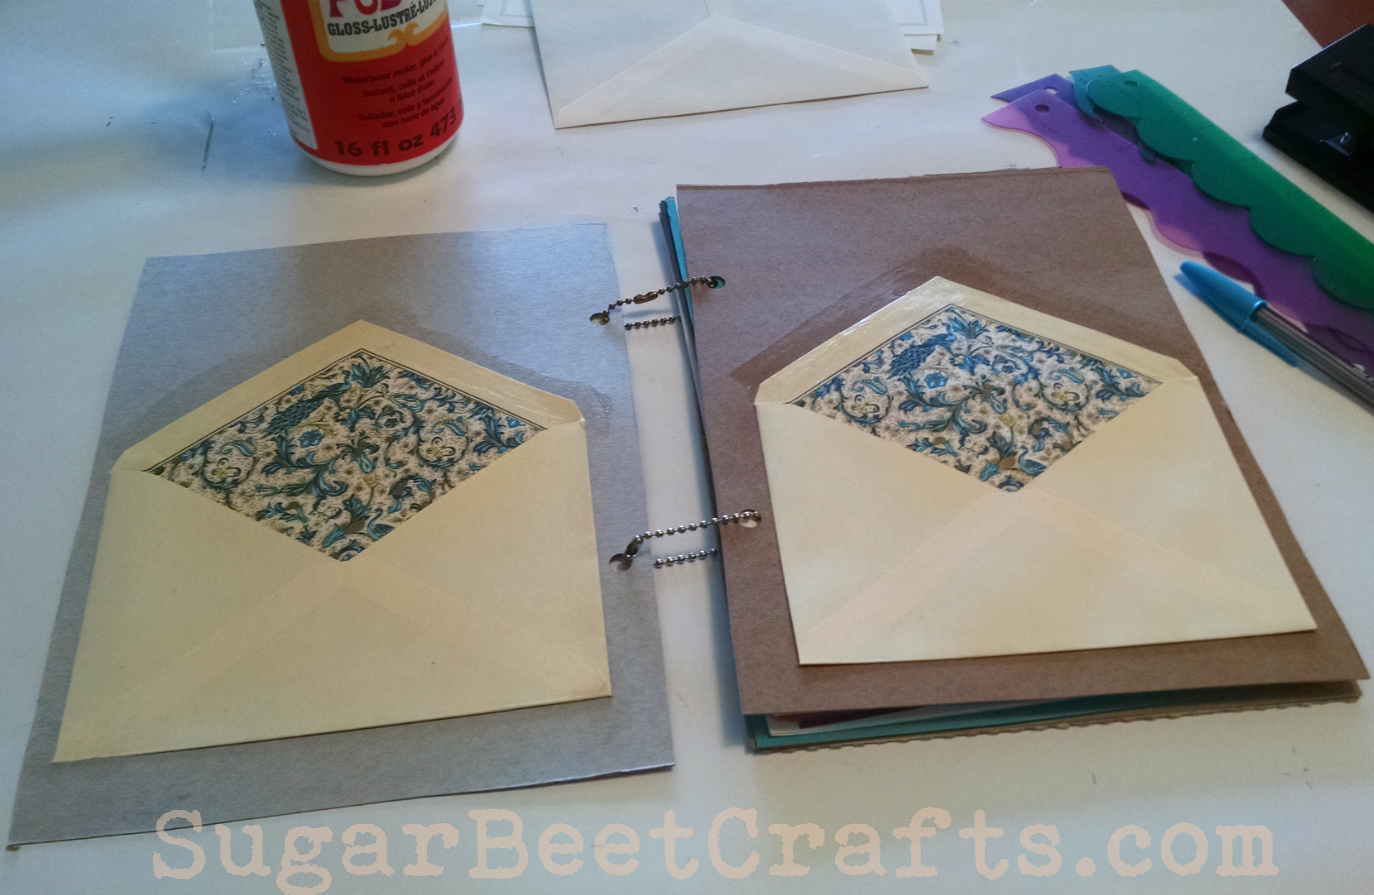
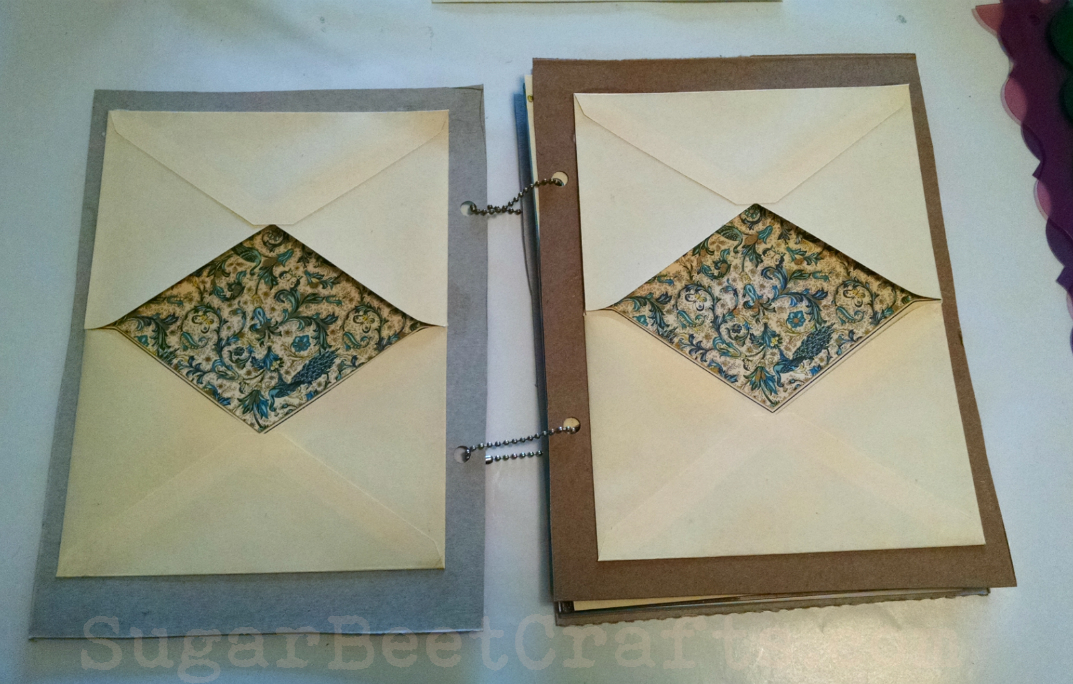
Mod Podge down a background page to the inside of the cereal box, and the front divider…then laid down the envelopes to make pockets, but I didn’t.
Instead, in my haste, I just Mod Podged the envelopes to the inside of the front cover, and the front of the first page, which is also cereal box divider.

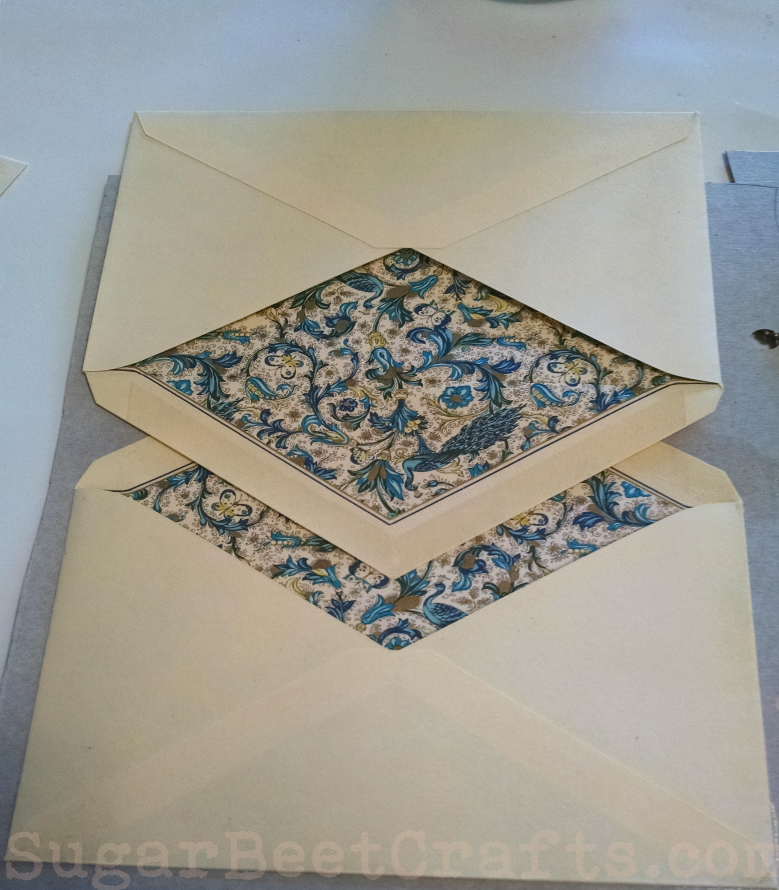
Then for a cool effect and to make the pocket a little bigger, I flipped another envelope upside down and glued that one down on top. I really like the way this part looks.

Let everything dry.

cool pockets
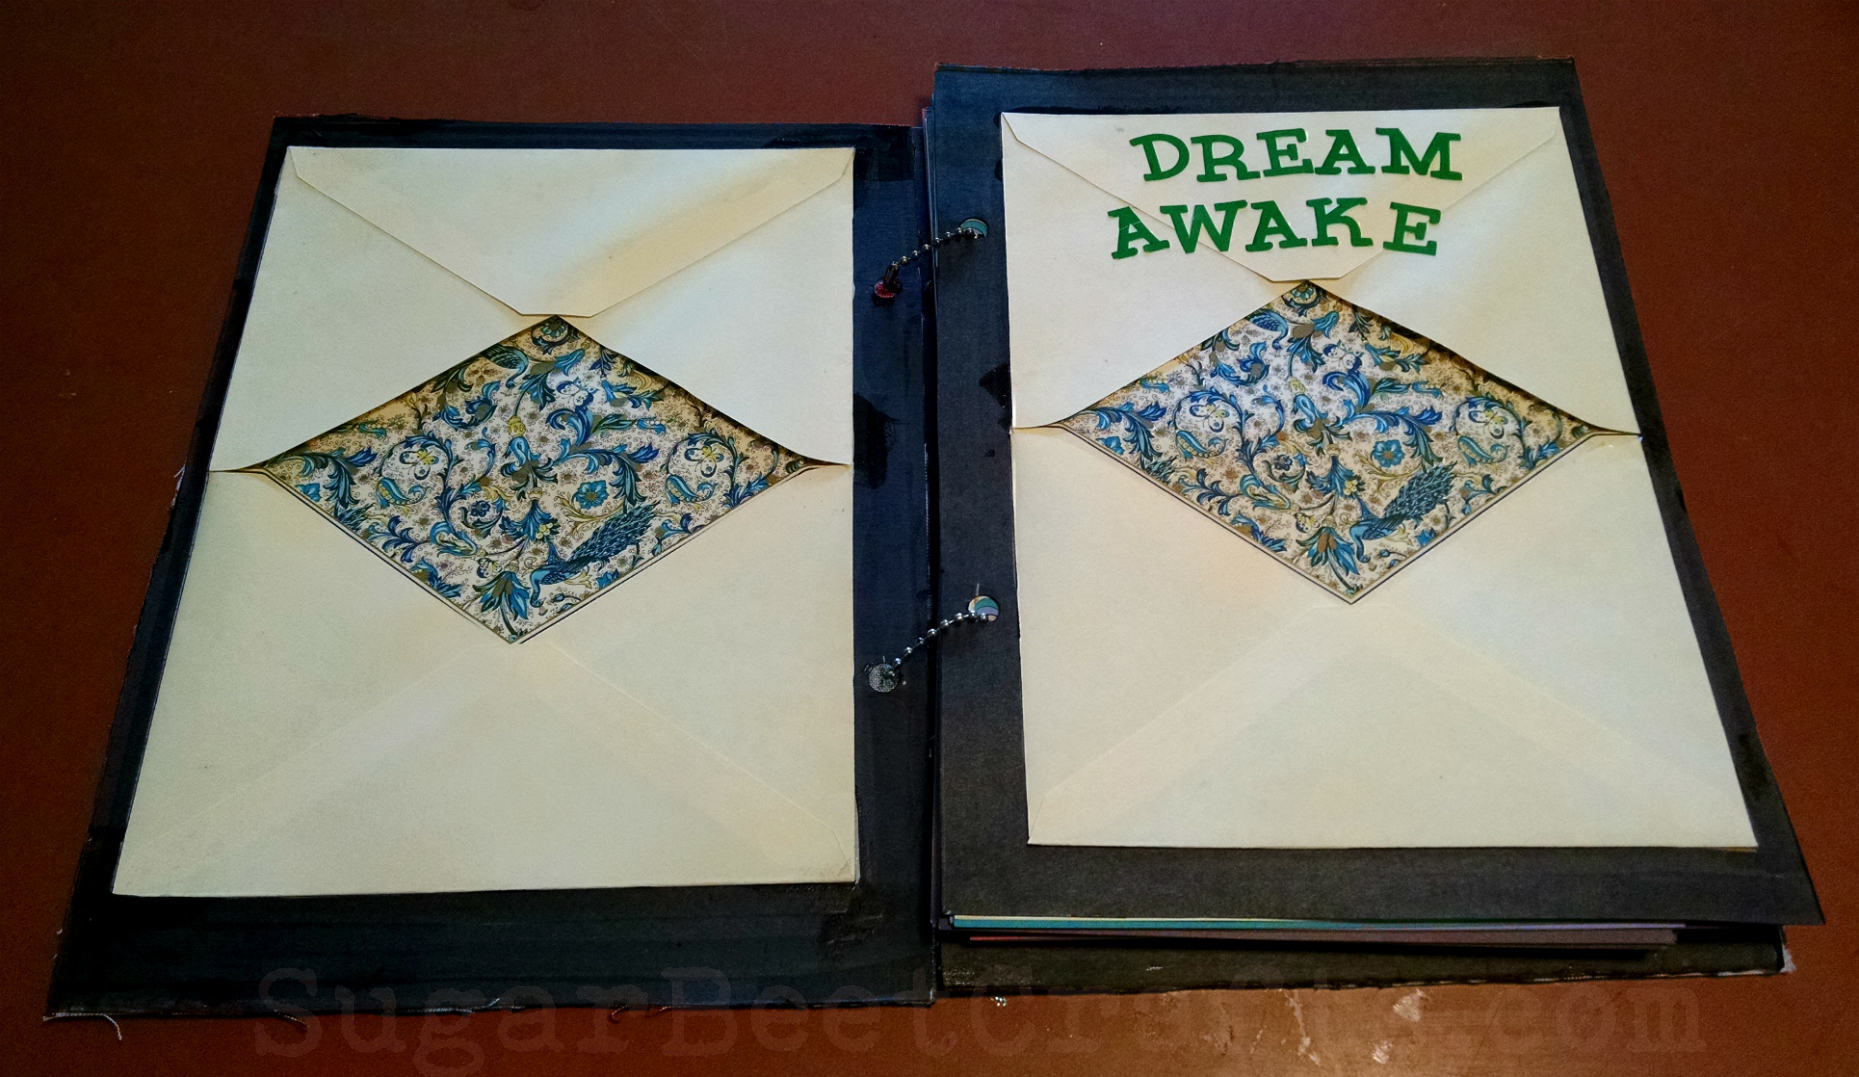
Also added a back page pocket.

Then, I decided I did not like the way the cardboard looked behind the envelopes, so I hit it with a black marker.
The quicker fixer upper 😀
Oh and added some stickers.

So then I removed the front and back cover, and Mod Podged Fabric to them.
Then Let dry.
Sorry there are no pictures, but you get the picture.

Once completely dry, secure everything with the ball chain and connectors again.


And there you go a handmade personal journal, made with your own collection of paper.
Now if you’re not like me, but still love this idea, Michaels Crafts scrapbook paper is great for this. You could also use old maps, old notebook paper, pretty much any paper. I am all for recycling old paper.
This is a fun way to make custom journals or gifts. I hope you enjoyed it.
This is the last of the Cereal Box Crafts, Next week we move on to something new.
Have a wonderful week everyone!
34.052234
-118.243685
Please Share I appreciate it!:

 Day 9 –Lily Pads
 Day 8 –


 Day 7 –


 Day 4 –


 Day 3 -Butterflies and Flowers :


You must be logged in to post a comment.