

Hello Everybody!
Sorry this post is a little late. I hope everyone is having a great week!
Are you crafting? I would love to hear about your projects.
So over the last couple weeks I have been posting on different ways to update and redo your everyday composition notebook covers.
To recap, You can find week one, Composition Notebook Re-do #1 Paper Decoupage, Here: https://goo.gl/qSGXIh and
Week two, Composition Notebook Re-do #2 Hand drawn cover, here: https://goo.gl/nzdMIP
This week was a total experiment, and I will not lie, I almost gave up thinking it was going to be a craft fail, but I kept going and actually love it.
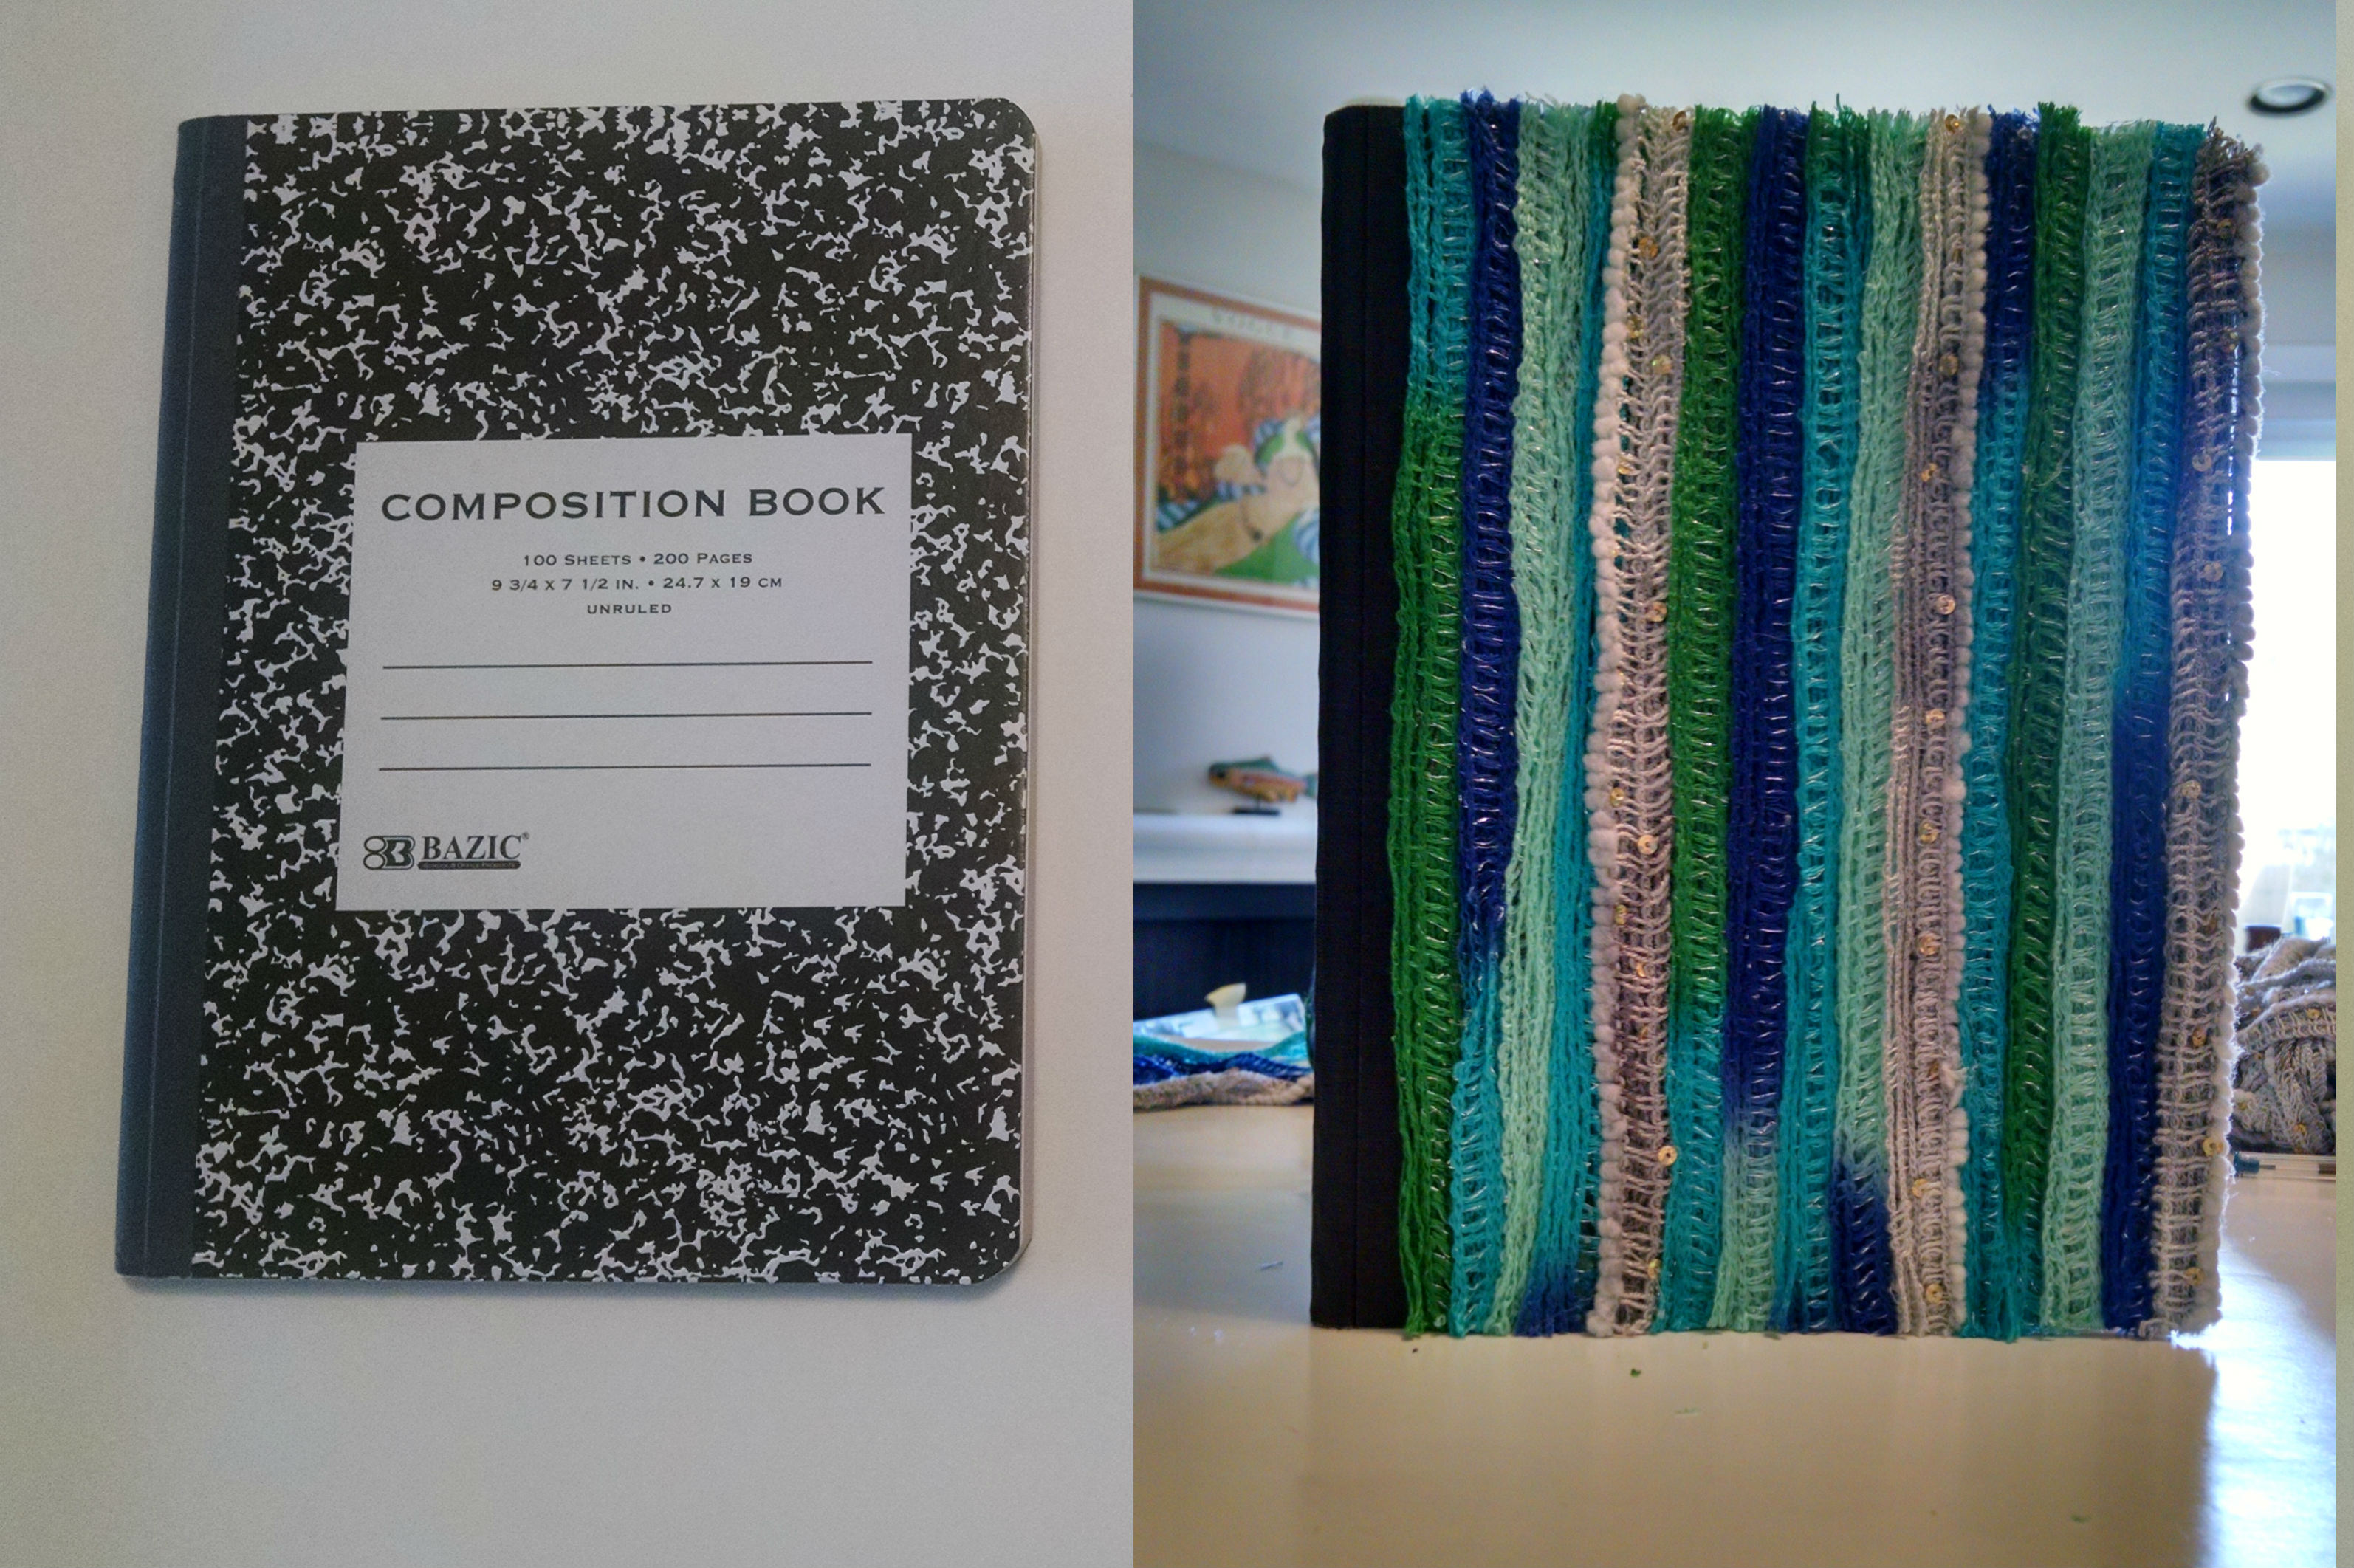
This week’s Composition Notebook Cover redo is with Yarn!
Now the yarn I had laying around I found in a clearance bin. Its called Red Heart Boutique Sashay in twist and platinum sparkle, you can still find it online if you like the look of this particular project. The description in Mary Maxim describes this yarn as “A unique kind of yarn with a touch of metallic that creates beautiful ruffle scarves and accessories with just one ball.” Its almost netted and has a neat effect.
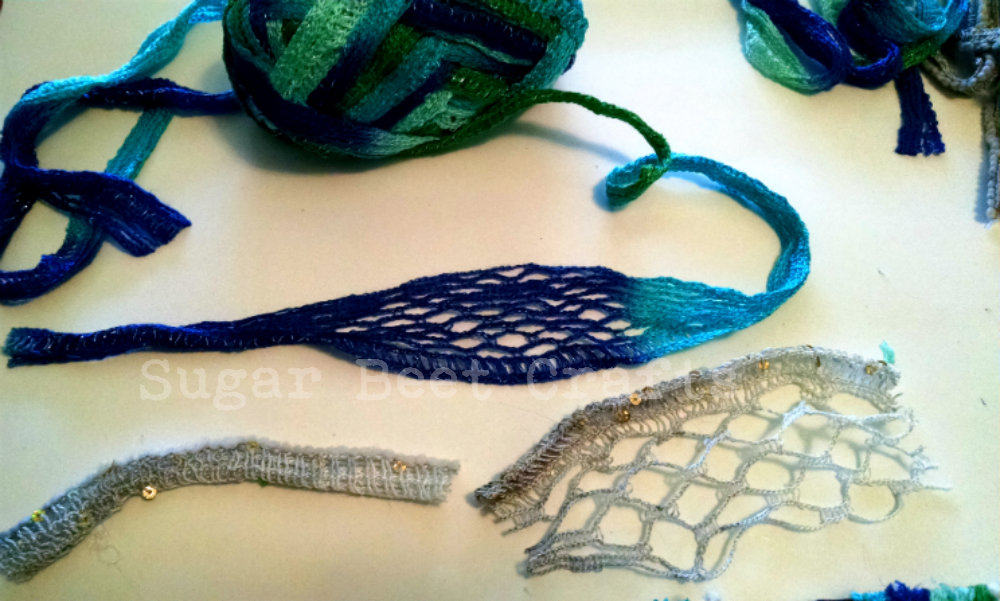
Red Heart Boutique Sashay
Its not regular yarn but you can absolutely use regular yarn, it is just going to require a bit more patience and glue sticks.
Materials Needed:

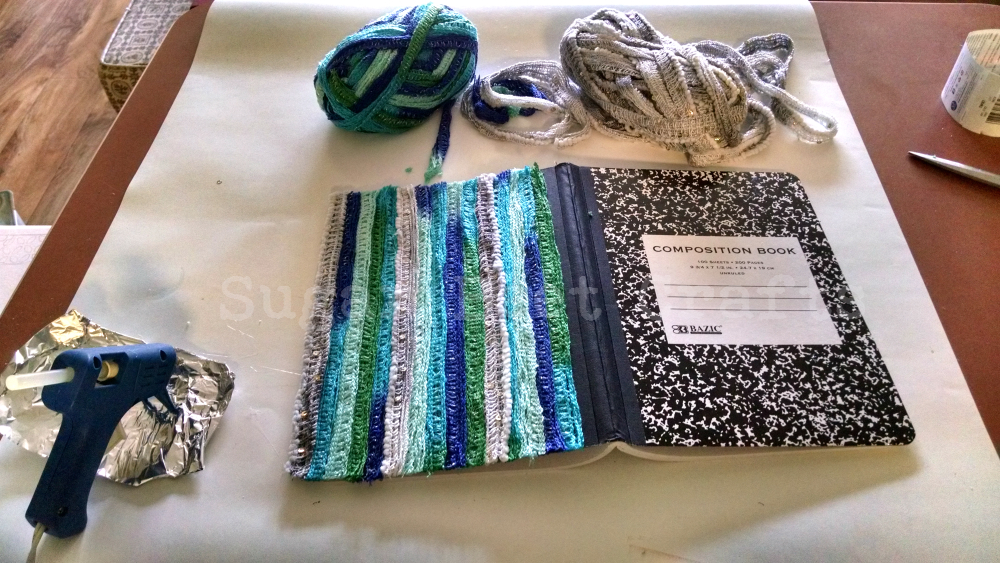
yarn, scissors, glue gun & sticks, notebook
- Yarn (Any will do but I used: Red Heart Boutique Sashay in platinum sparkle and in twist Link to Yarn)
- Scissors
- Hot Glue Gun
- Glue Sticks (at least 15)
- Composition Notebook
This project is super duper simple. It requires more patience than anything, and you are working with a hot glue gun so if you’re doing this project with children keep an eye out.
I chose to line up my yarn vertically. You can do whatever your heart desires. If you are using regular yarn you can make pictures and patterns.
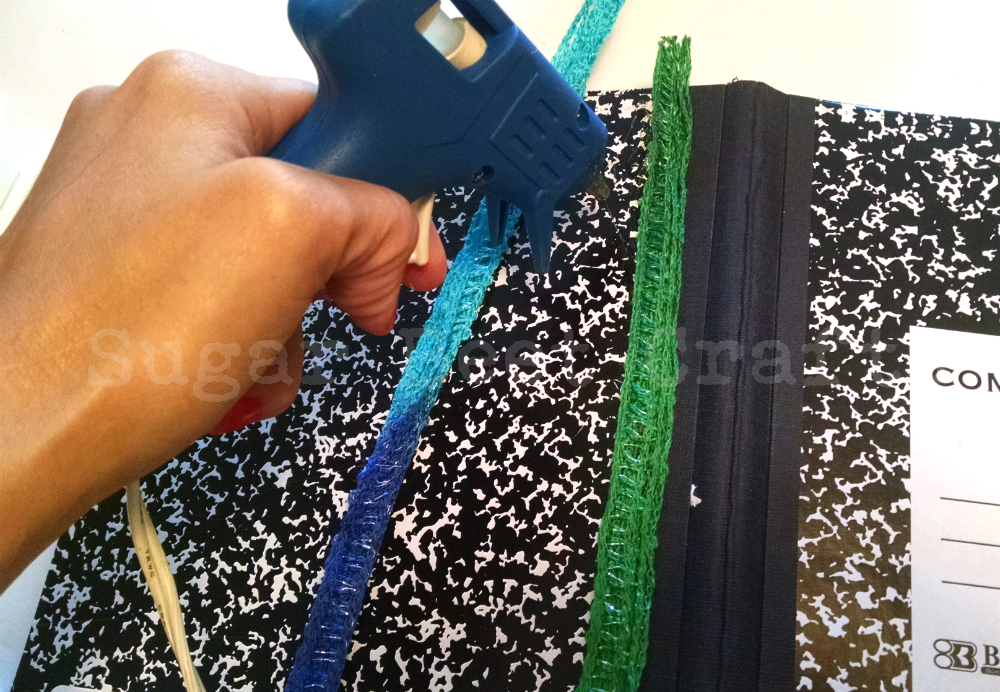
So you just heat up your glue gun and start laying down strips of glue. I would work in small patches at a time.

Lay out about a two inch or so line and then carefully lay the yarn on top. Try not to push right away, you will just burn your fingers, so wait a few seconds then you can lightly press.
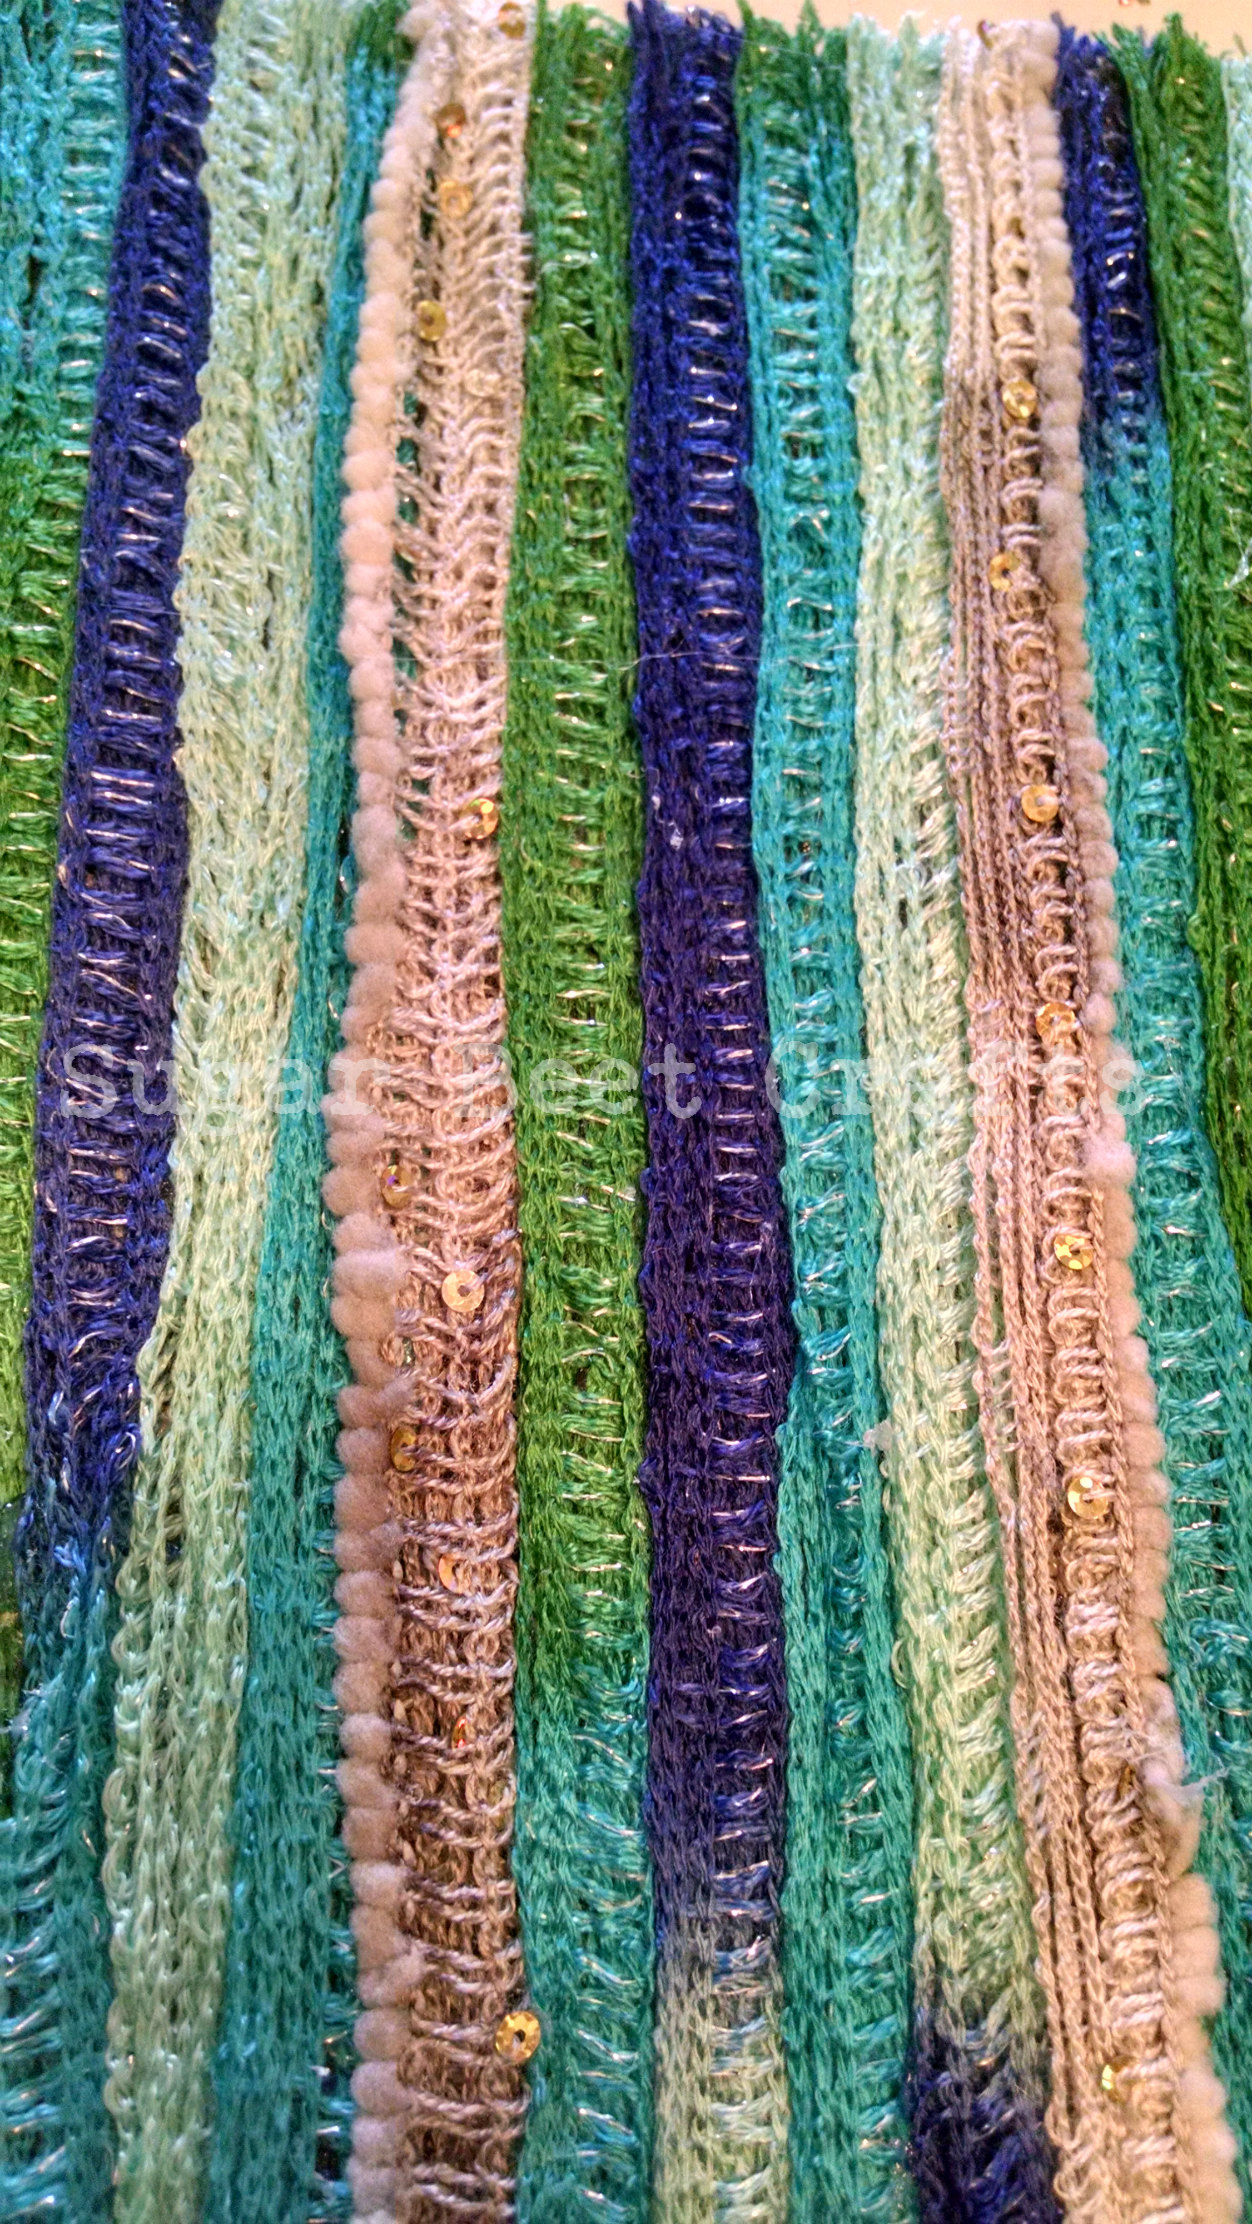
I chose to lightly overlap the layers. I also kept the yarn bunched up not pulled out.
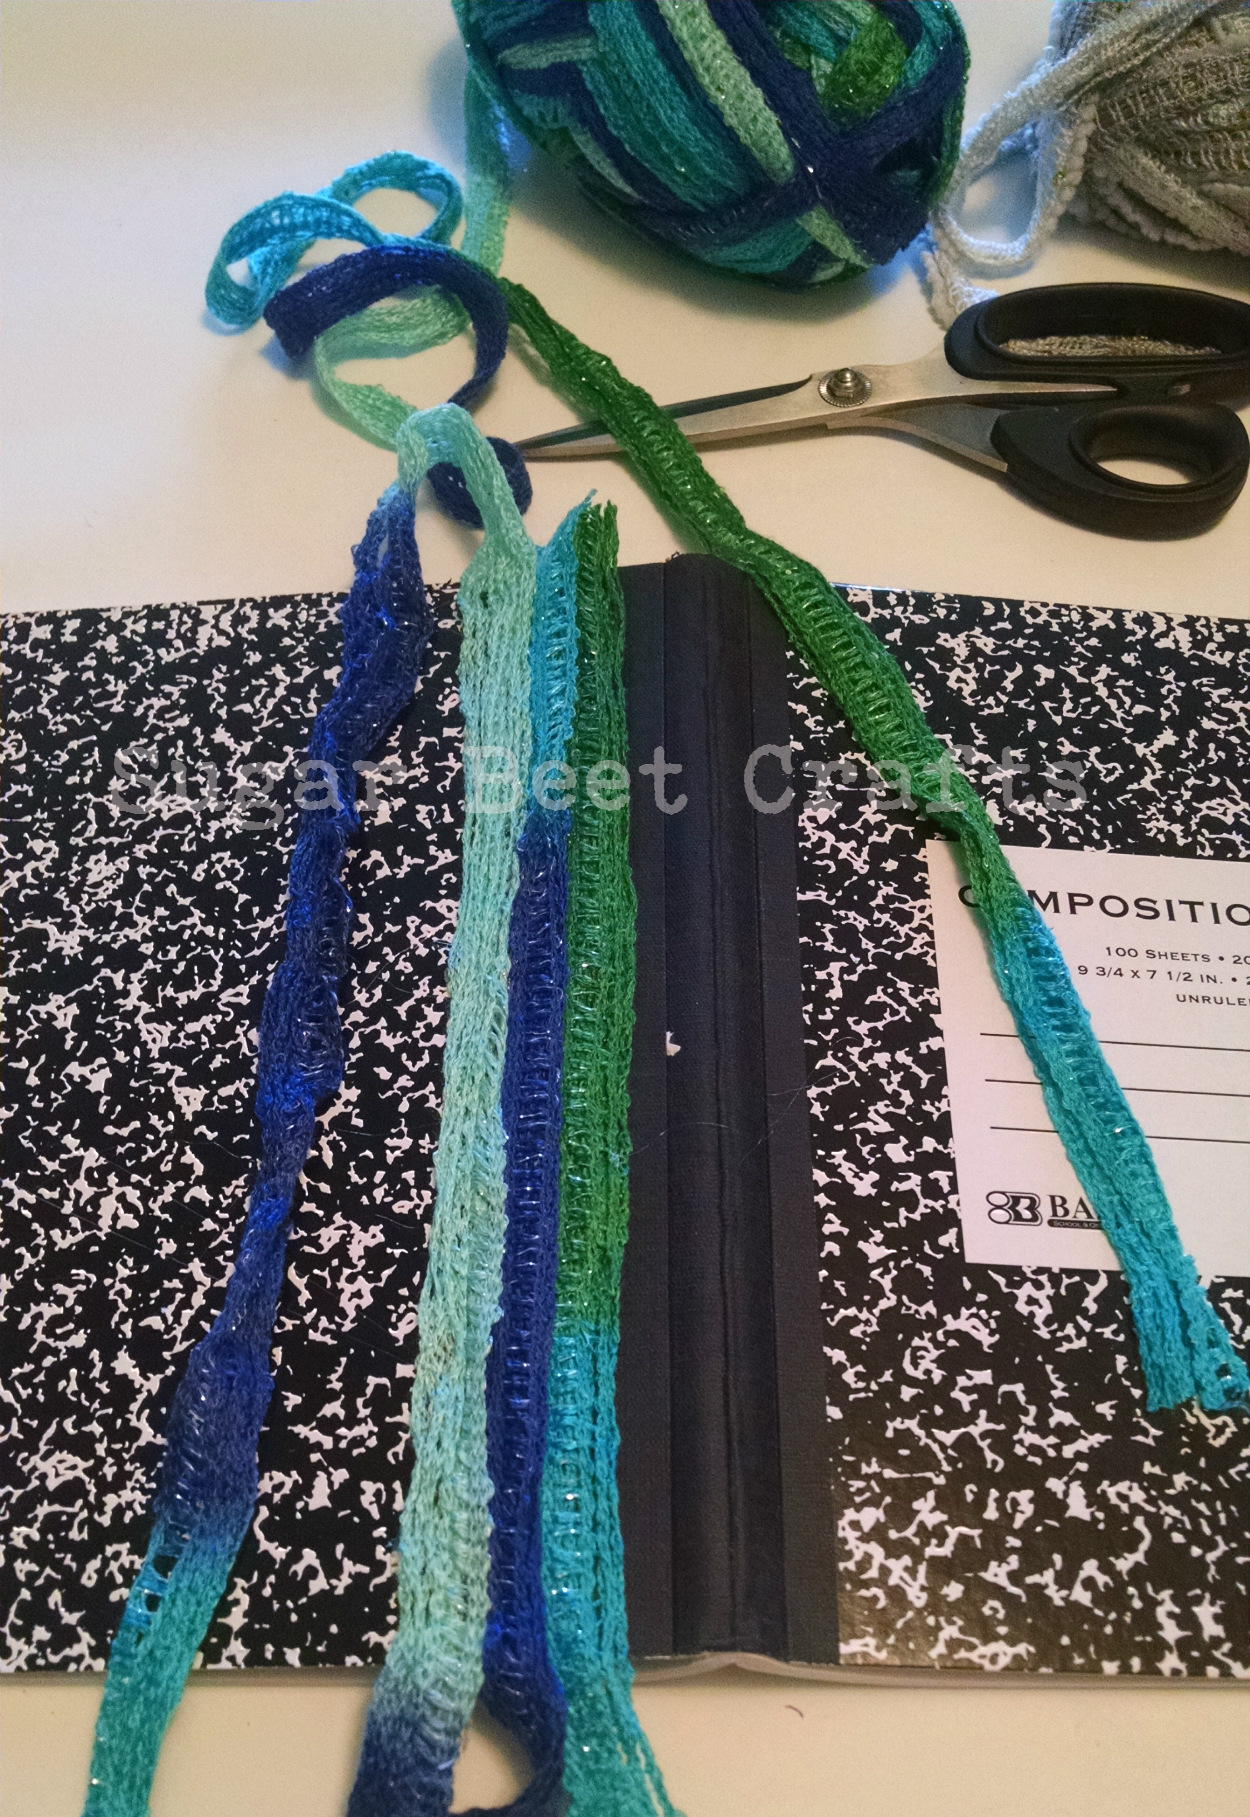 Keep on going… I know it looks weird.
I did four lines of the twist color then one line of the platinum sparkle.
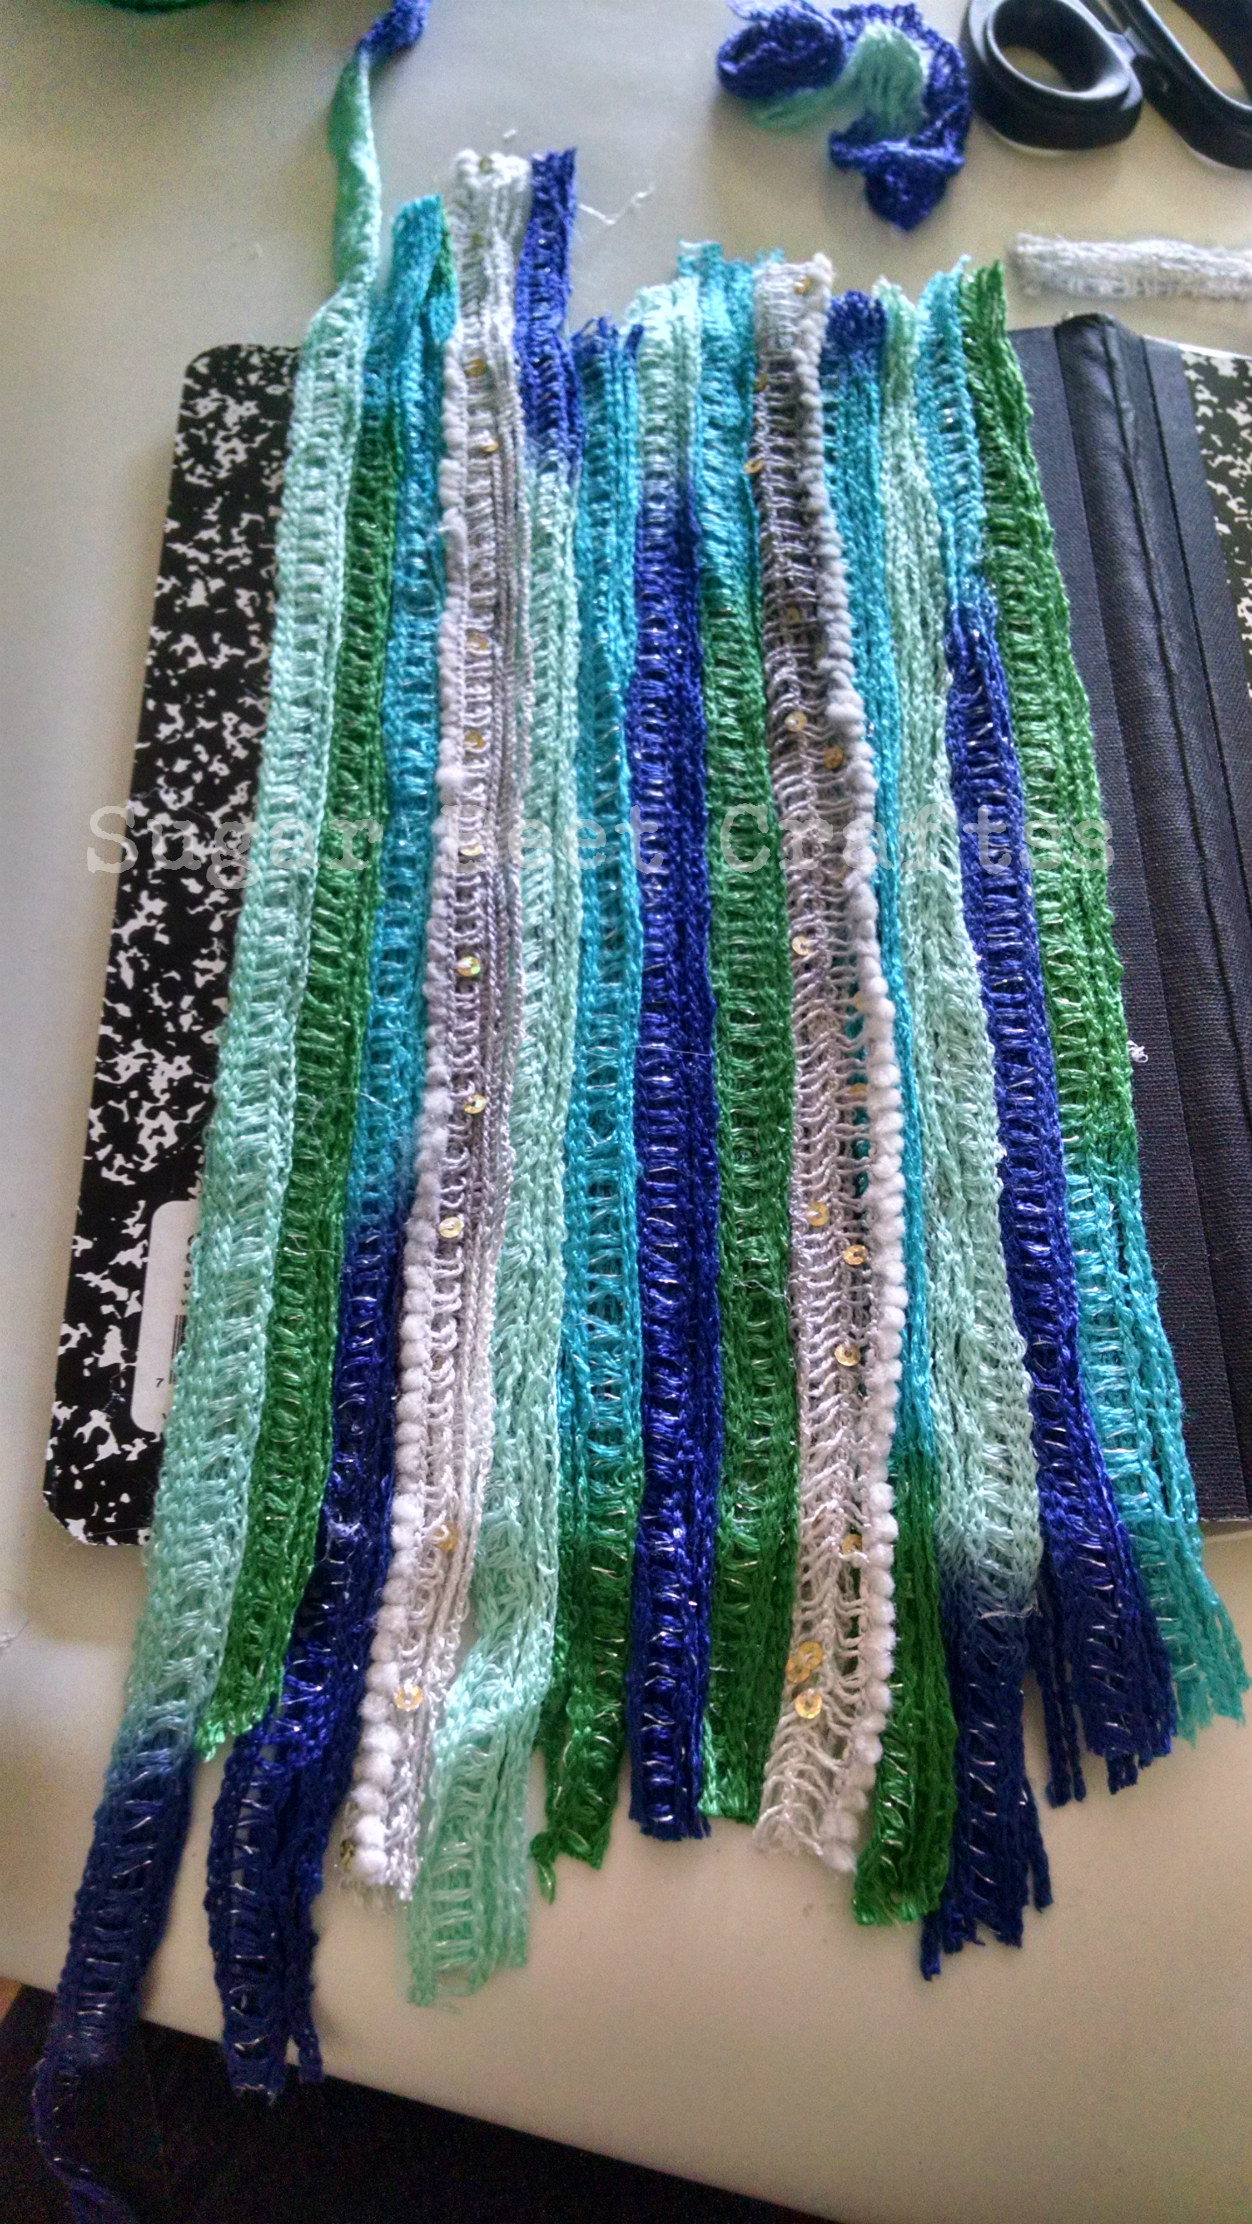
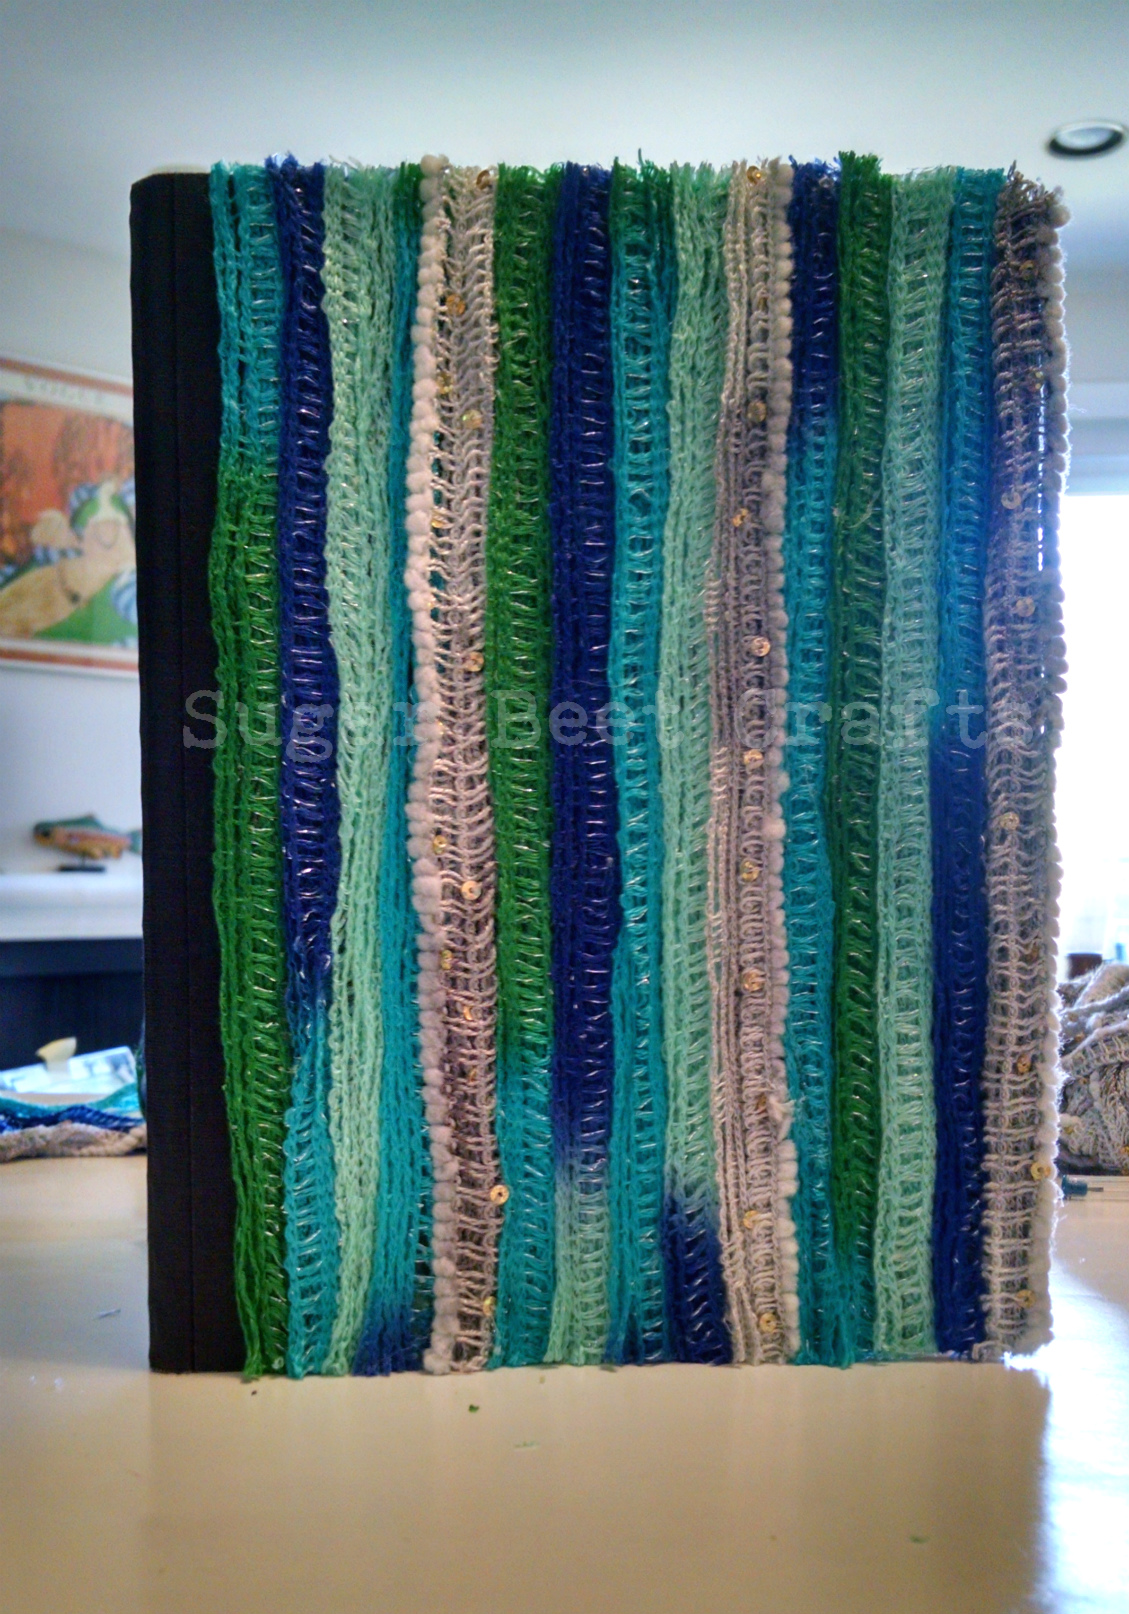
Don’t give up yet…once you are finished with one side make sure the edges are secure and cut off the excess. If you glue around the notebook edge right against the edge then cut you will get a cute frayed look.
cut off the excess
Now for the front!
But first…get up and stretch, go get coffee or do a few neck rolls, work out that neck so you don’t get a stiff neck staring at this project 😀
So back to the notebook 😀
Keep on gluin’…

OK, so here is where I get honest. I ran out of glue sticks right at the point pictured above, D’OH!!!!!
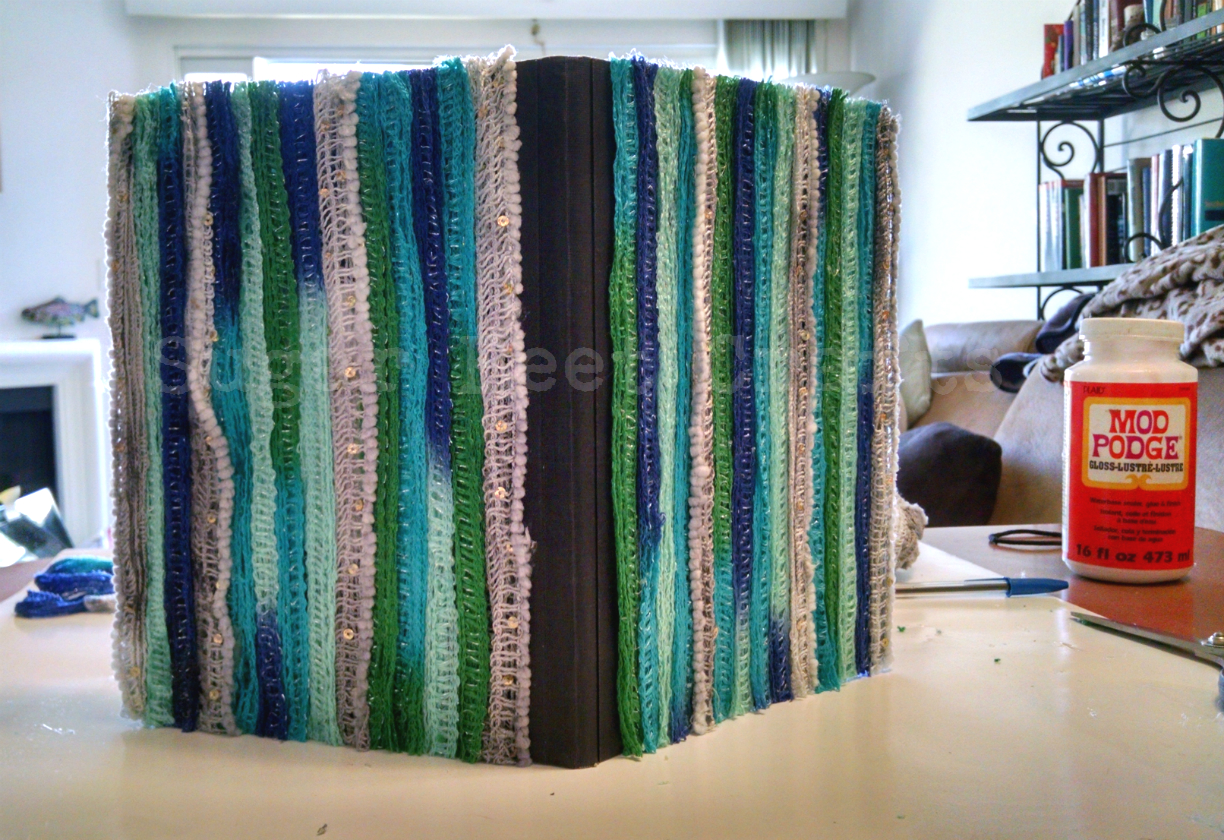
If this happens to you, never fear, you can use Mod Podge like I did or Elmer’s glue or anything that will dry clear. I added a pretty thick amount to the remaining piece of the notebook then laid out the rest of the yarn.
Once everything is down…resist the urge to touch it. Just walk away for a few hours, once it has had time to sort of set then you can come back and lightly press everything down. Then walk away again until it dries completely. (You can do the whole cover this way, but it will take a steady hand and more patience than I have). Hot glue is quicker and much easier.
and TA-DA!
Now you have this soft, fun, hippie, boho, right out of the 60’s awesome notebook. And when all those people ask you where you got such an awesome notebook, you can say “I made it!”

Who’da thought?
I am so glad that I did not give up and stop this project because I thought It was too weird in the beginning. I think this one is my favorite.
I learned two things from this project:
- Do not give up on a vision, not matter how silly it might seem in the beginning.
- Make sure you have enough supplies!
Have a wonderful week everyone. I hope you enjoyed this weeks project.
I would love to see any of your projects or hear what you think.
Keep Craftin’!


You must be logged in to post a comment.