

Hi Everyone!
I hope your having a fantastic week so far!
So last week was the first of a series of posts on how to re-decorate your composition notebooks. The first Composition Notebook Re-do was done with Mod Podge and different kinds of paper, then stuck mixed media style to the front and back covers.
If you missed it, you can find it here: Composition Notebook Cover Re-Do #1 (Decoupaged Paper Mix Media Style) Composition Notebook Re-Do #1
This week’s re-do is all about doodles. I am going to show you how easy it can be to customize your composition book with your own artwork.
I love to doodle, I have notebooks full of random drawings, scribbles and doodles. So it was only a matter of time before they wound up on the front covers also!
So let’s get going 😀
Materials Needed:
- Composition Notebook
- Pencil
- Eraser
- Sharpies or any Permanent marker. I use Micron by Pigma its Archival ink, which means its permanent and it also dries really quickly. Quick drying is important because the last thing you want is a big marker smear, its fixable but frustrating. I also use sharpies they work well also. You also want to go with a finer tip, especially if your getting into detail. If not go with whatever you like. I try to keep a variety of sizes around.
- Watercolors or Acrylic paint. (I used watercolor easy to work with, easy to fix mistakes, and dries fast)
- cup of water for your watercolors
- paint brushes
- Sticklers Glitter glue
- Acrylic Gesso
- Clear Coat Spray Sealer
Steps:
Grab your Gesso and completely cover your front and back cover. You may need to do two coats. If you do make sure you let the gesso dry between coats.

Cover the entire front and back cover with Gesso and Let dry.
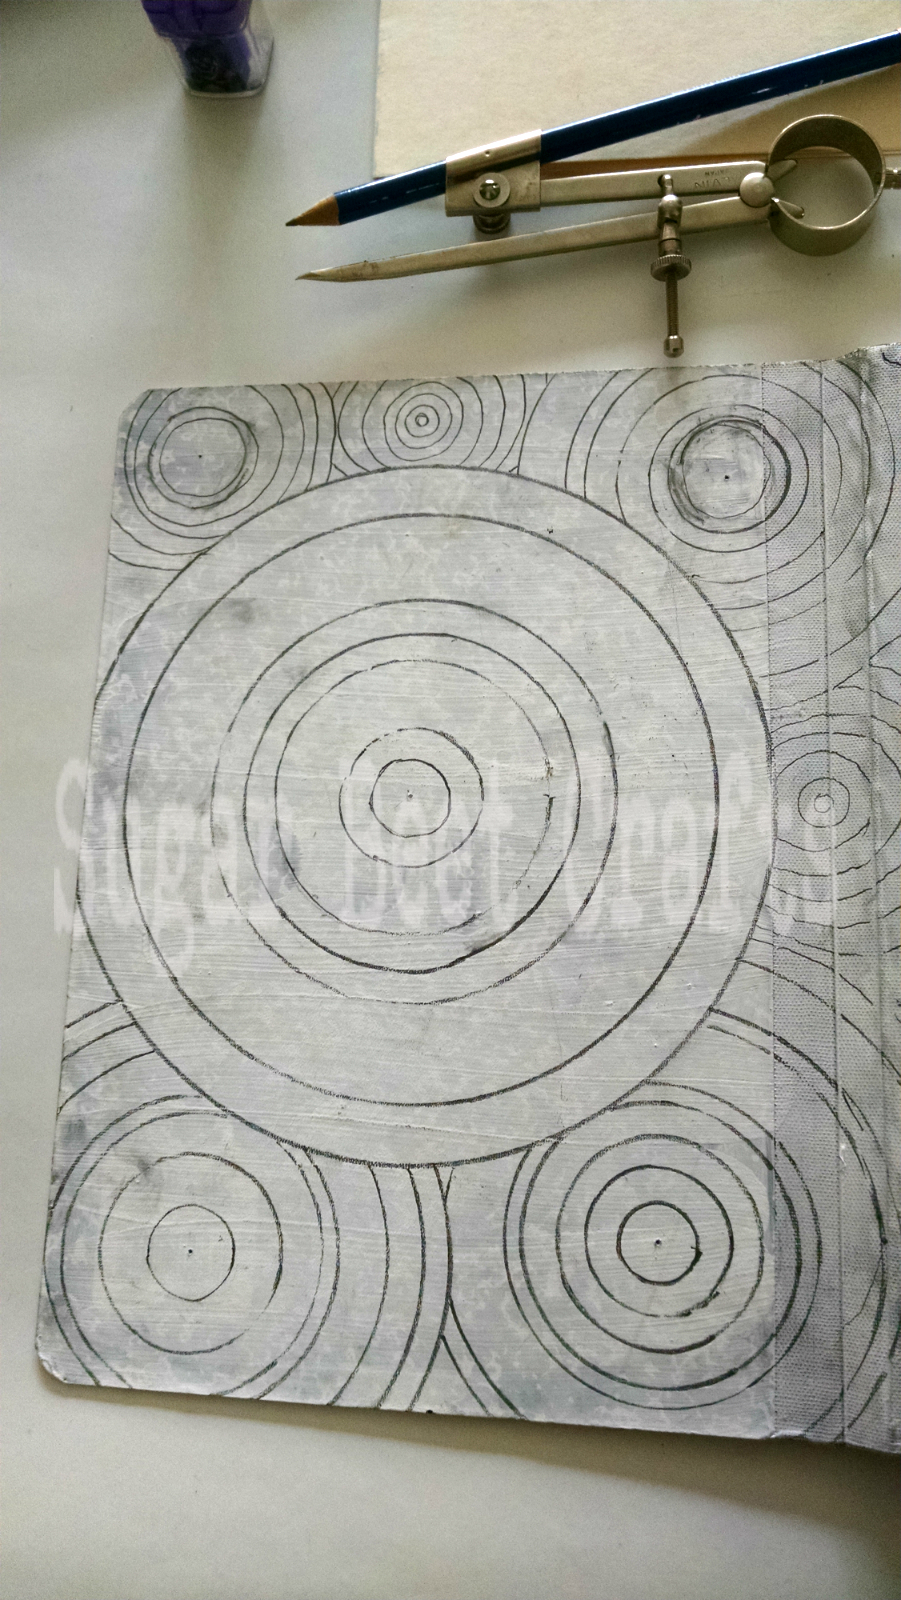
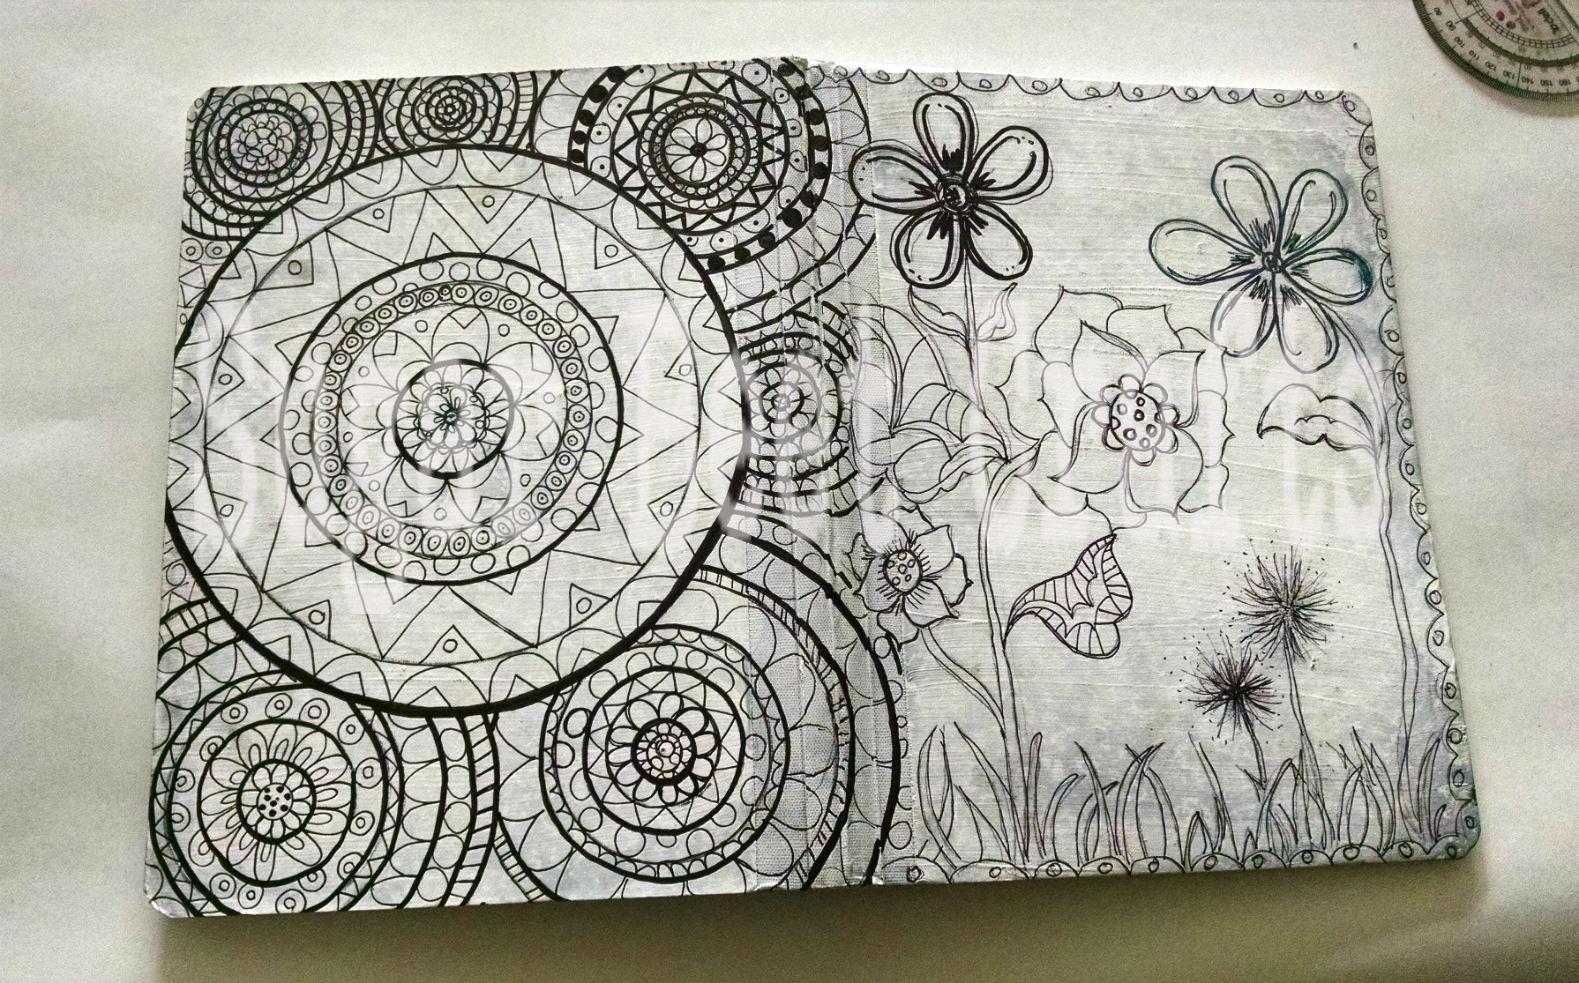
Once completely dry Grab your pencil and start doodling or drawing.

Draw anything you like
And doodle some more…
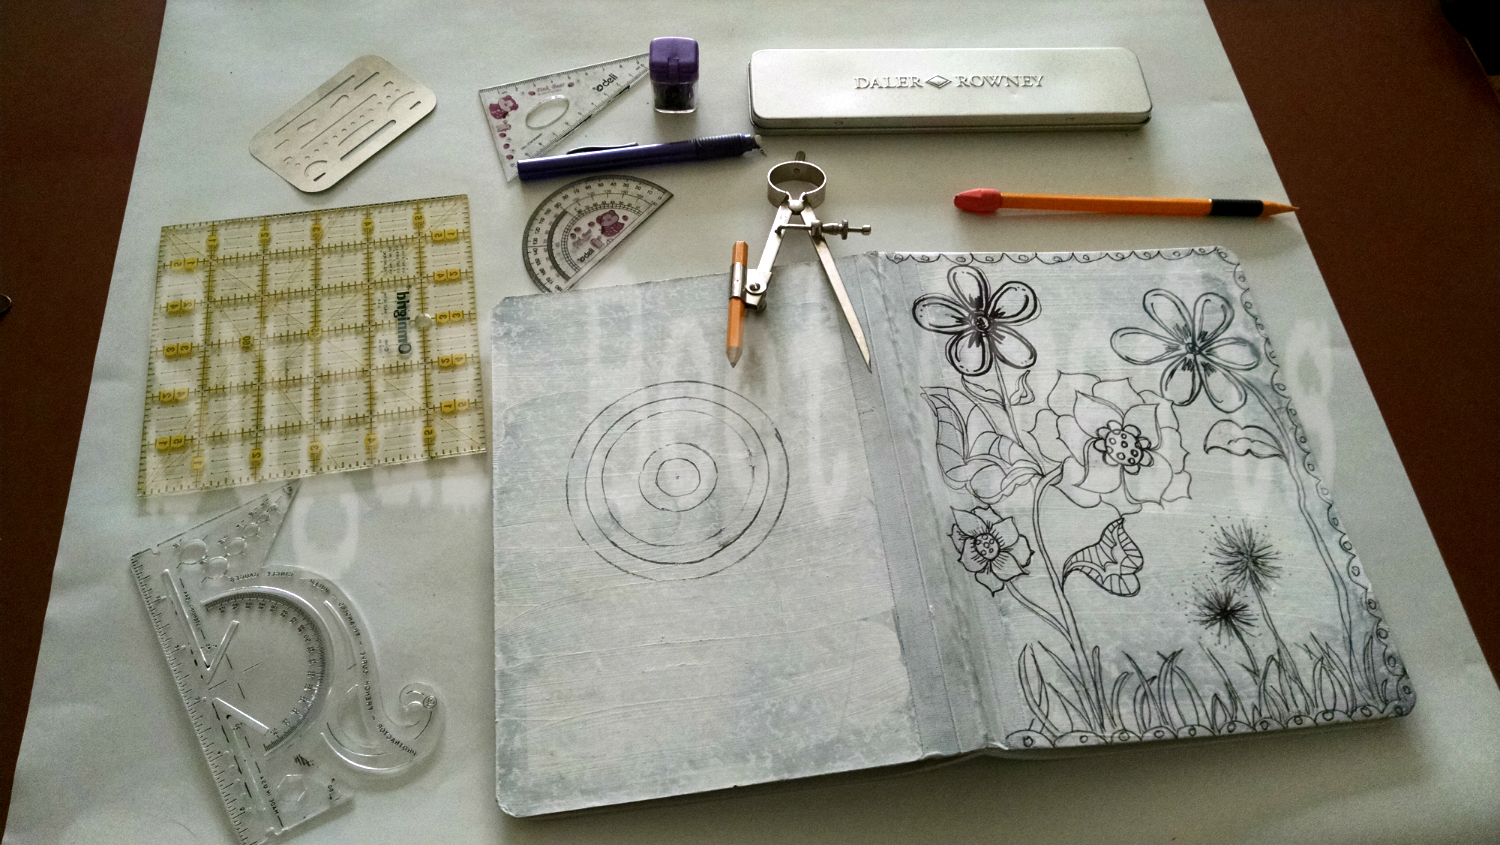
Here are some tools I used to do the back.
and some more doodling…
Outline everything in marker. Remember to use quick drying Archival ink or sharpies to avoid smearing.
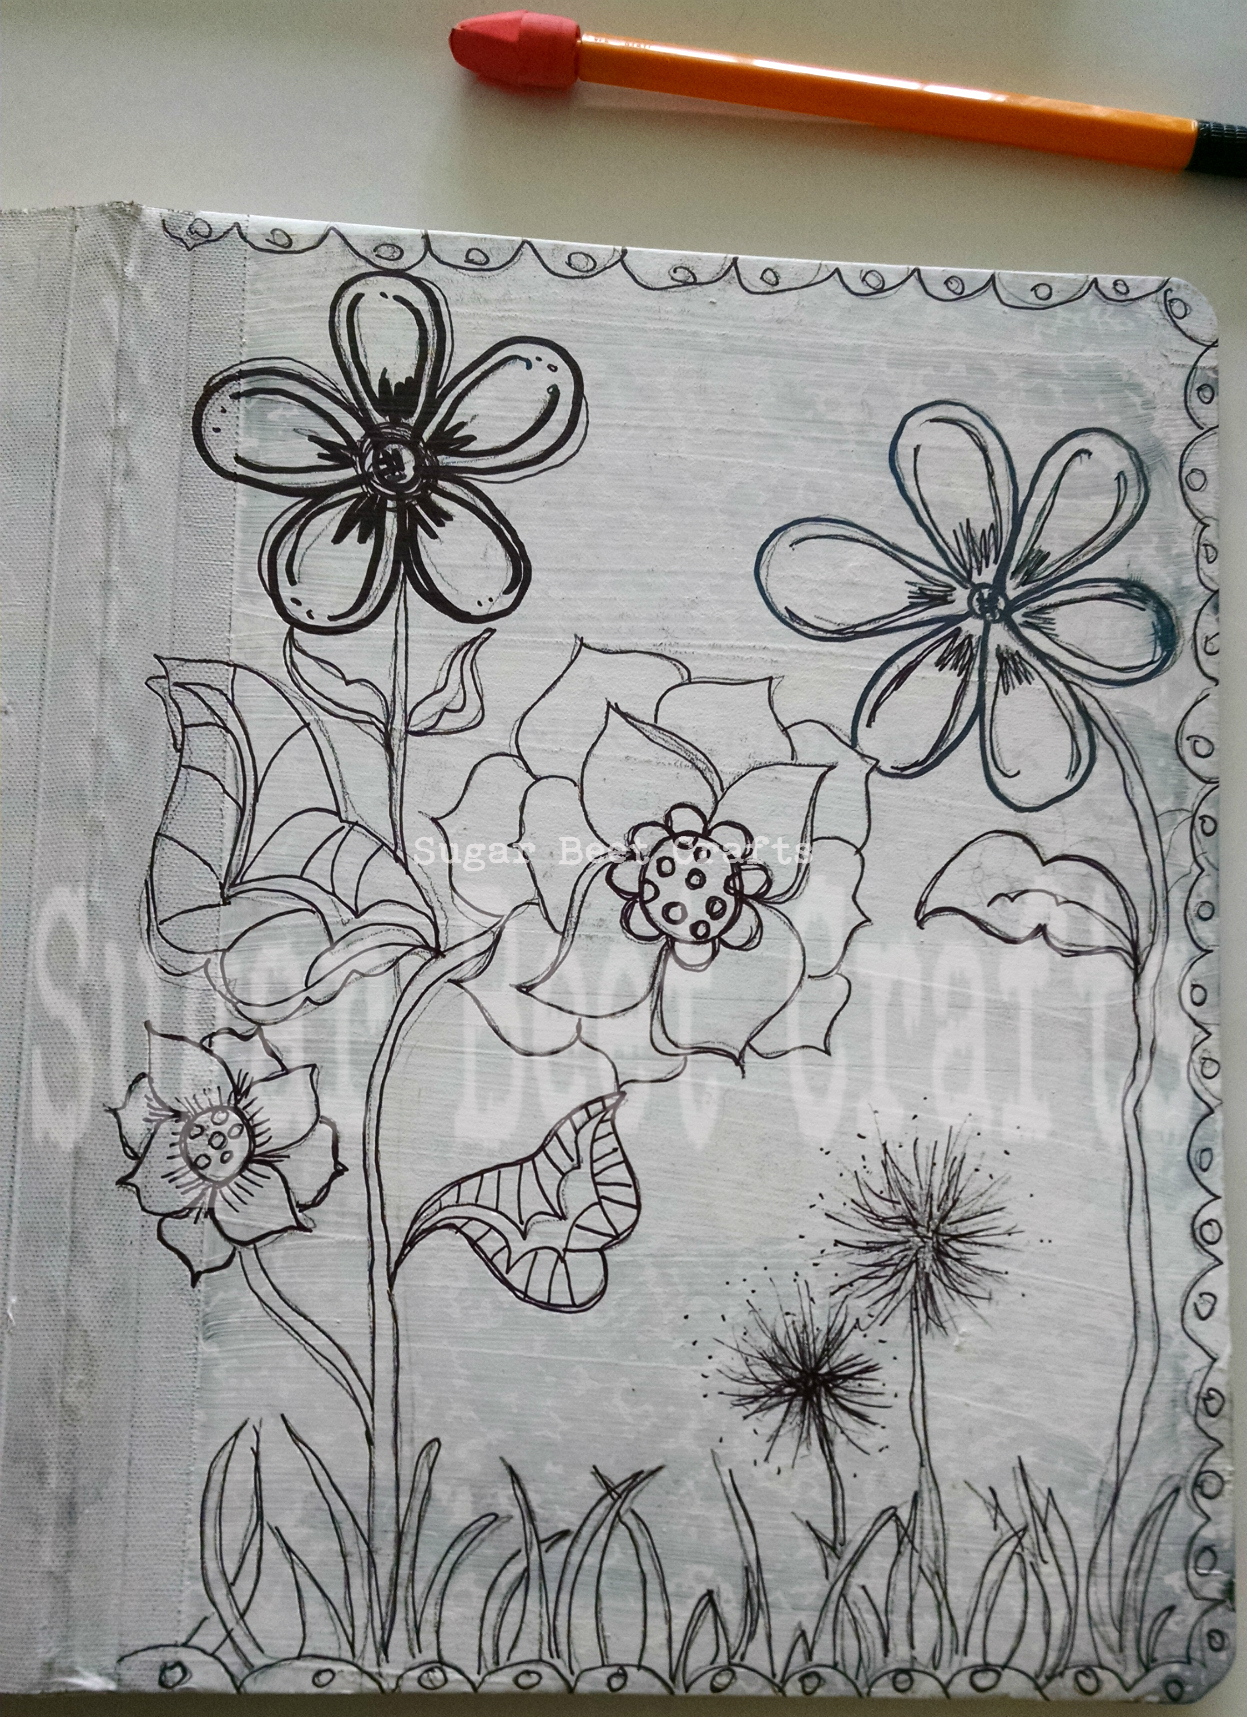
Then go over everything with marker.
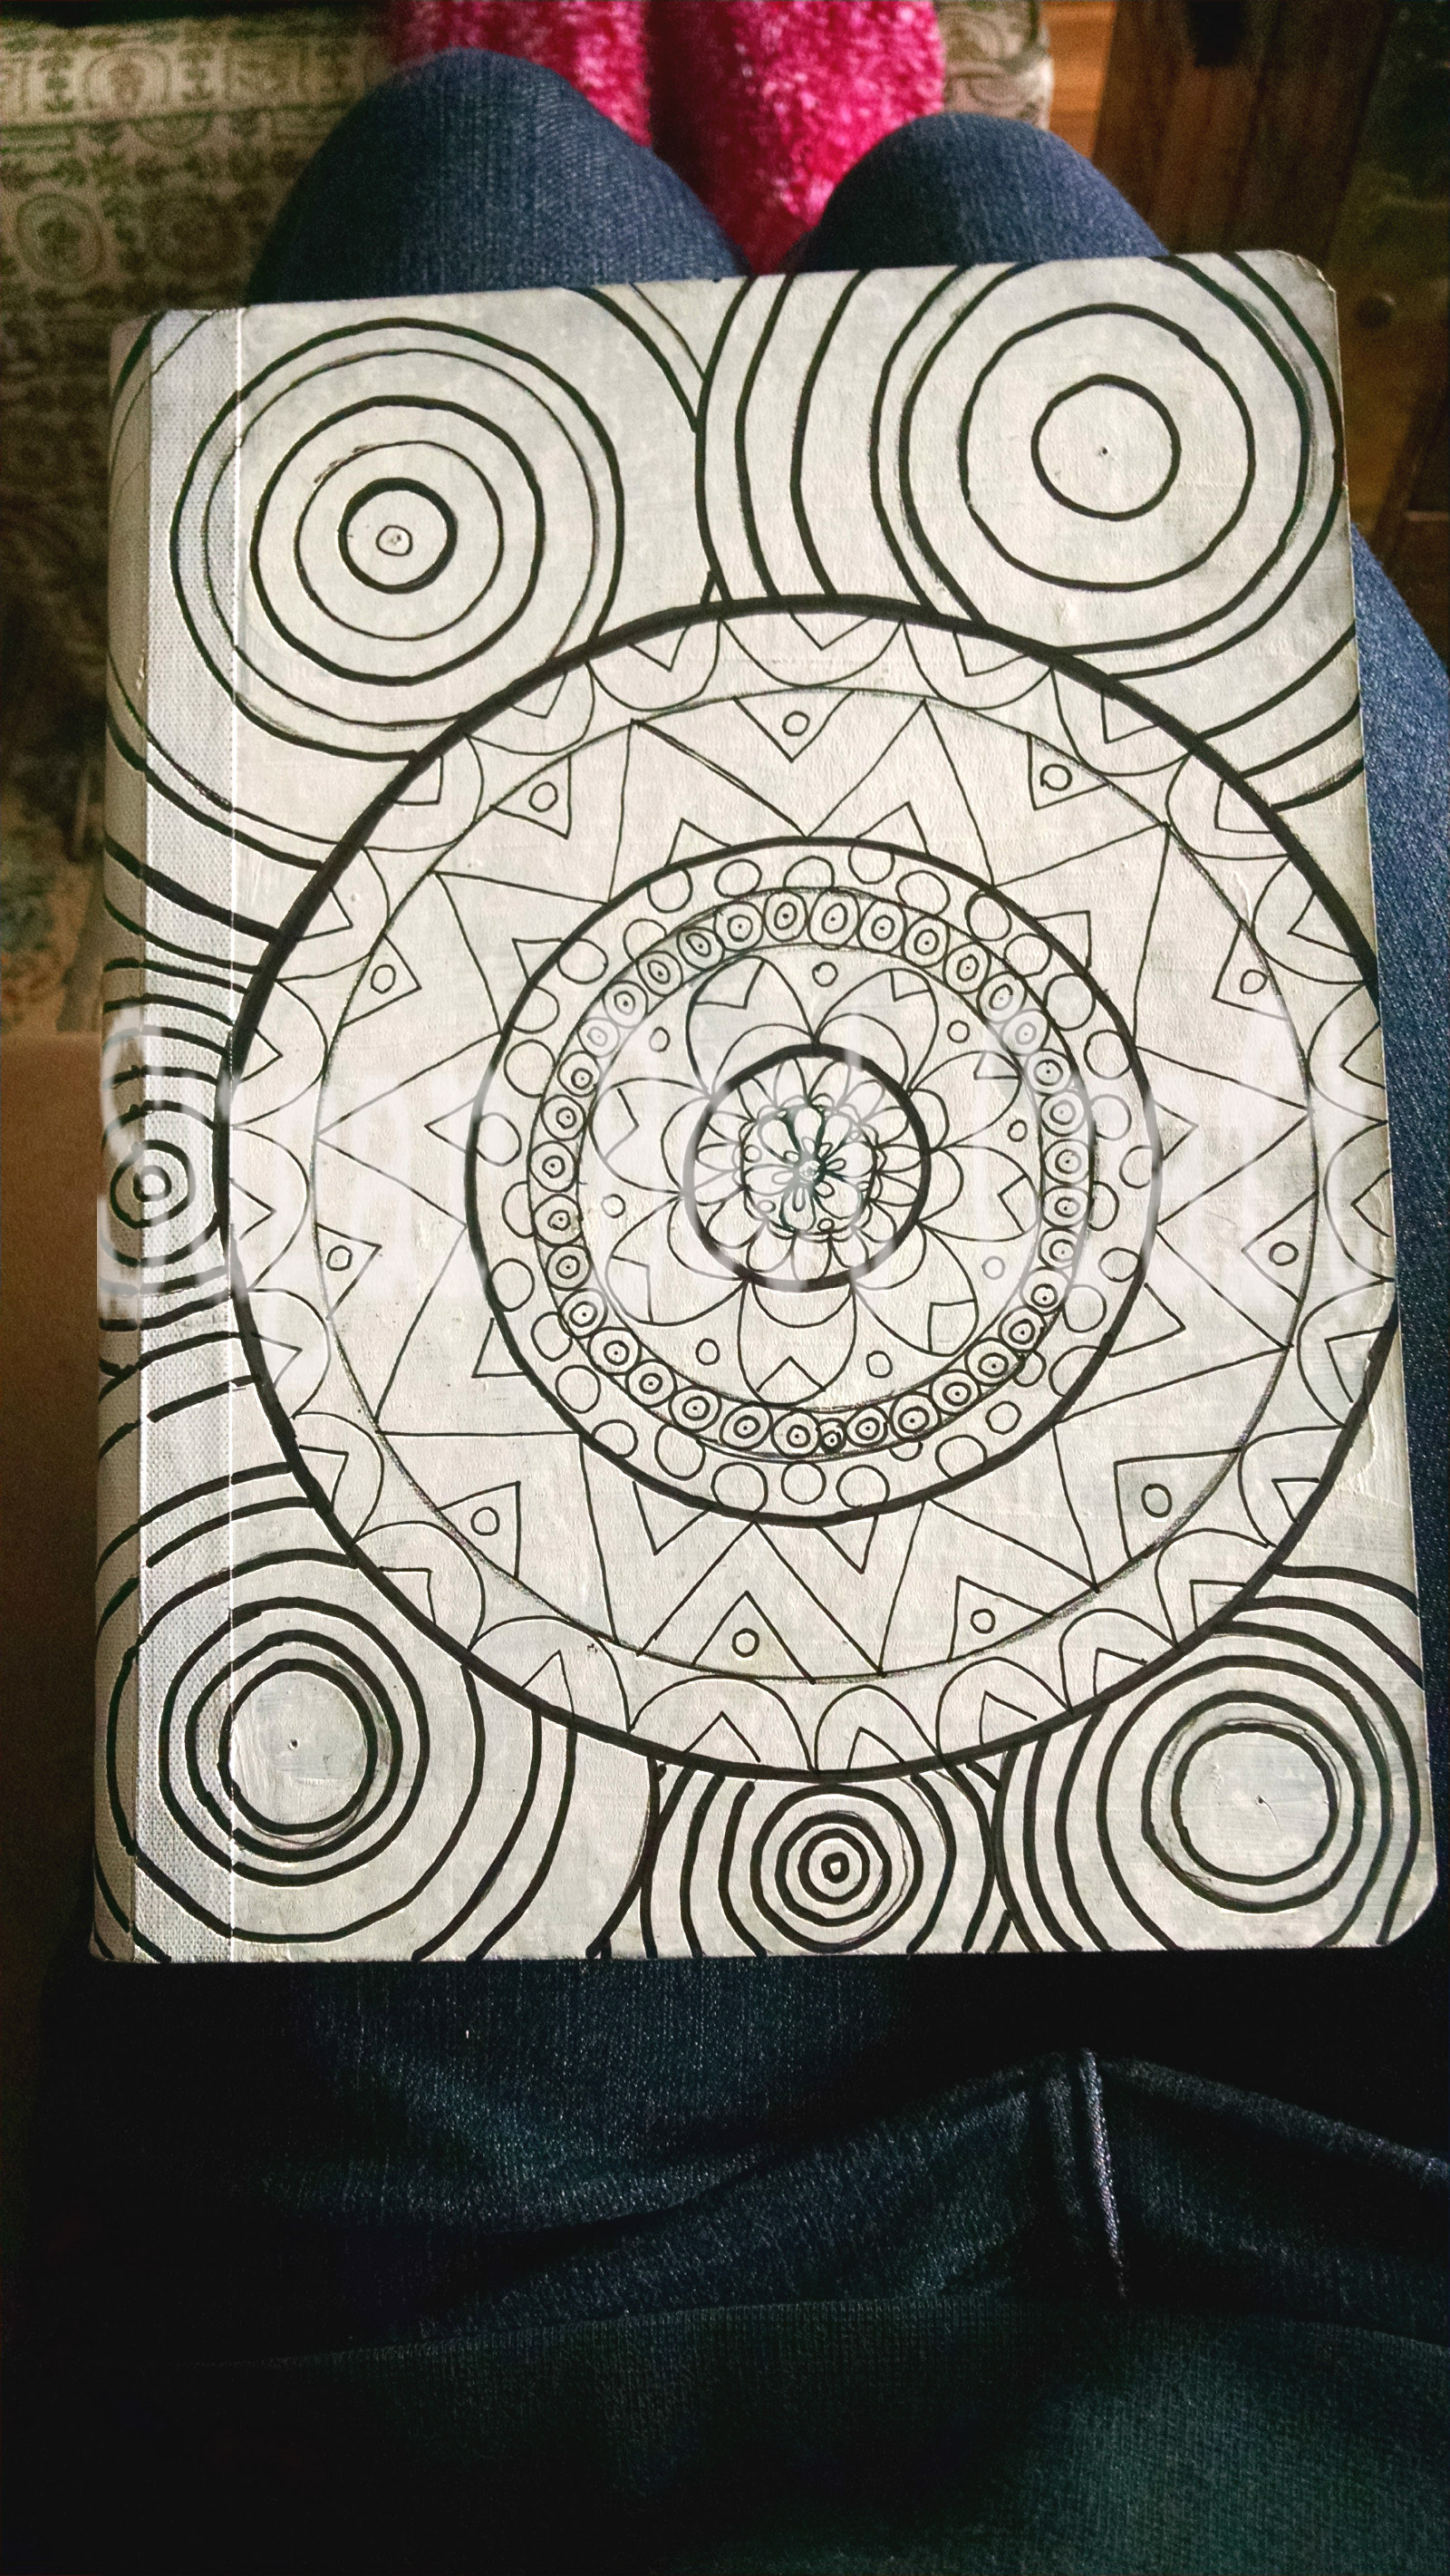
outlined in marker
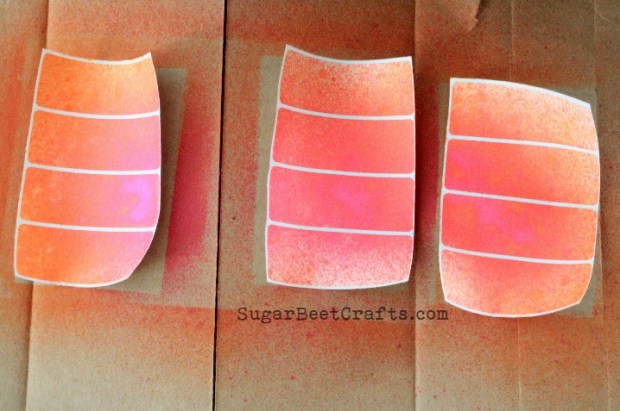
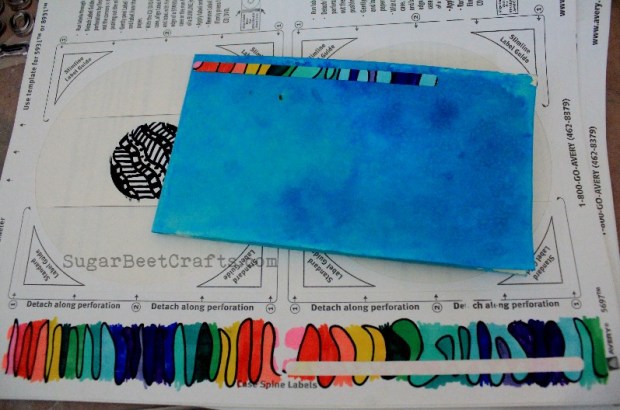
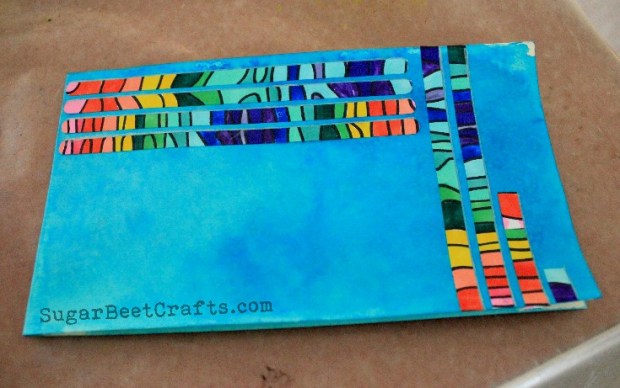
 Now it’s time to watercolor!
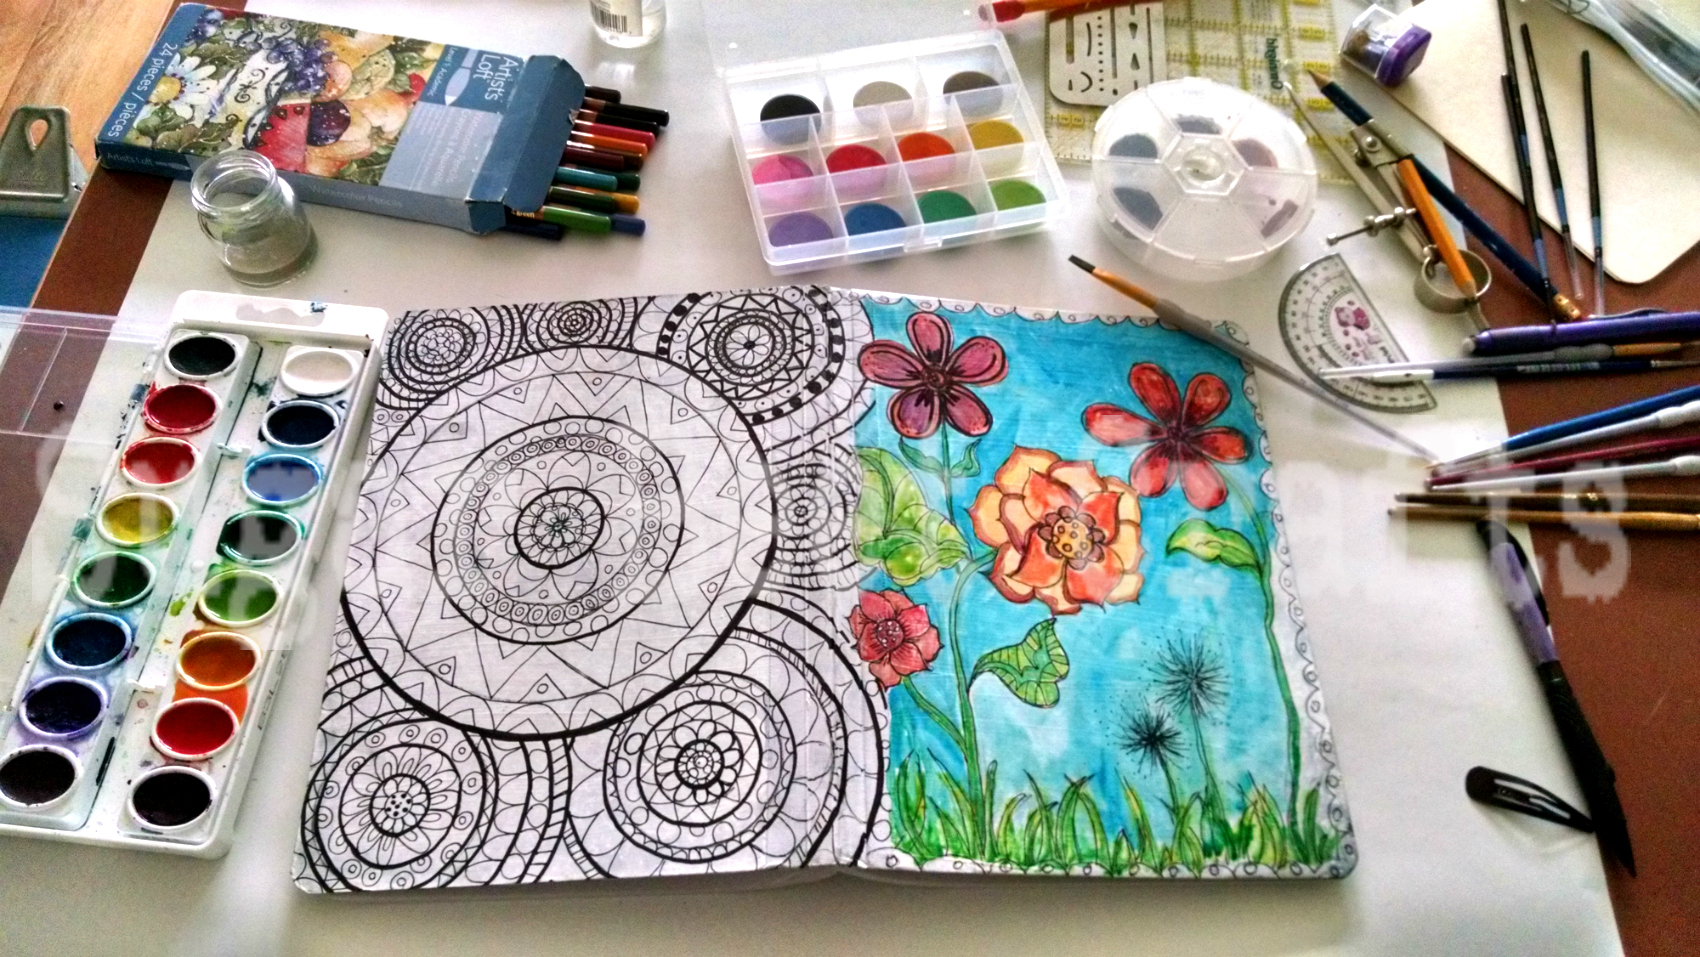
The gesso takes water color well .

so therapeutic

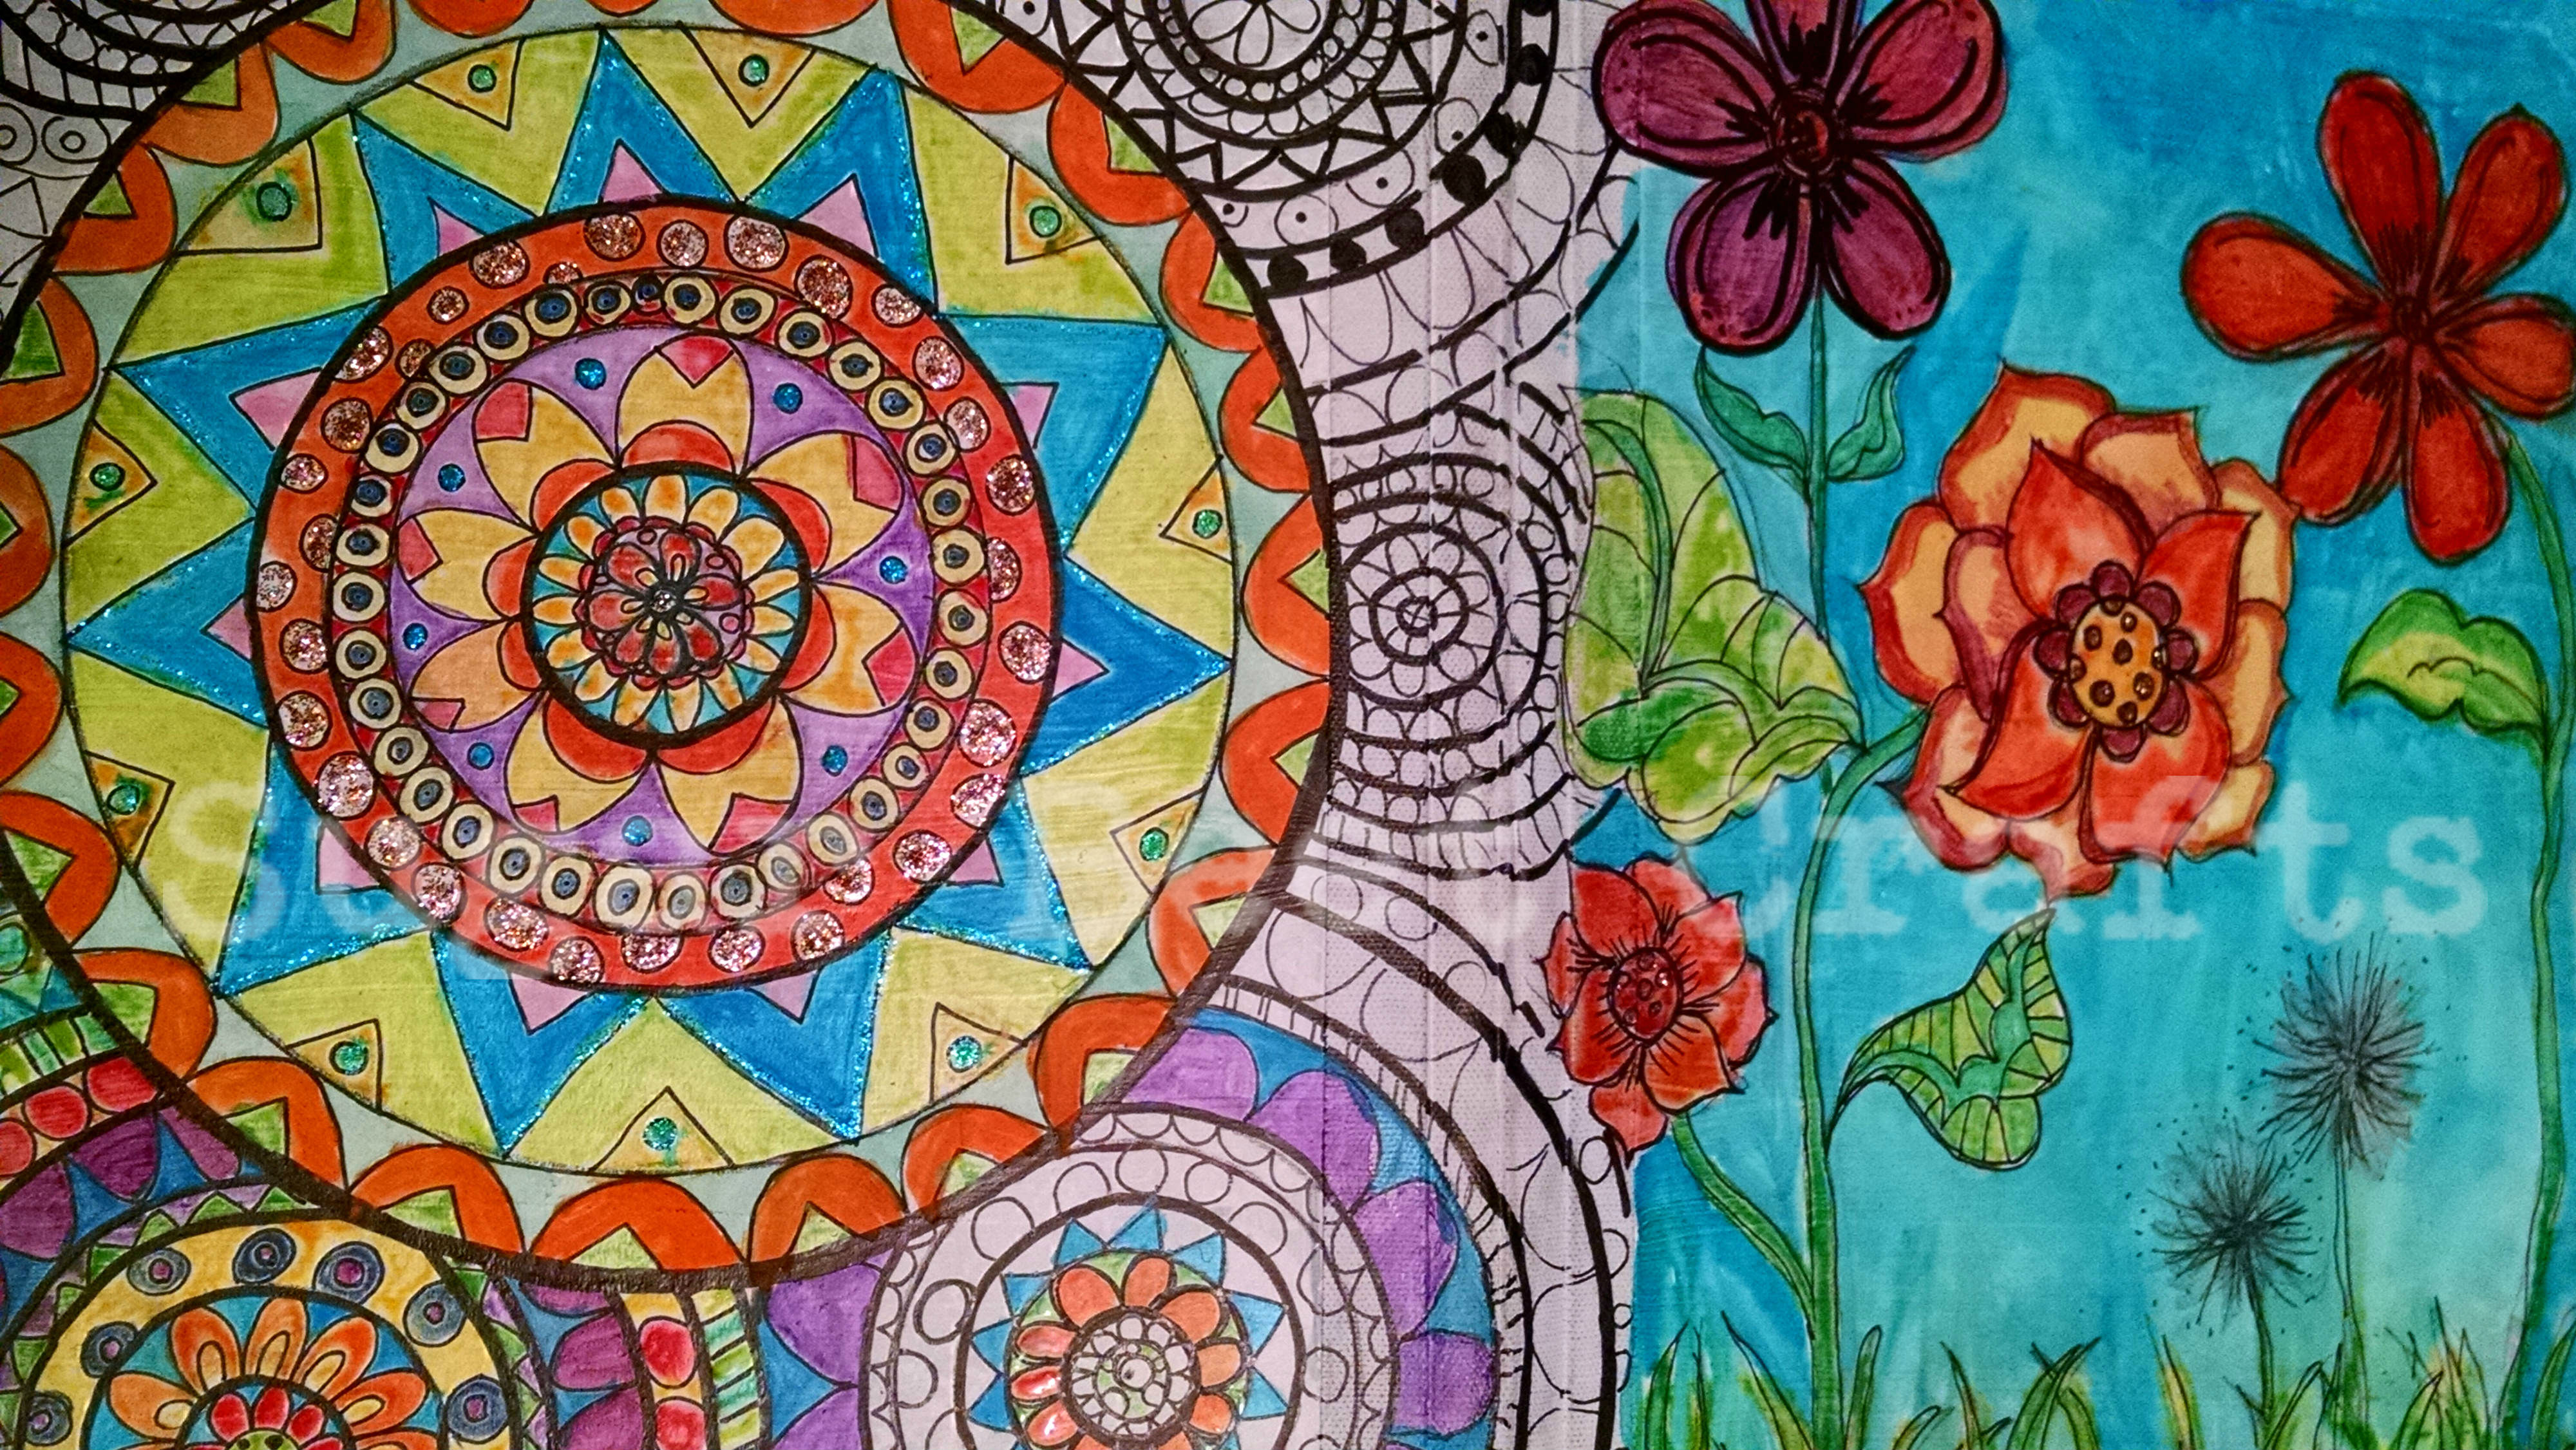

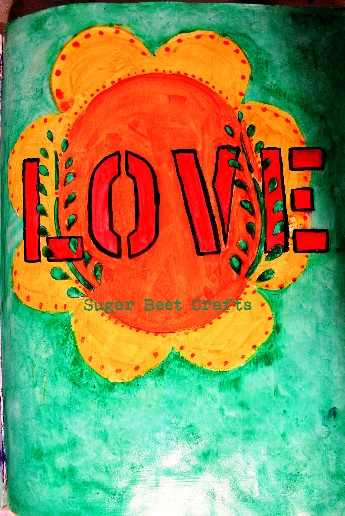
Once your done with the watercoloring, let dry completely.
Once dry, I used Sticklers Glitter glue to accent different places in the pictures to give it a little pop.
When your completely satisfied, spray your cover with Spray Sealer. This helps keep your cover from sticking to everything.
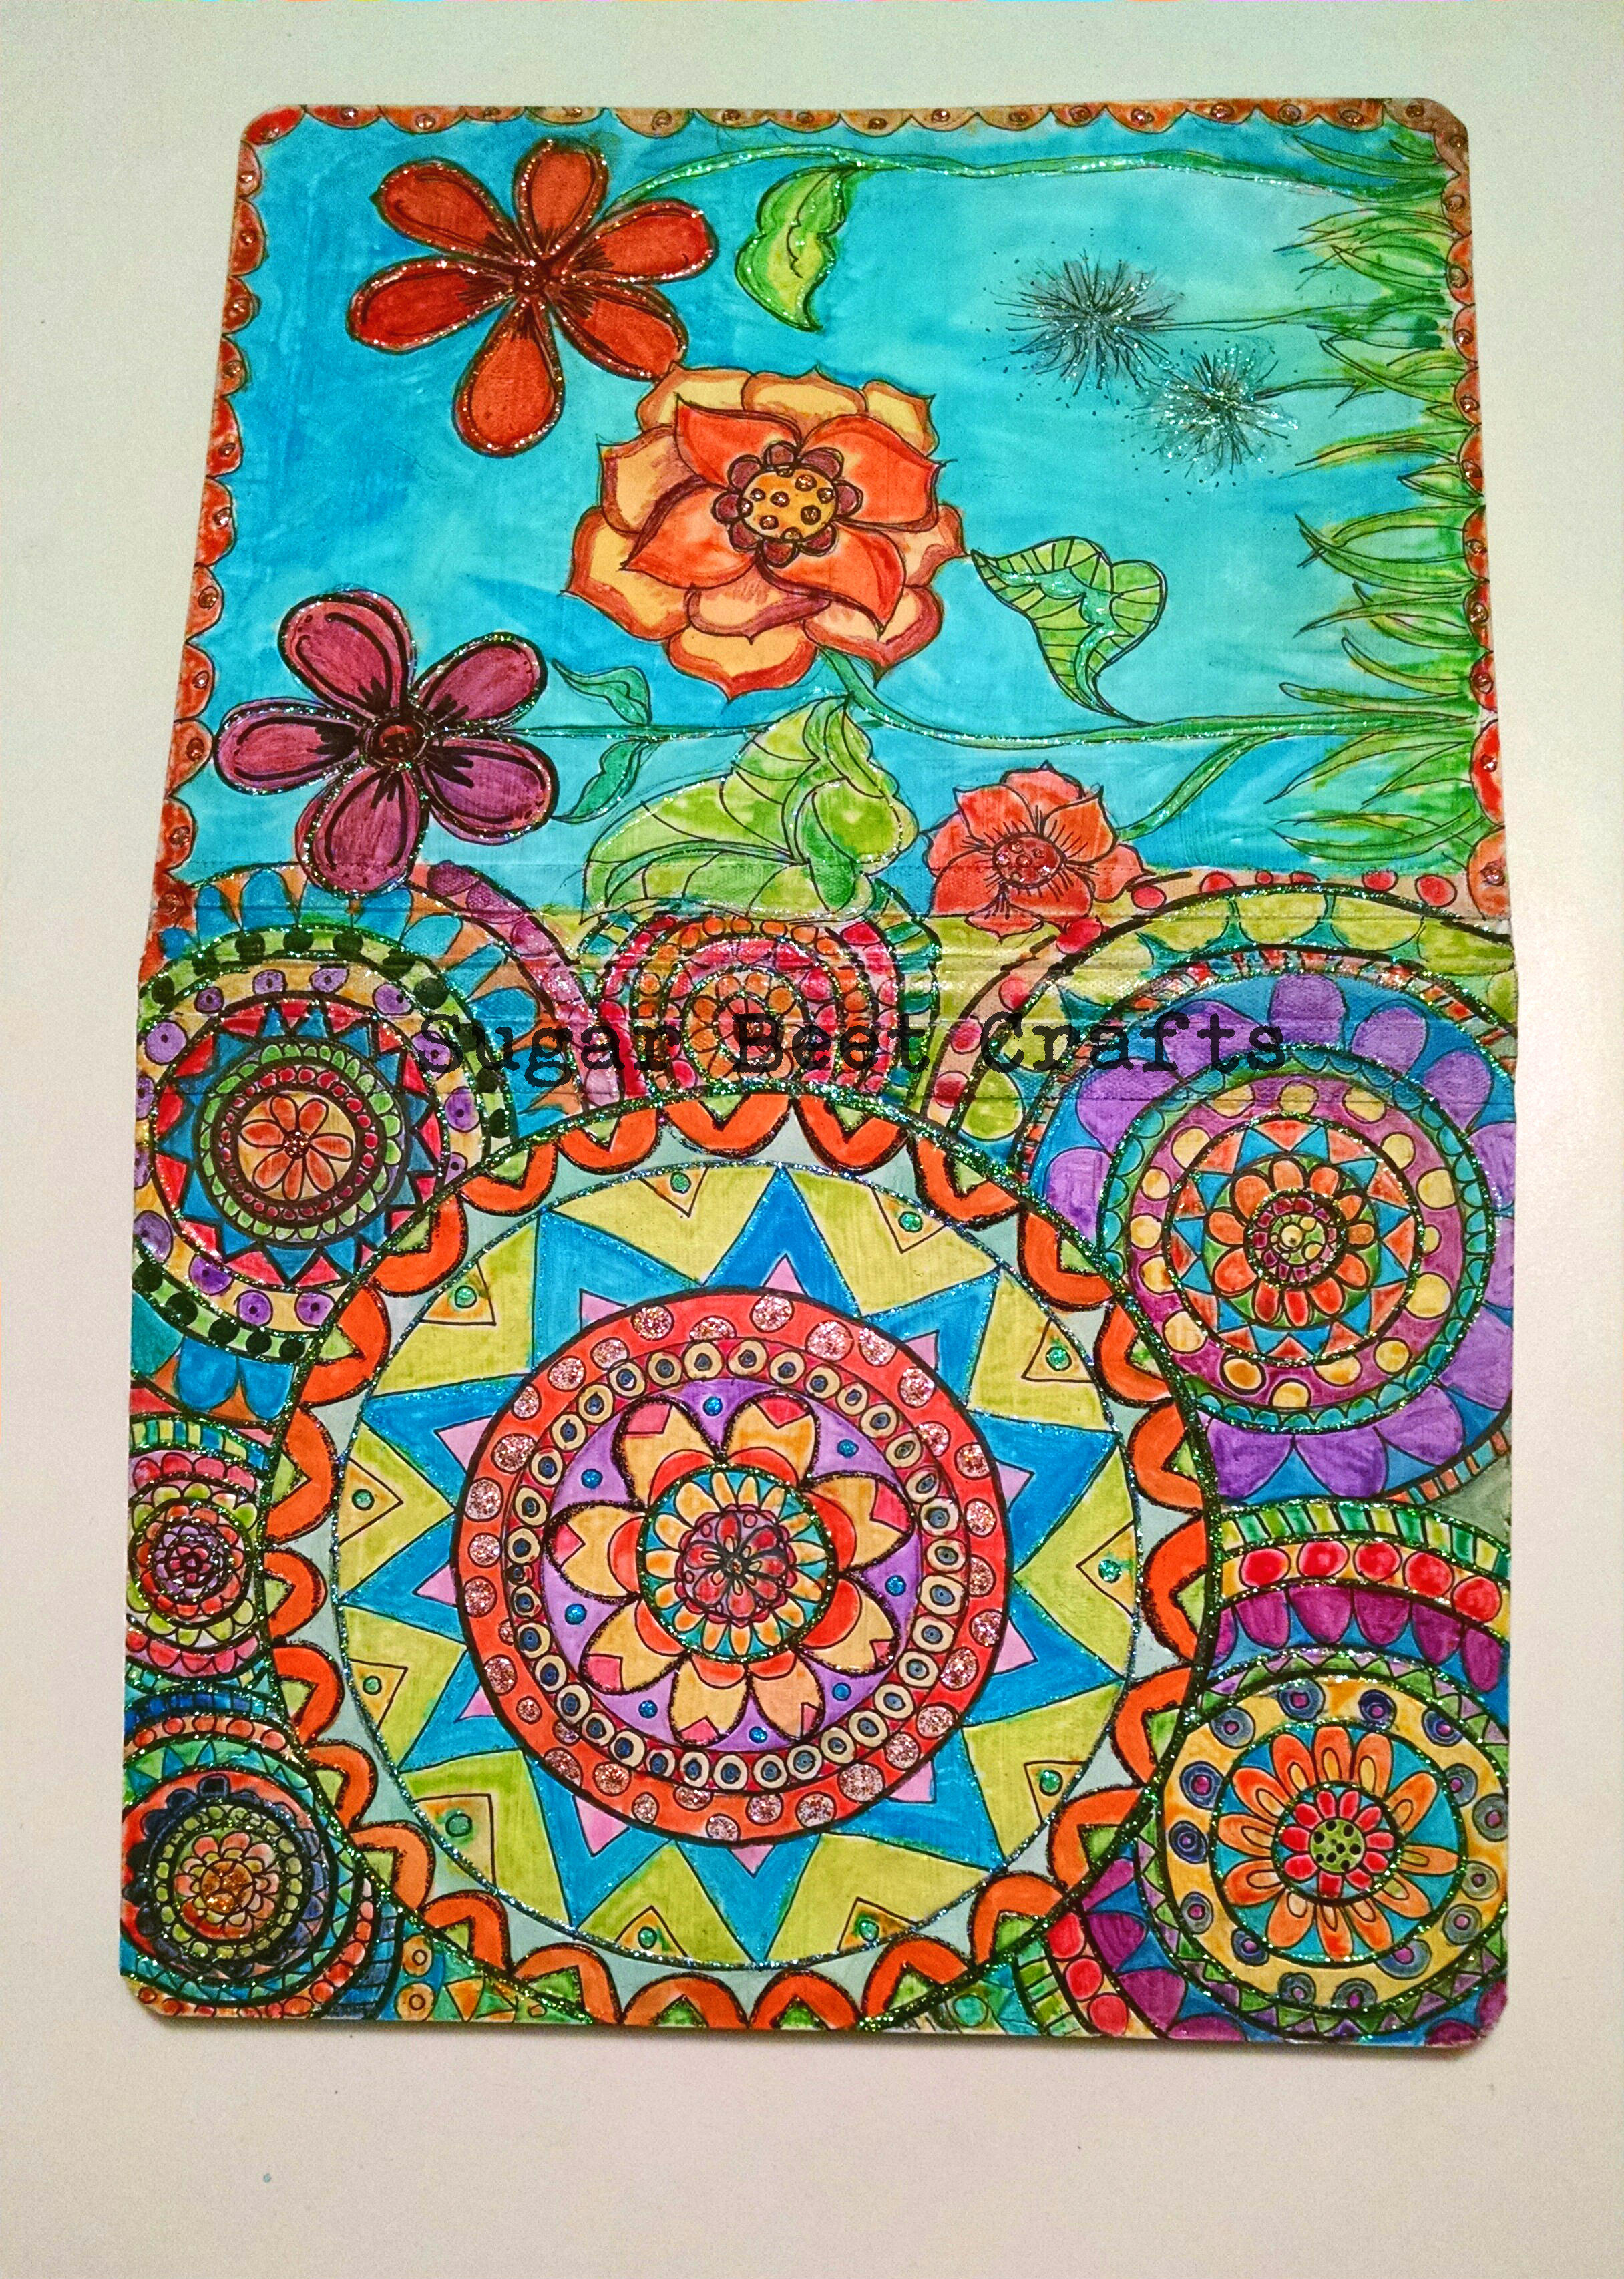
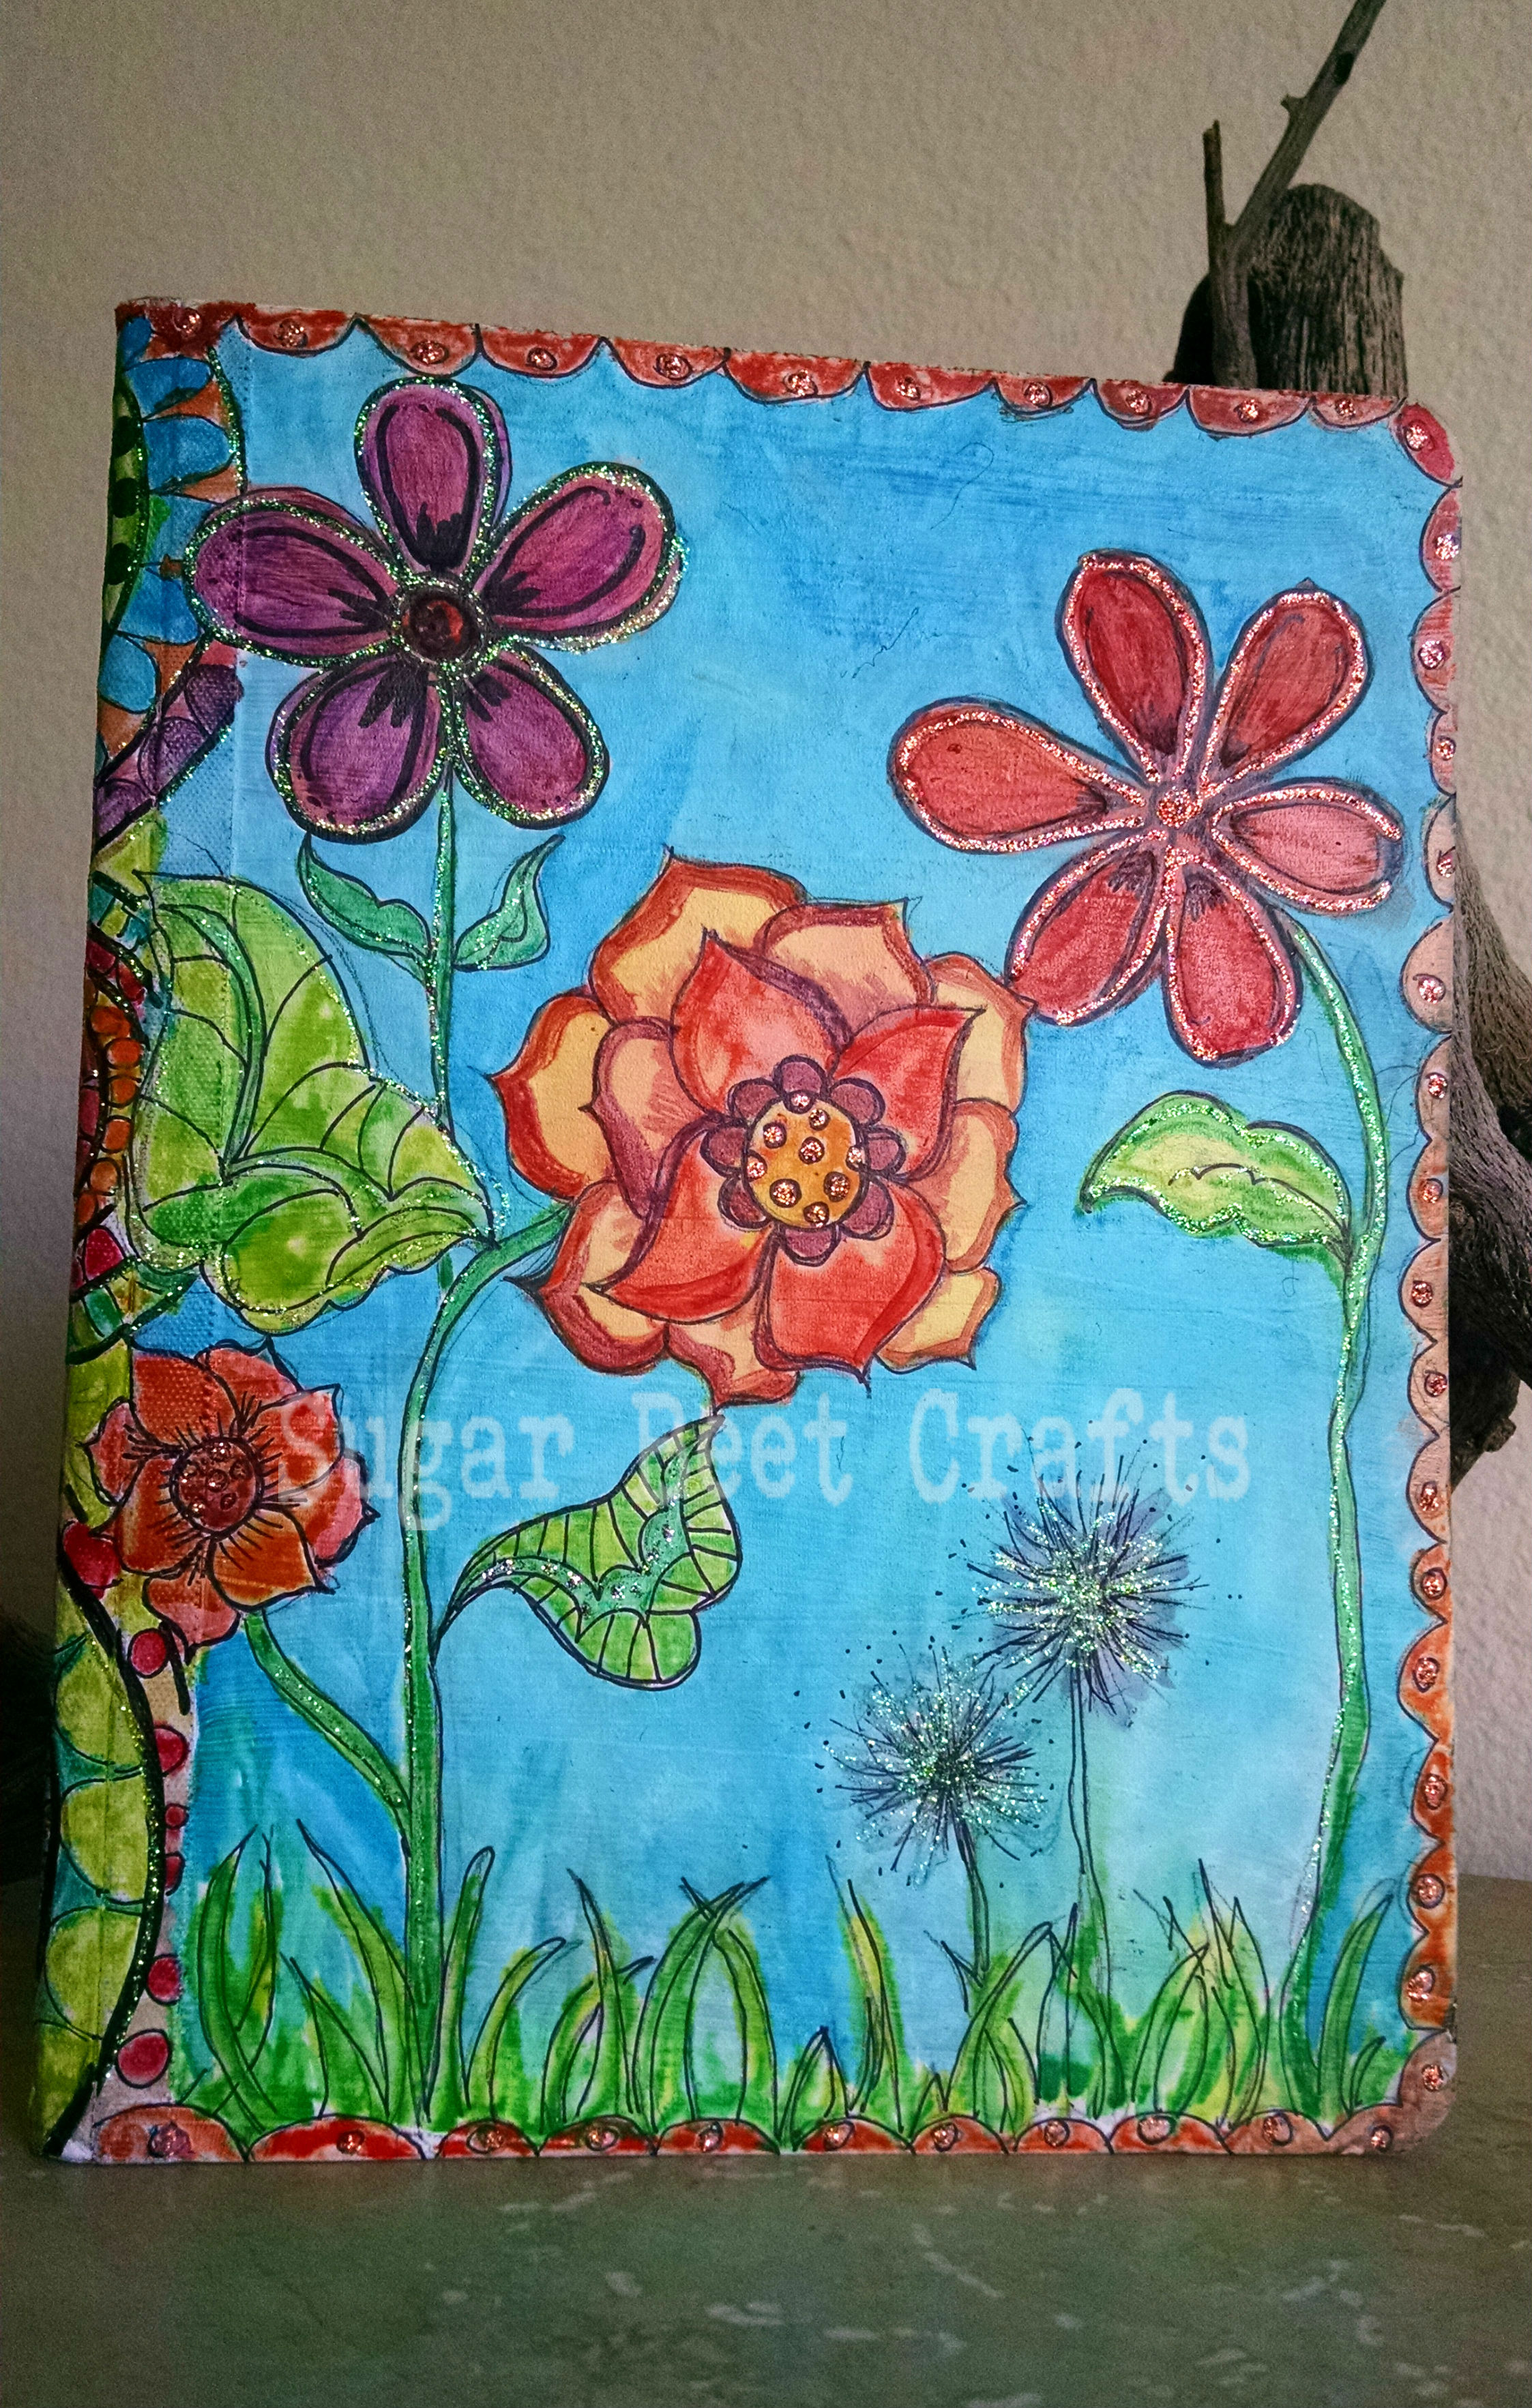
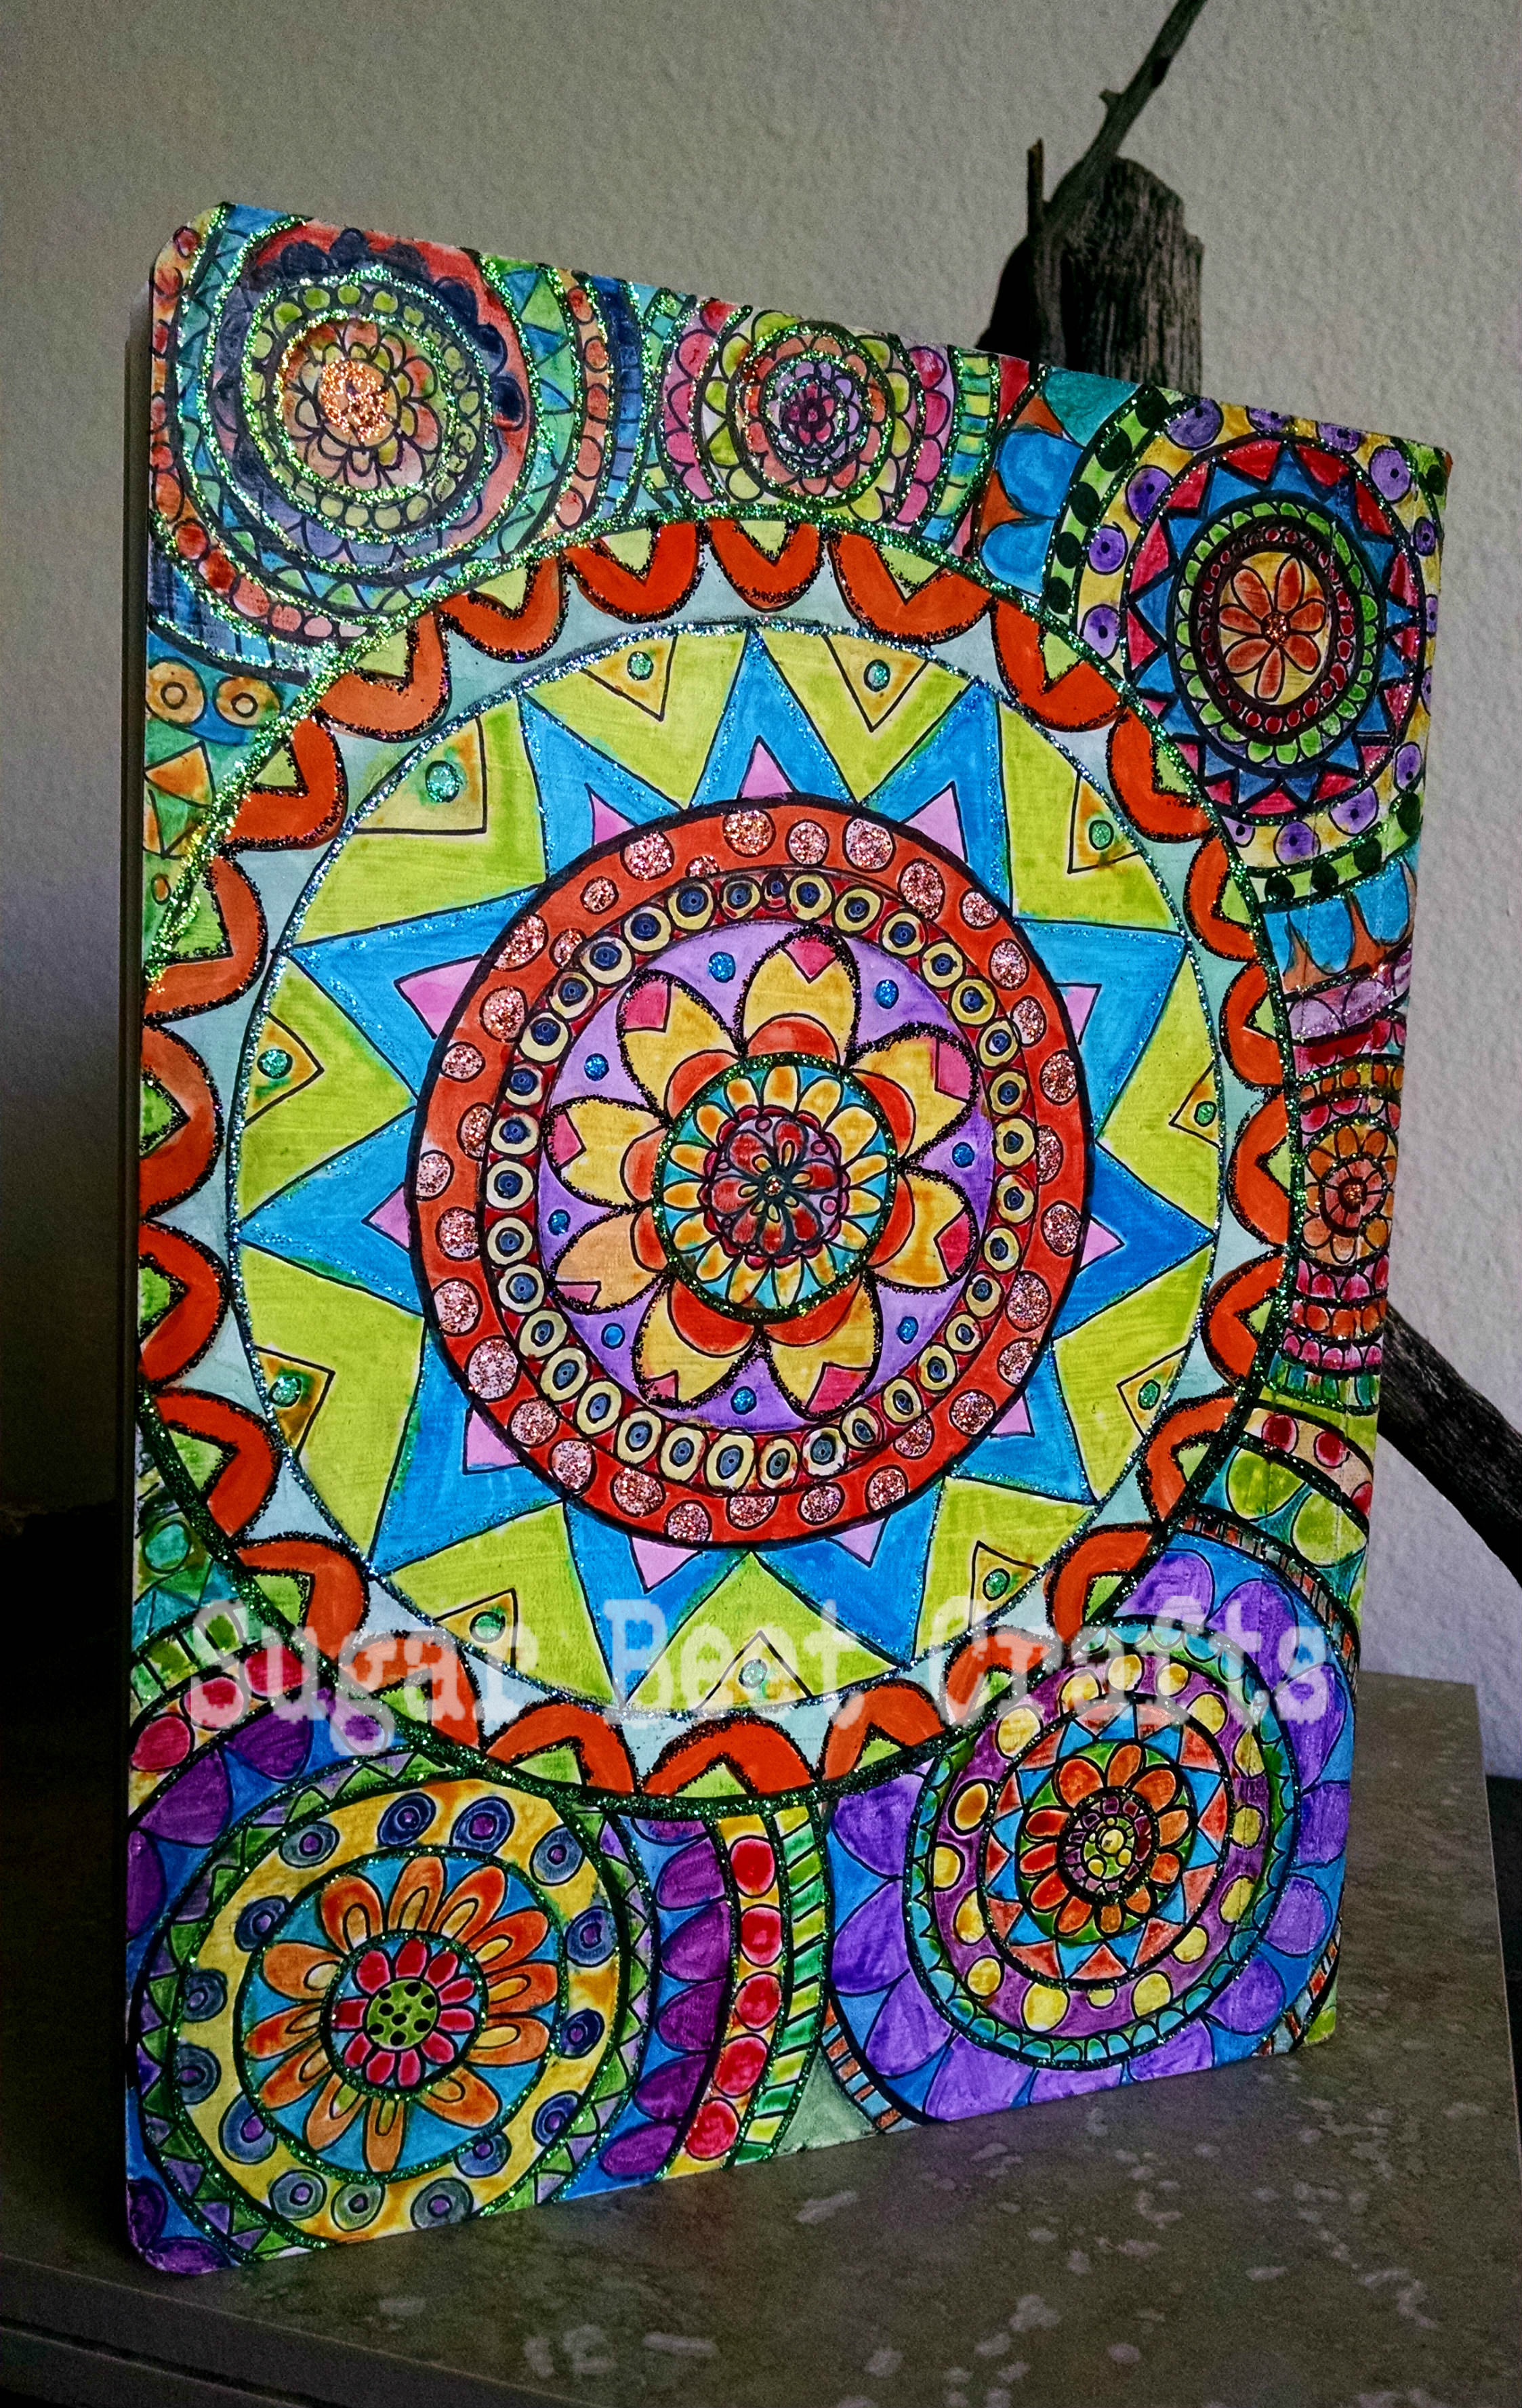
There you have it! A completely customized notebook! What do you think?
I would absolutely love to see how your projects come out.
Send me pics!
Come on back and check us out next week, when I do Composition Notebook Cover Re-do #3!
Have a wonderful week!


You must be logged in to post a comment.