
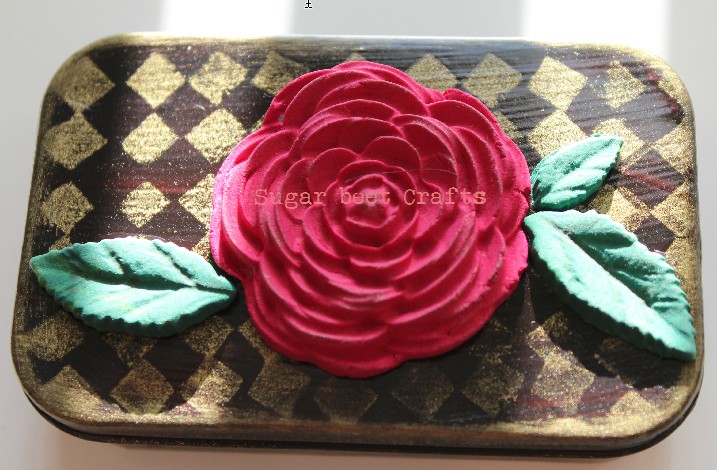
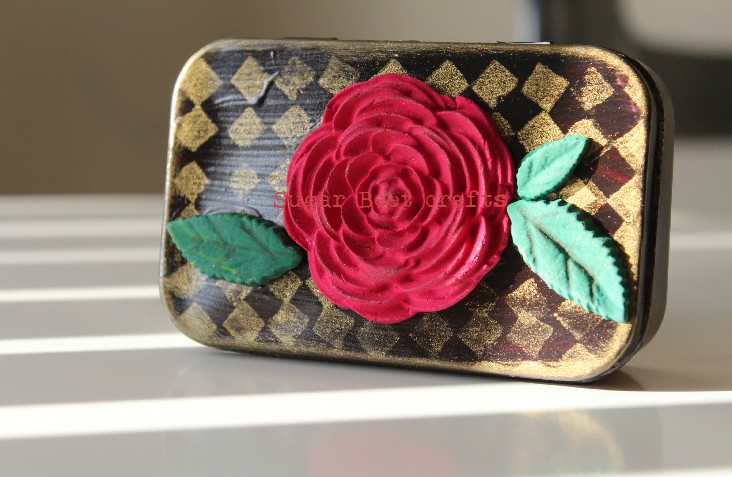
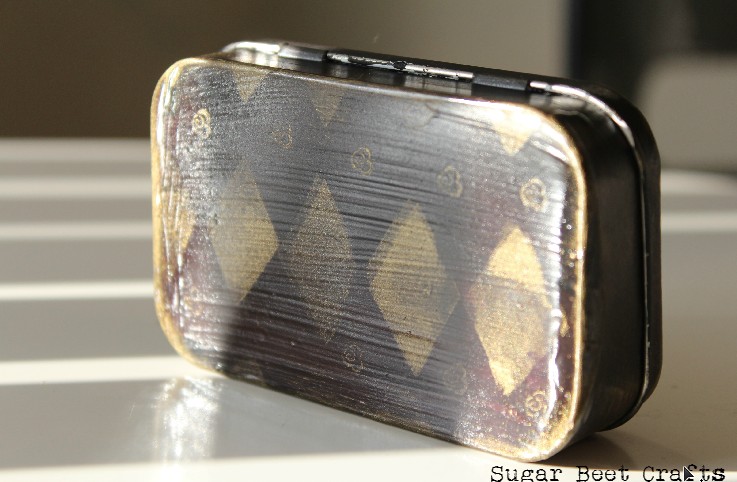
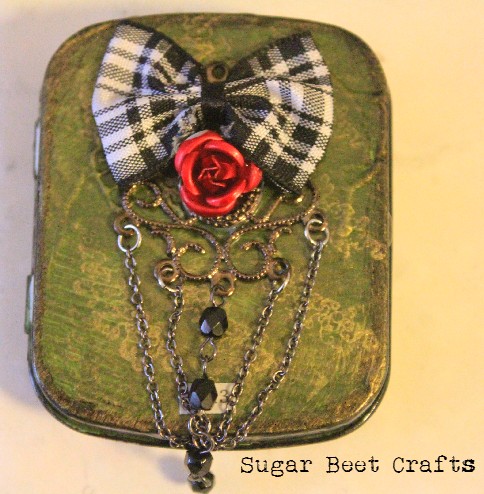
How cool are Altoids tins? I thought it would be fun to decorate a few, the possibilities are endless!
Paint and Clay!
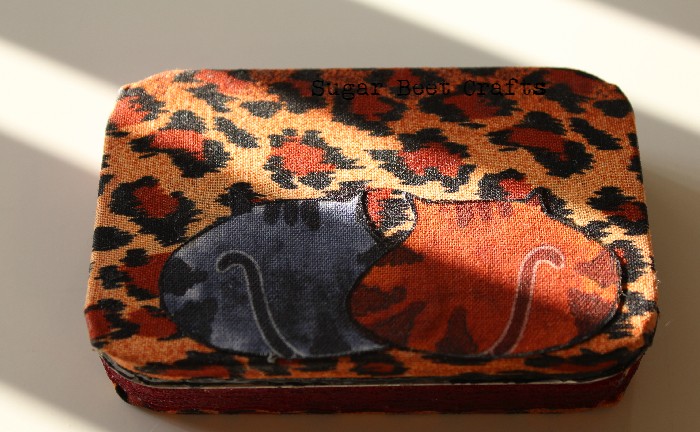
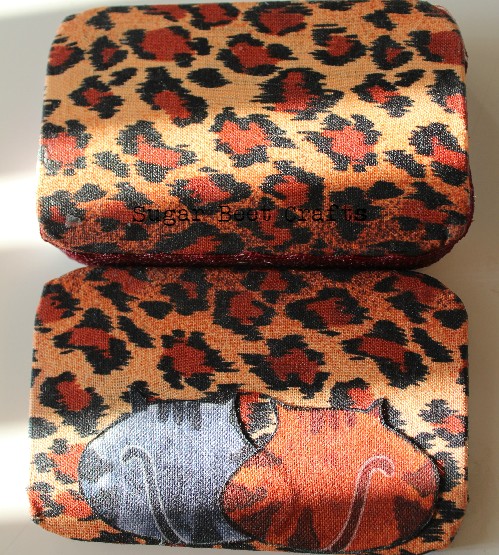
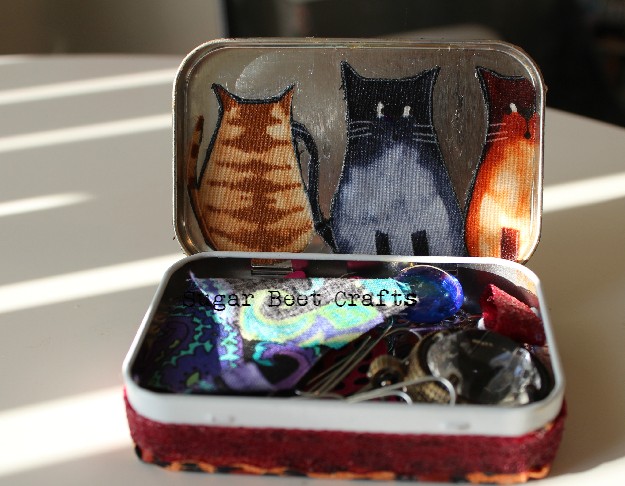
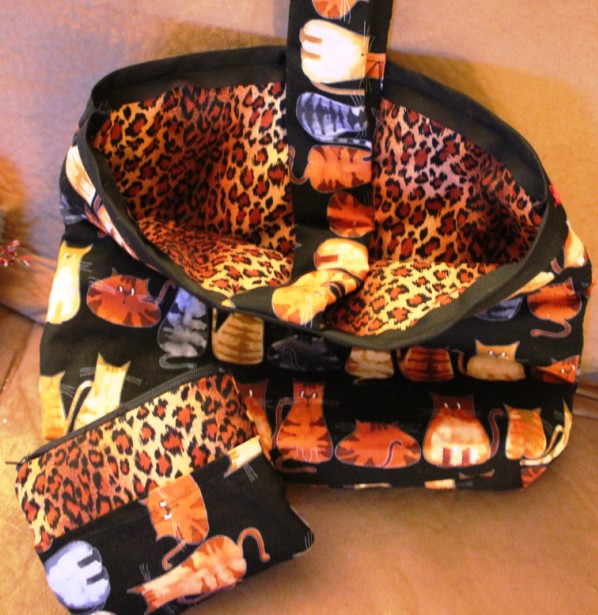
Fabric

Puff Paint, Stamps and Embellishments
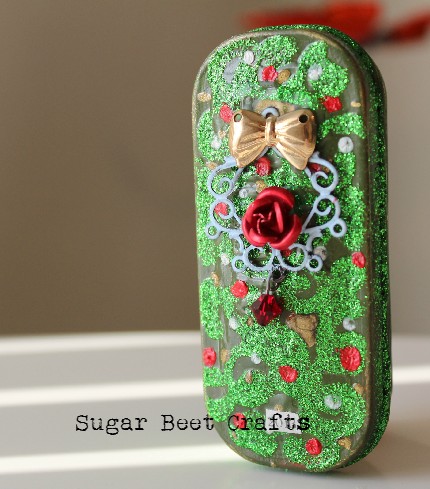

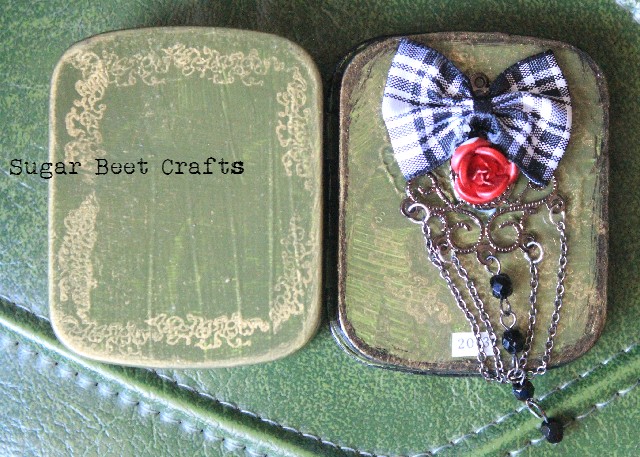
If you use your imagination the possibilities are endless and you could get completely addicted! The last two are actually Christmas ornaments that I made my mom. I mod podged a small chain for a hook to the tops, to hang from the tree. If you open it up there is a picture of my family. A great idea for a gift or to show family photos through the years.
I hoped this sparked up your imagination! Now let’s go up-cycle some trash!


You must be logged in to post a comment.