

Brandie Bell
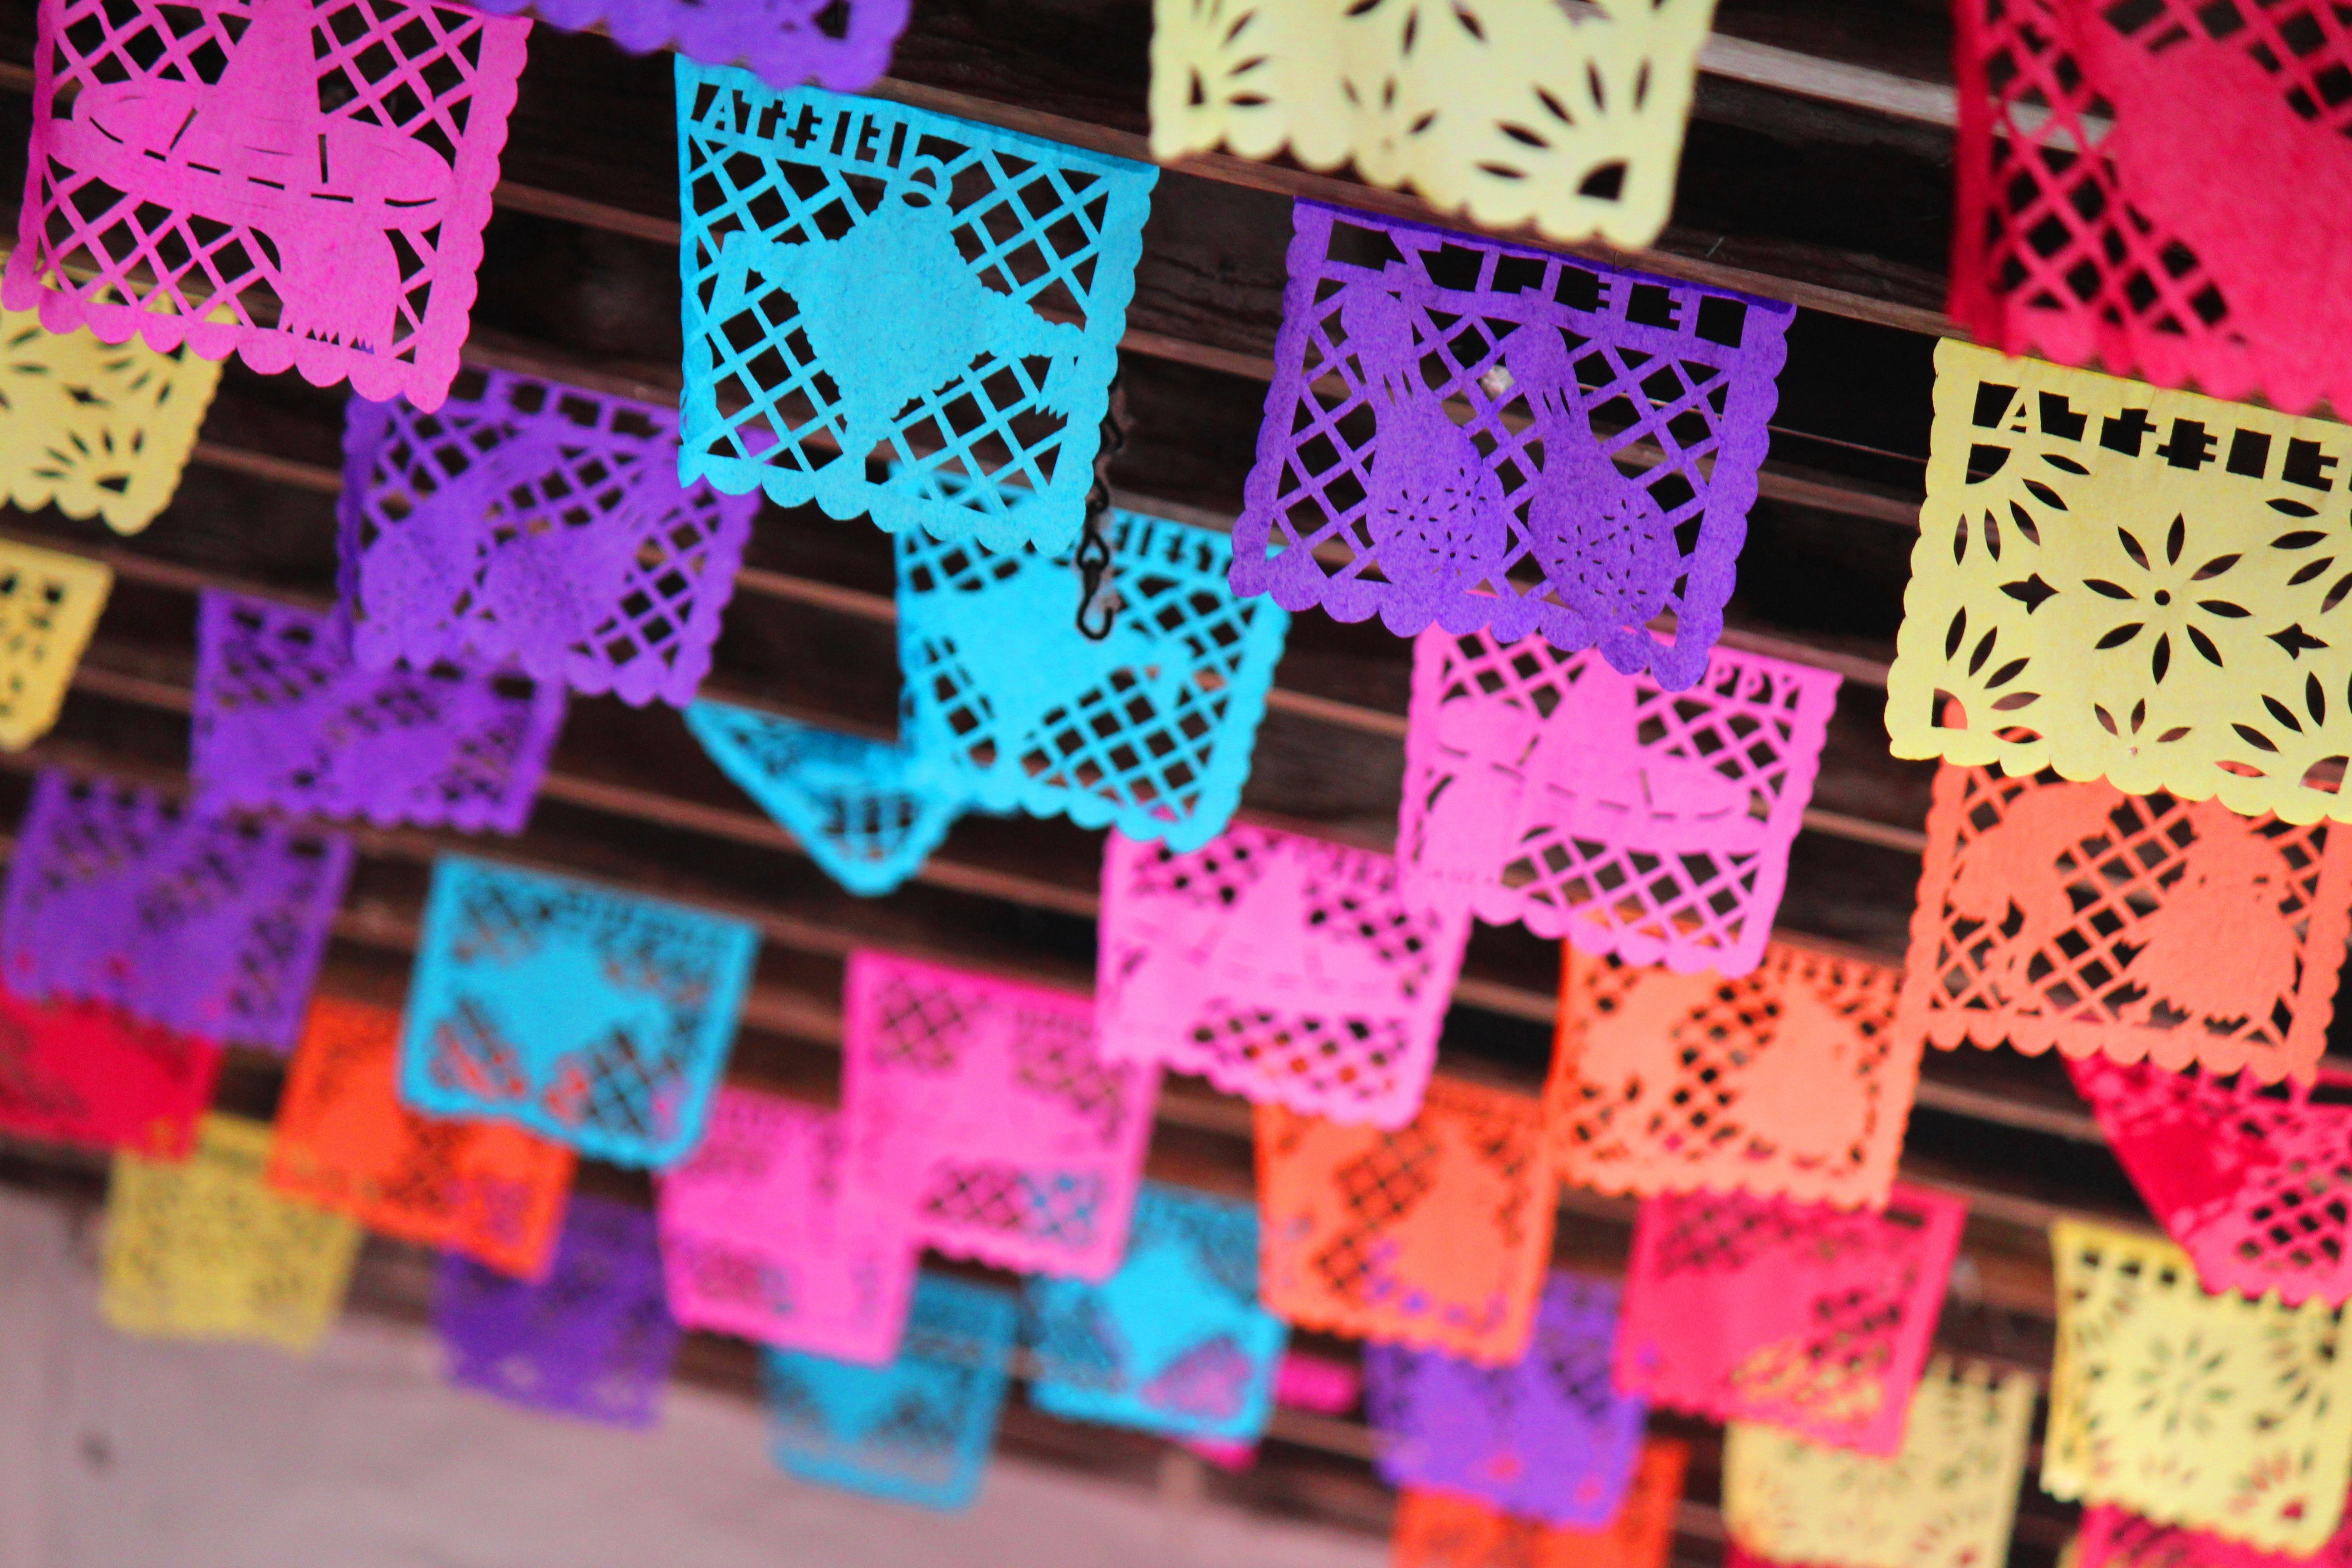
Happy Cinco De Mayo Everyone!
I hope your having a great day and will have an even better night! So what is Cinco De Mayo? Well, many people think it is the Mexican Independence Day but that is actually on September 16. Cinco De Mayo celebrates Mexico’s triumph over the French at the Battle of Puebla. Which was a big deal, the French had not lost in a long time.
So here we are! Let’s Fiesta then Siesta!

Here are a few things to get you set for a fun and traditional Cinco De Mayo Celebration.
1. Food!
Chips & Guacamole!
Guacamole dips is made of avocados, chiles, onions, tomatoes, salt and lime! Mush it all together and PA-DOW Guacamole!
Now instead of buying corn chips you can heat up some oil, cut up some tortillas into quarters, fry them in the hot oil until crispy and PA-DOW better celebration chips!
Tamales, Tamales, Tamales.
Looking for a recipe? Check out for lots of Tamale Recipes. But just so you know… none will compare to my Gramma’s! – Food.com http://www.food.com/recipe/traditional-tamales-pork-15286
Chalupas!
Now you can go to Fast Food or you can go to WikiHow and make your own!! Love it! http://www.wikihow.com/Make-a-Taco-Bell-Beef-Chalupa-Supreme
2. Loud Music!
Its just one day..so let it rip! Bust out the loudest Uuum Pa Pa, Uuum Pa Pa music you can find. Don’t have any you say?! Well here you go!
Got to LOVE Pandora: www.pandora.com/music/mexico
3. Crazy Lucha Libre Masks?
Well no…but Hey! Why Not! It’s a celebration! Not sure just how to make an awesome Lucha Libre Mask…
No Problem, click on over HappyThought.co.uk. This fantastic lady has not only given awesome instructions but there is also a free downloadable template! Its not too late Get printing!! https://happythought.co.uk/craft/printables/how-to-make-lucha-libre-masks-free-templates …no your NOT too old!
Have A Good Time!
Happy Cinco De Mayo!
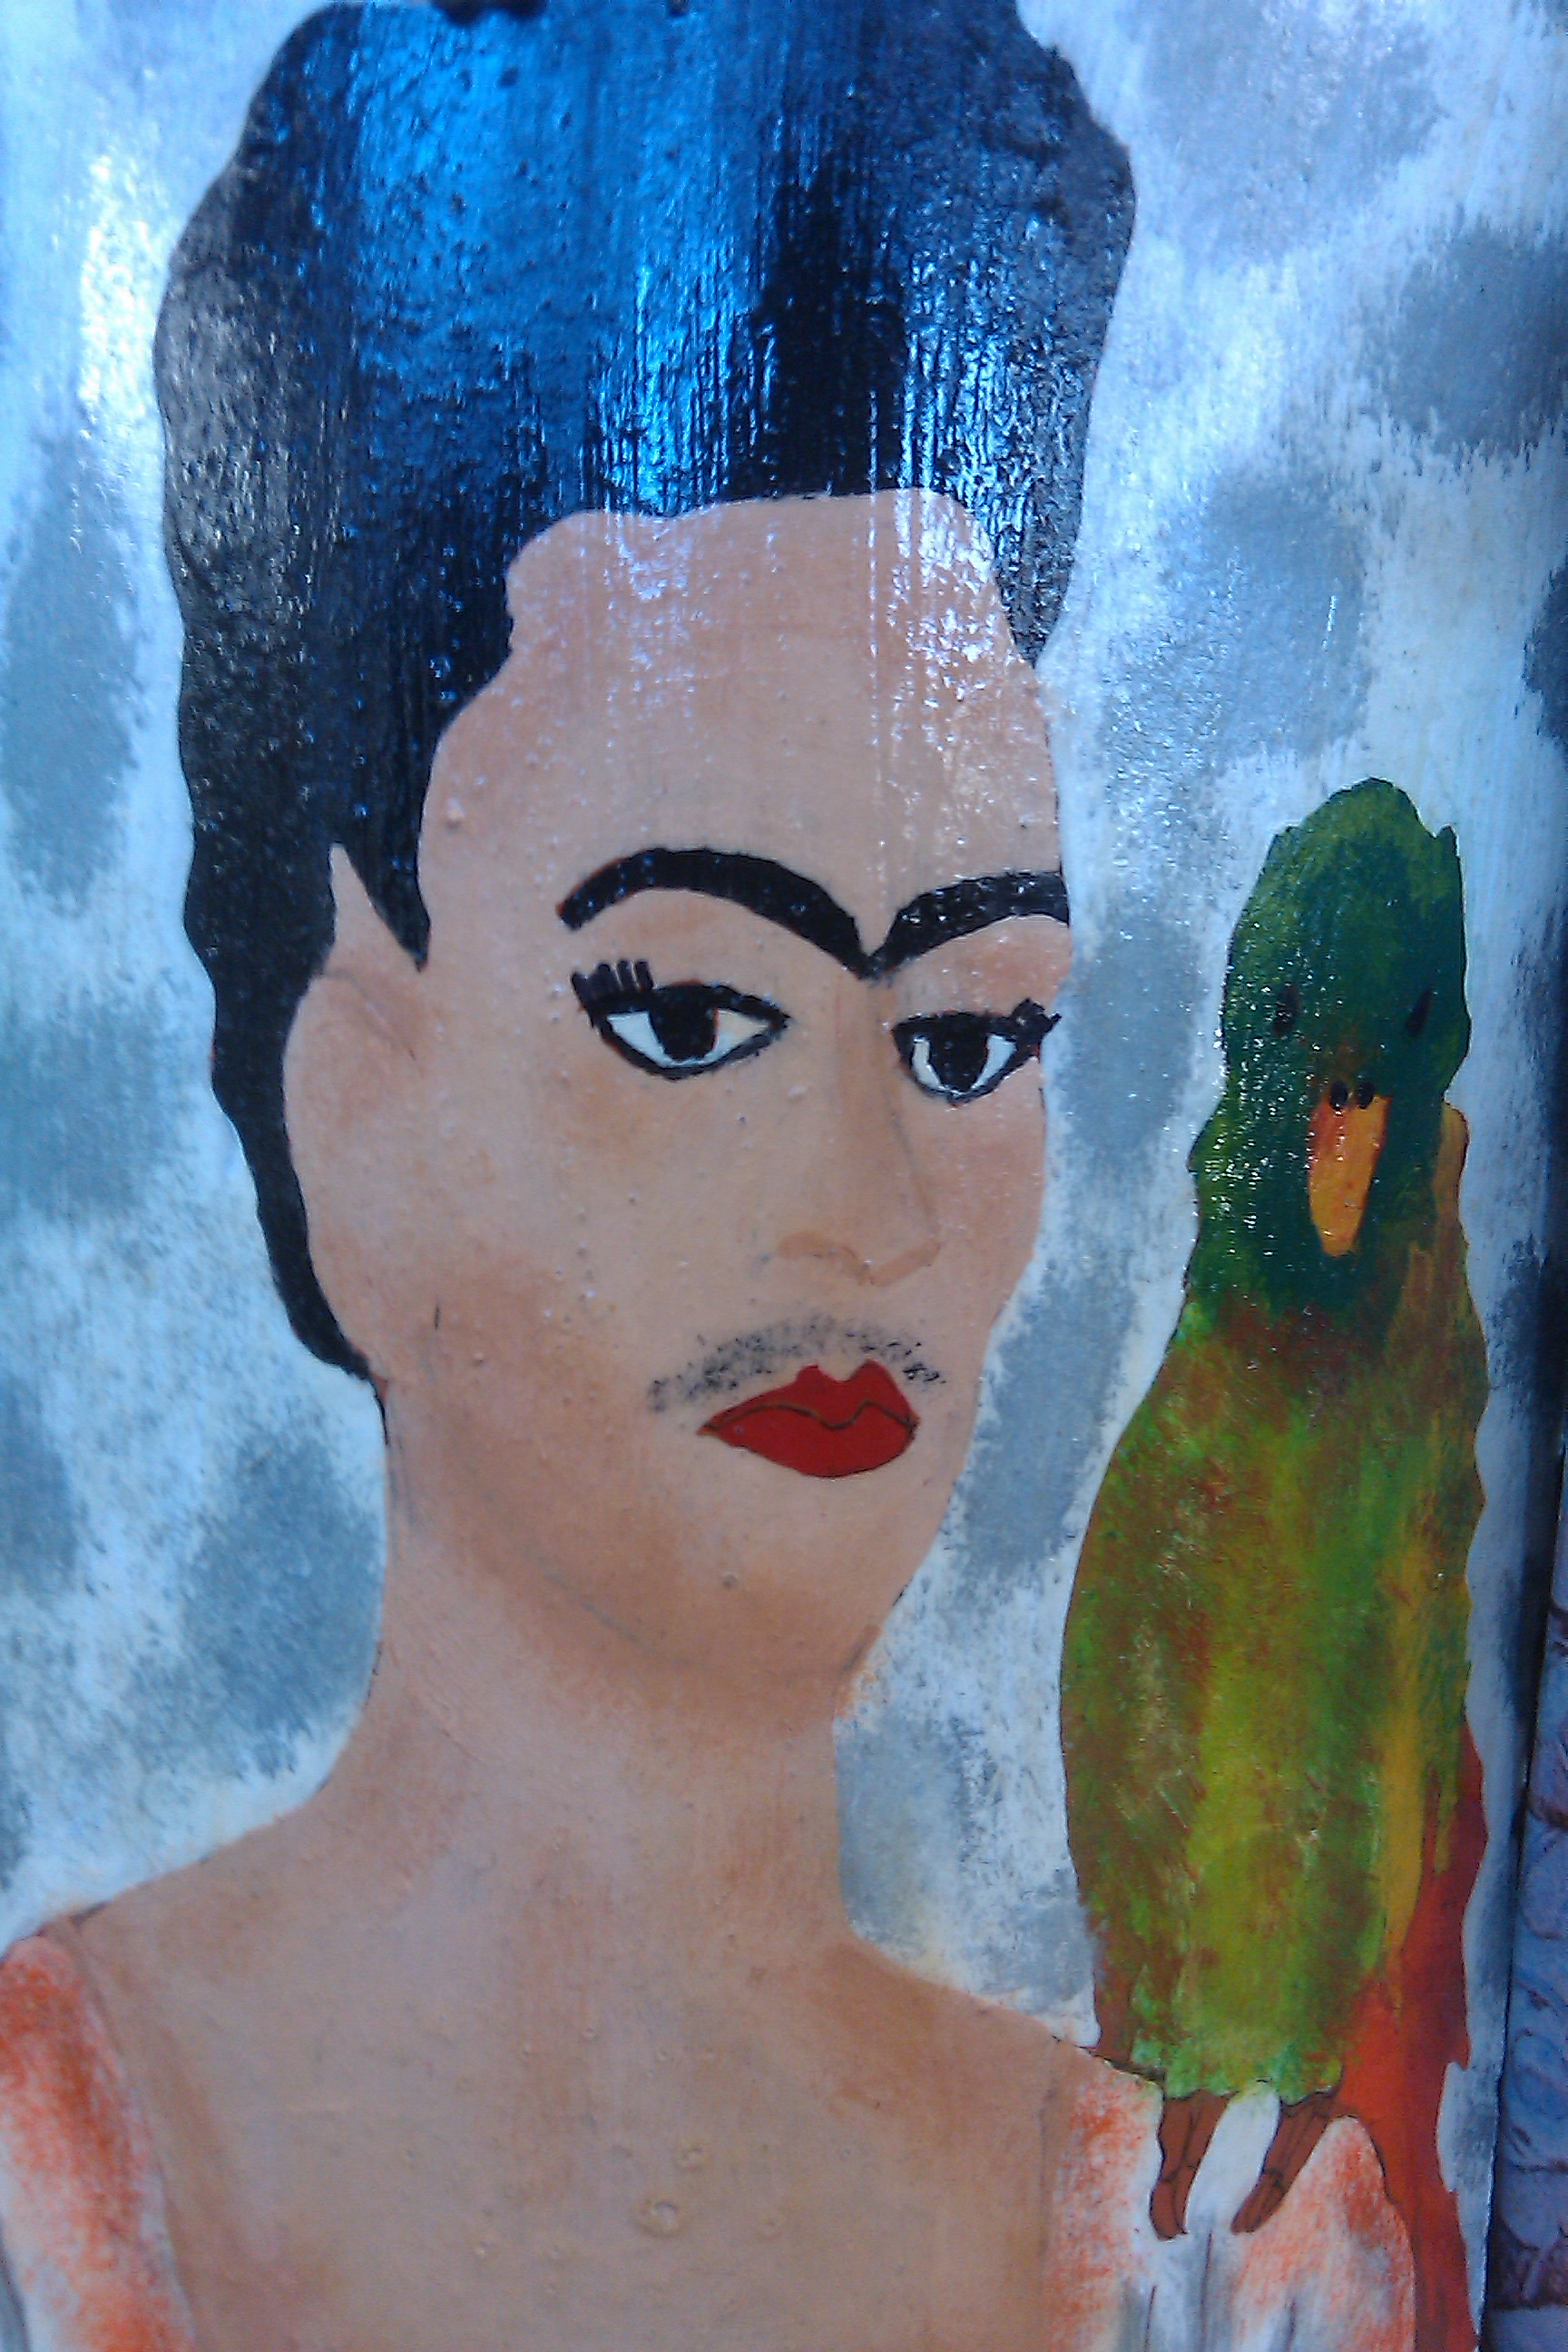
I love Frida
Oh and May the Fourth be with you!!


You must be logged in to post a comment.