Hello Everybody!
It’s time to talk trash!
Did you know 40.4% of our garbage is paper. 40% is a whole lot… let’s talk about that in terms of pounds, well its is 71.6 million tons! And according to the EPA only about 40 million tons of paper and paperboard were are recovered for recycling.

We can all do our part
Some of the recovered paper is used to make things like paperboard. Paperboard is not quite cardboard but much stronger than paper. It is what everything is packaged in.
The EPA states that “Approximately 70 percent of paperboard is used to package food and other consumer goods.” Paperboard is everywhere and if you really think about it, it is mostly unnecessary. Cereal boxes yet the cereal is in a bag..inside the box? Individual sized everything? unnecessary! Too much over-packaging!
I personally, was very tired of adding to the garbage or even the recycling with all this paperboard, that in my crafting mind I could do something with.
So I decided to kill two birds with one stone, pardon the expression…I love and respect birds. 😀
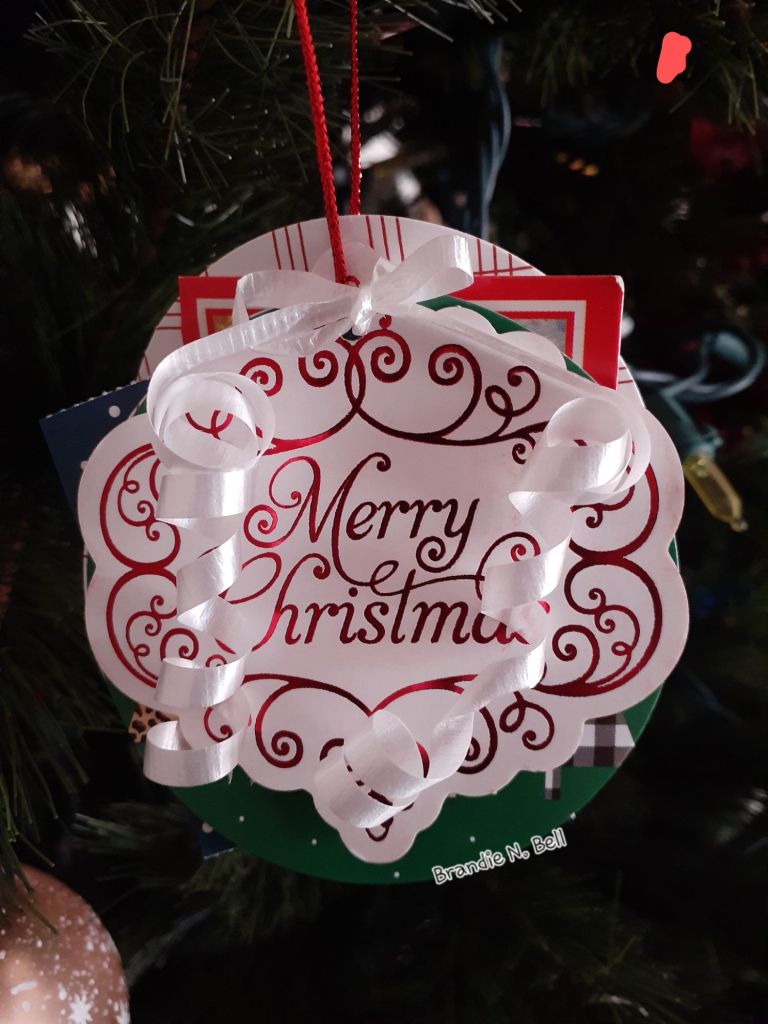
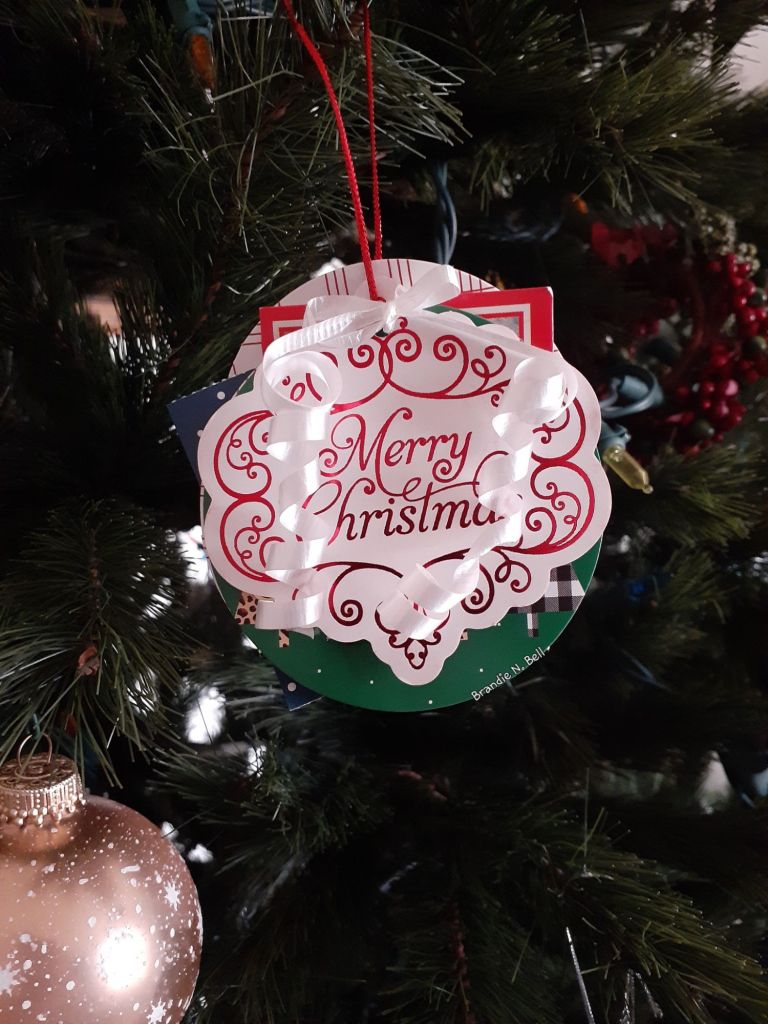
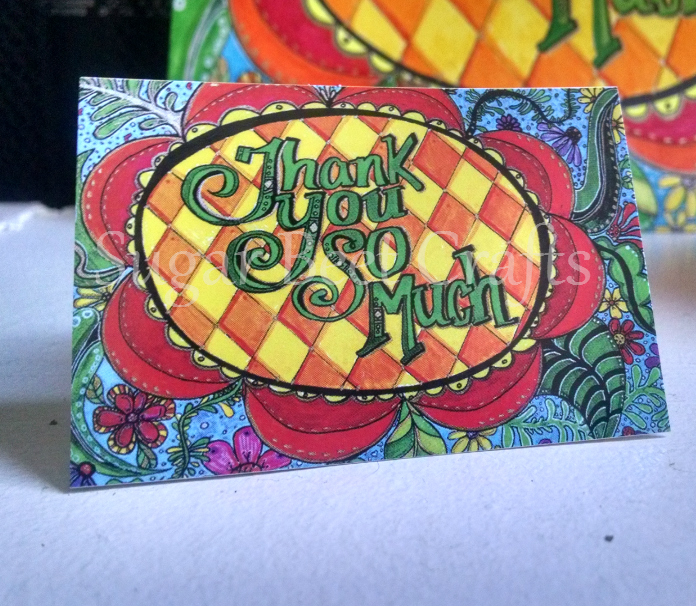
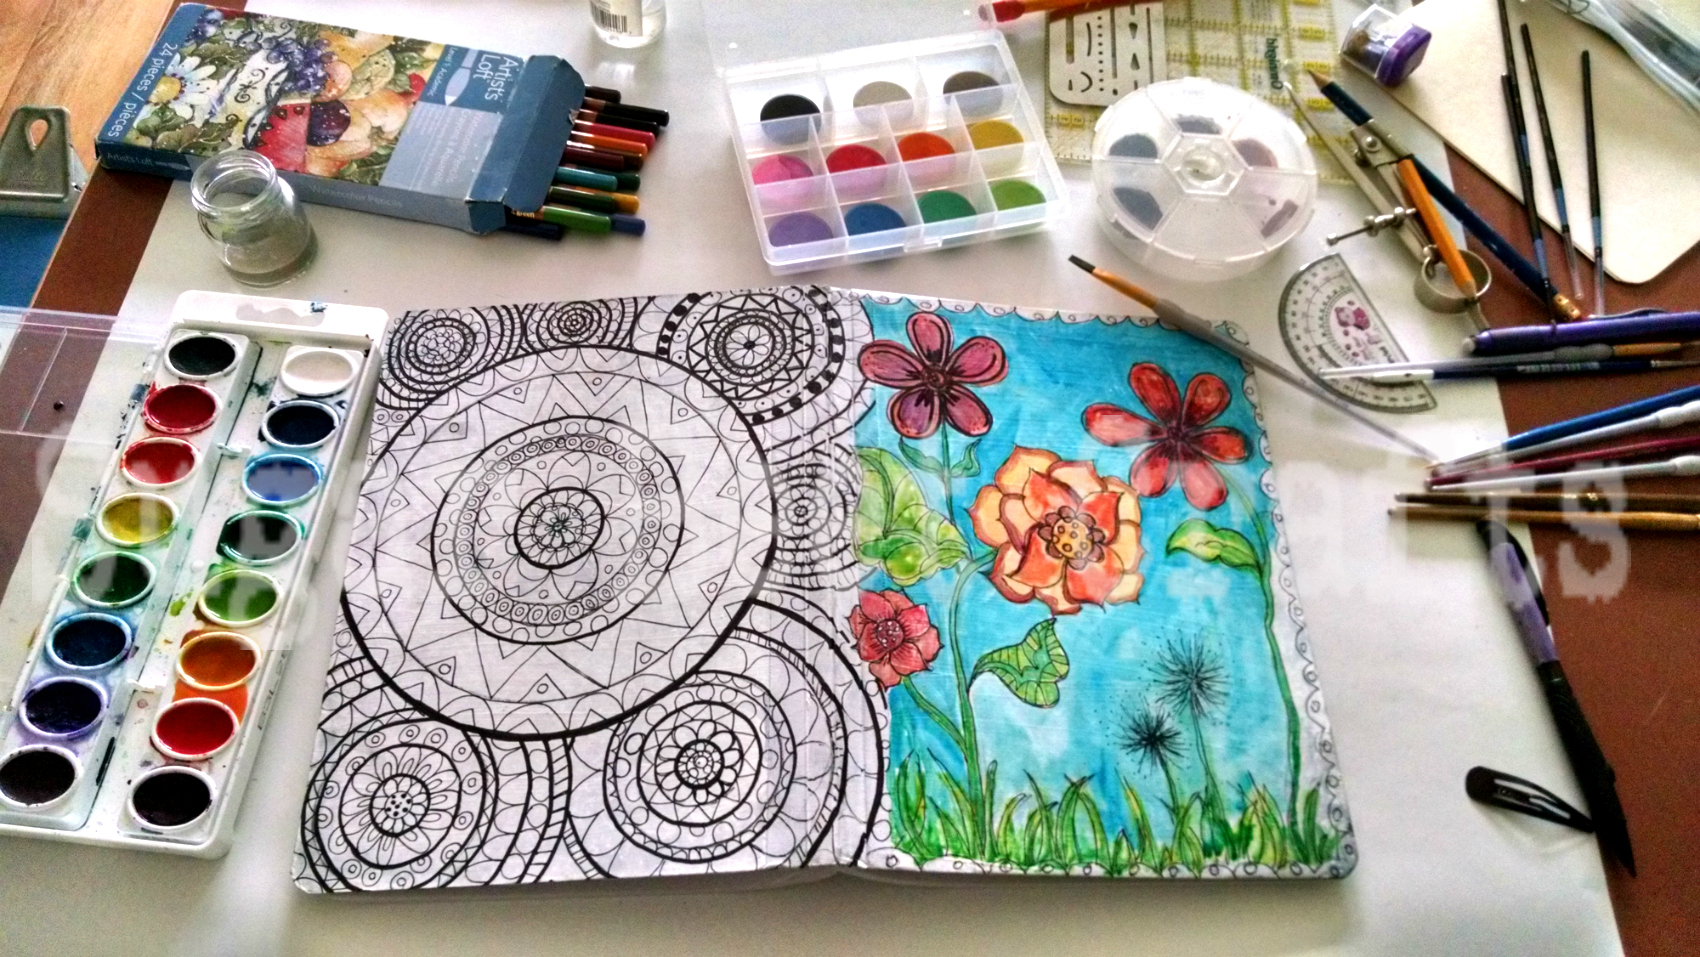
I decided instead of throwing the cereal boxes and well most packaging into the recycle bin I was going to reuse it. I discovered they make wonderful art canvases, journal pages and bookmarks. Art supplies are expensive!! I do not necessarily need the super expensive nice canvases for my art. Part of what makes my art my art is recycling and reusing what’s around me in a different way.
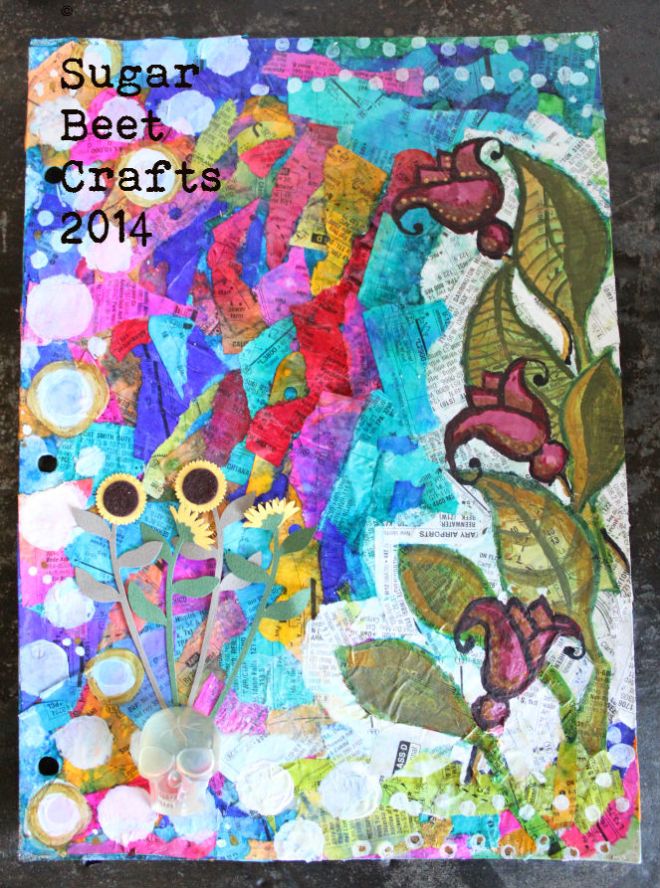
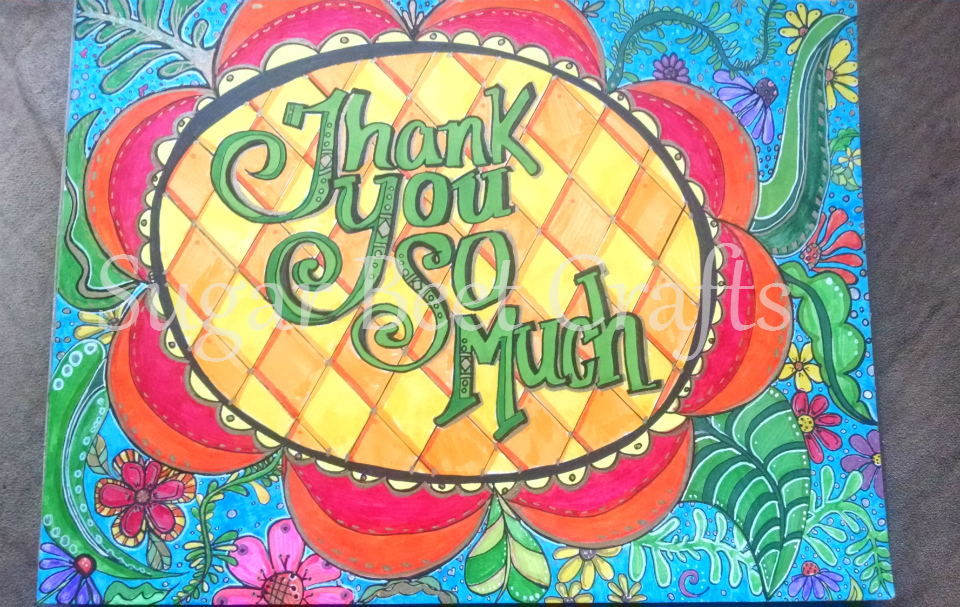
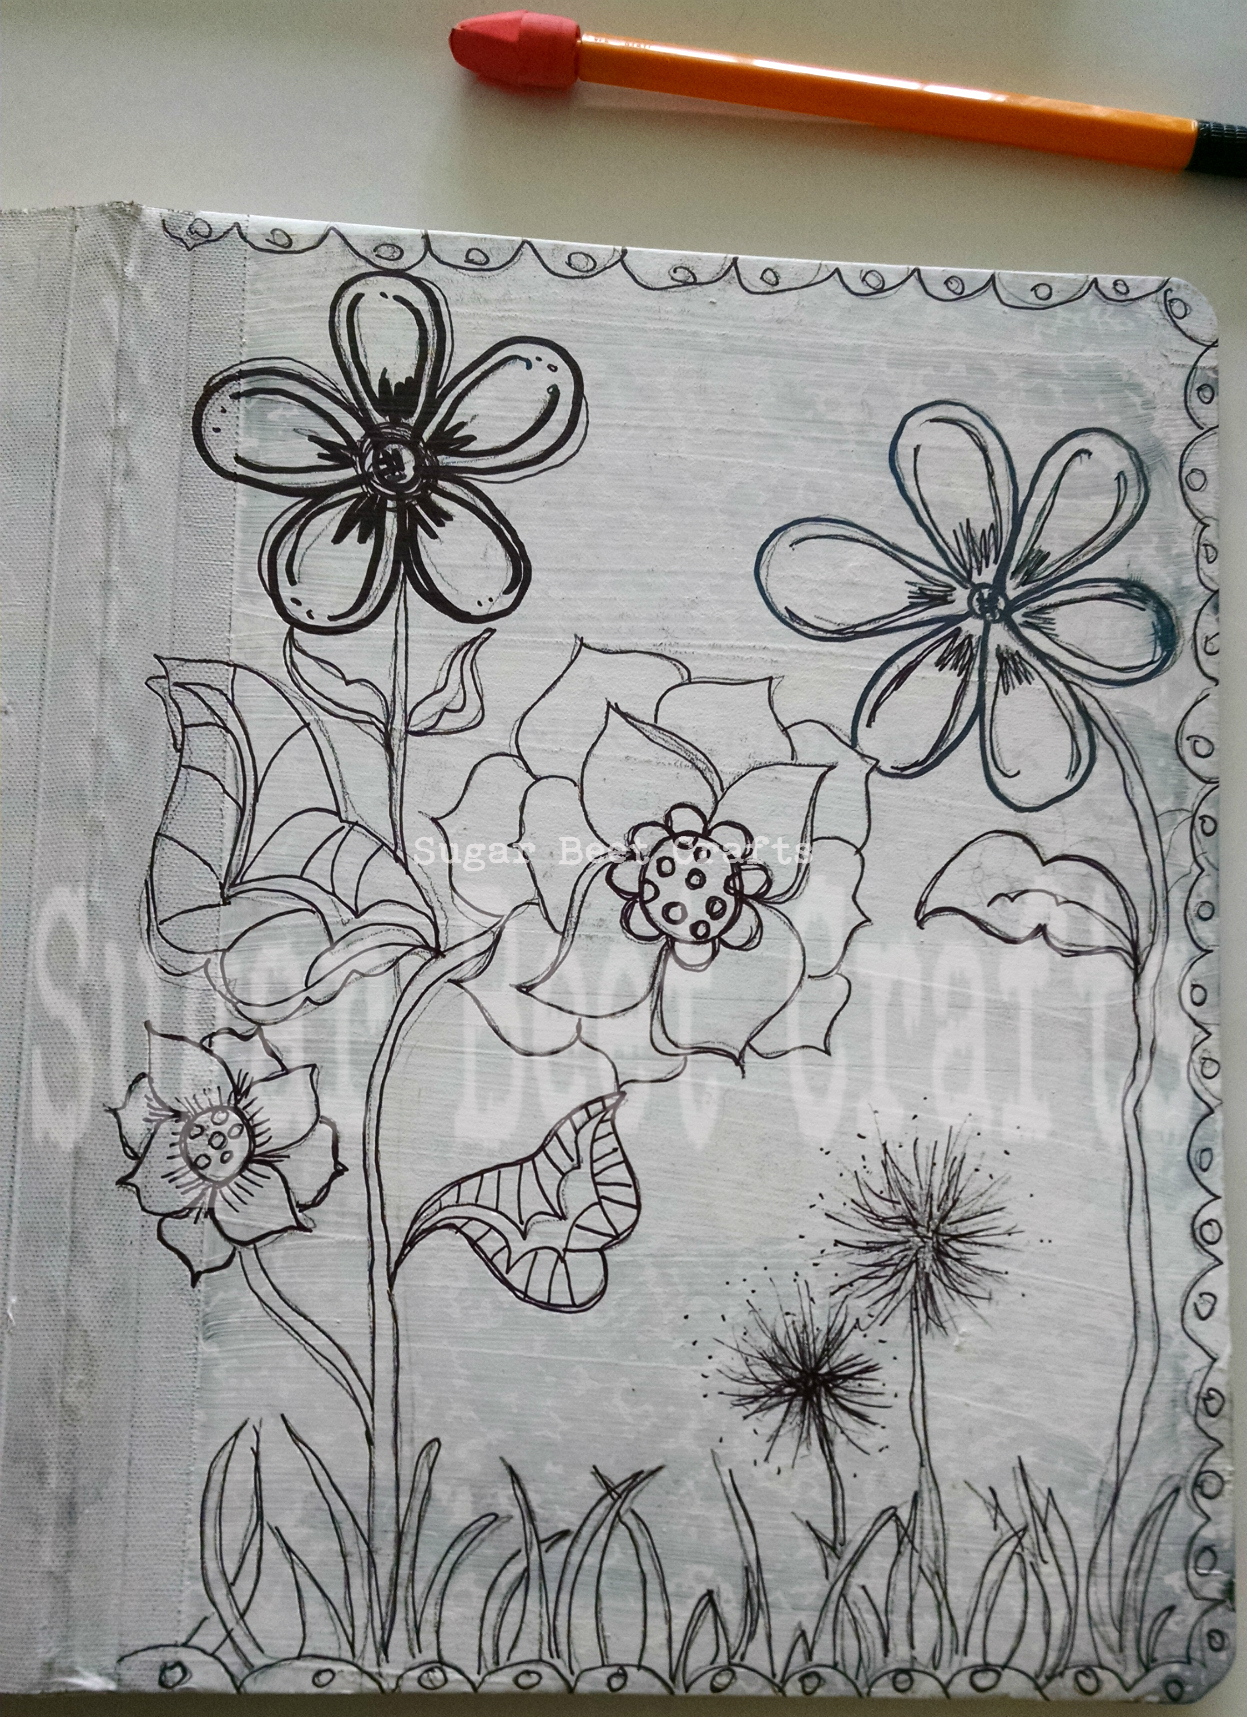
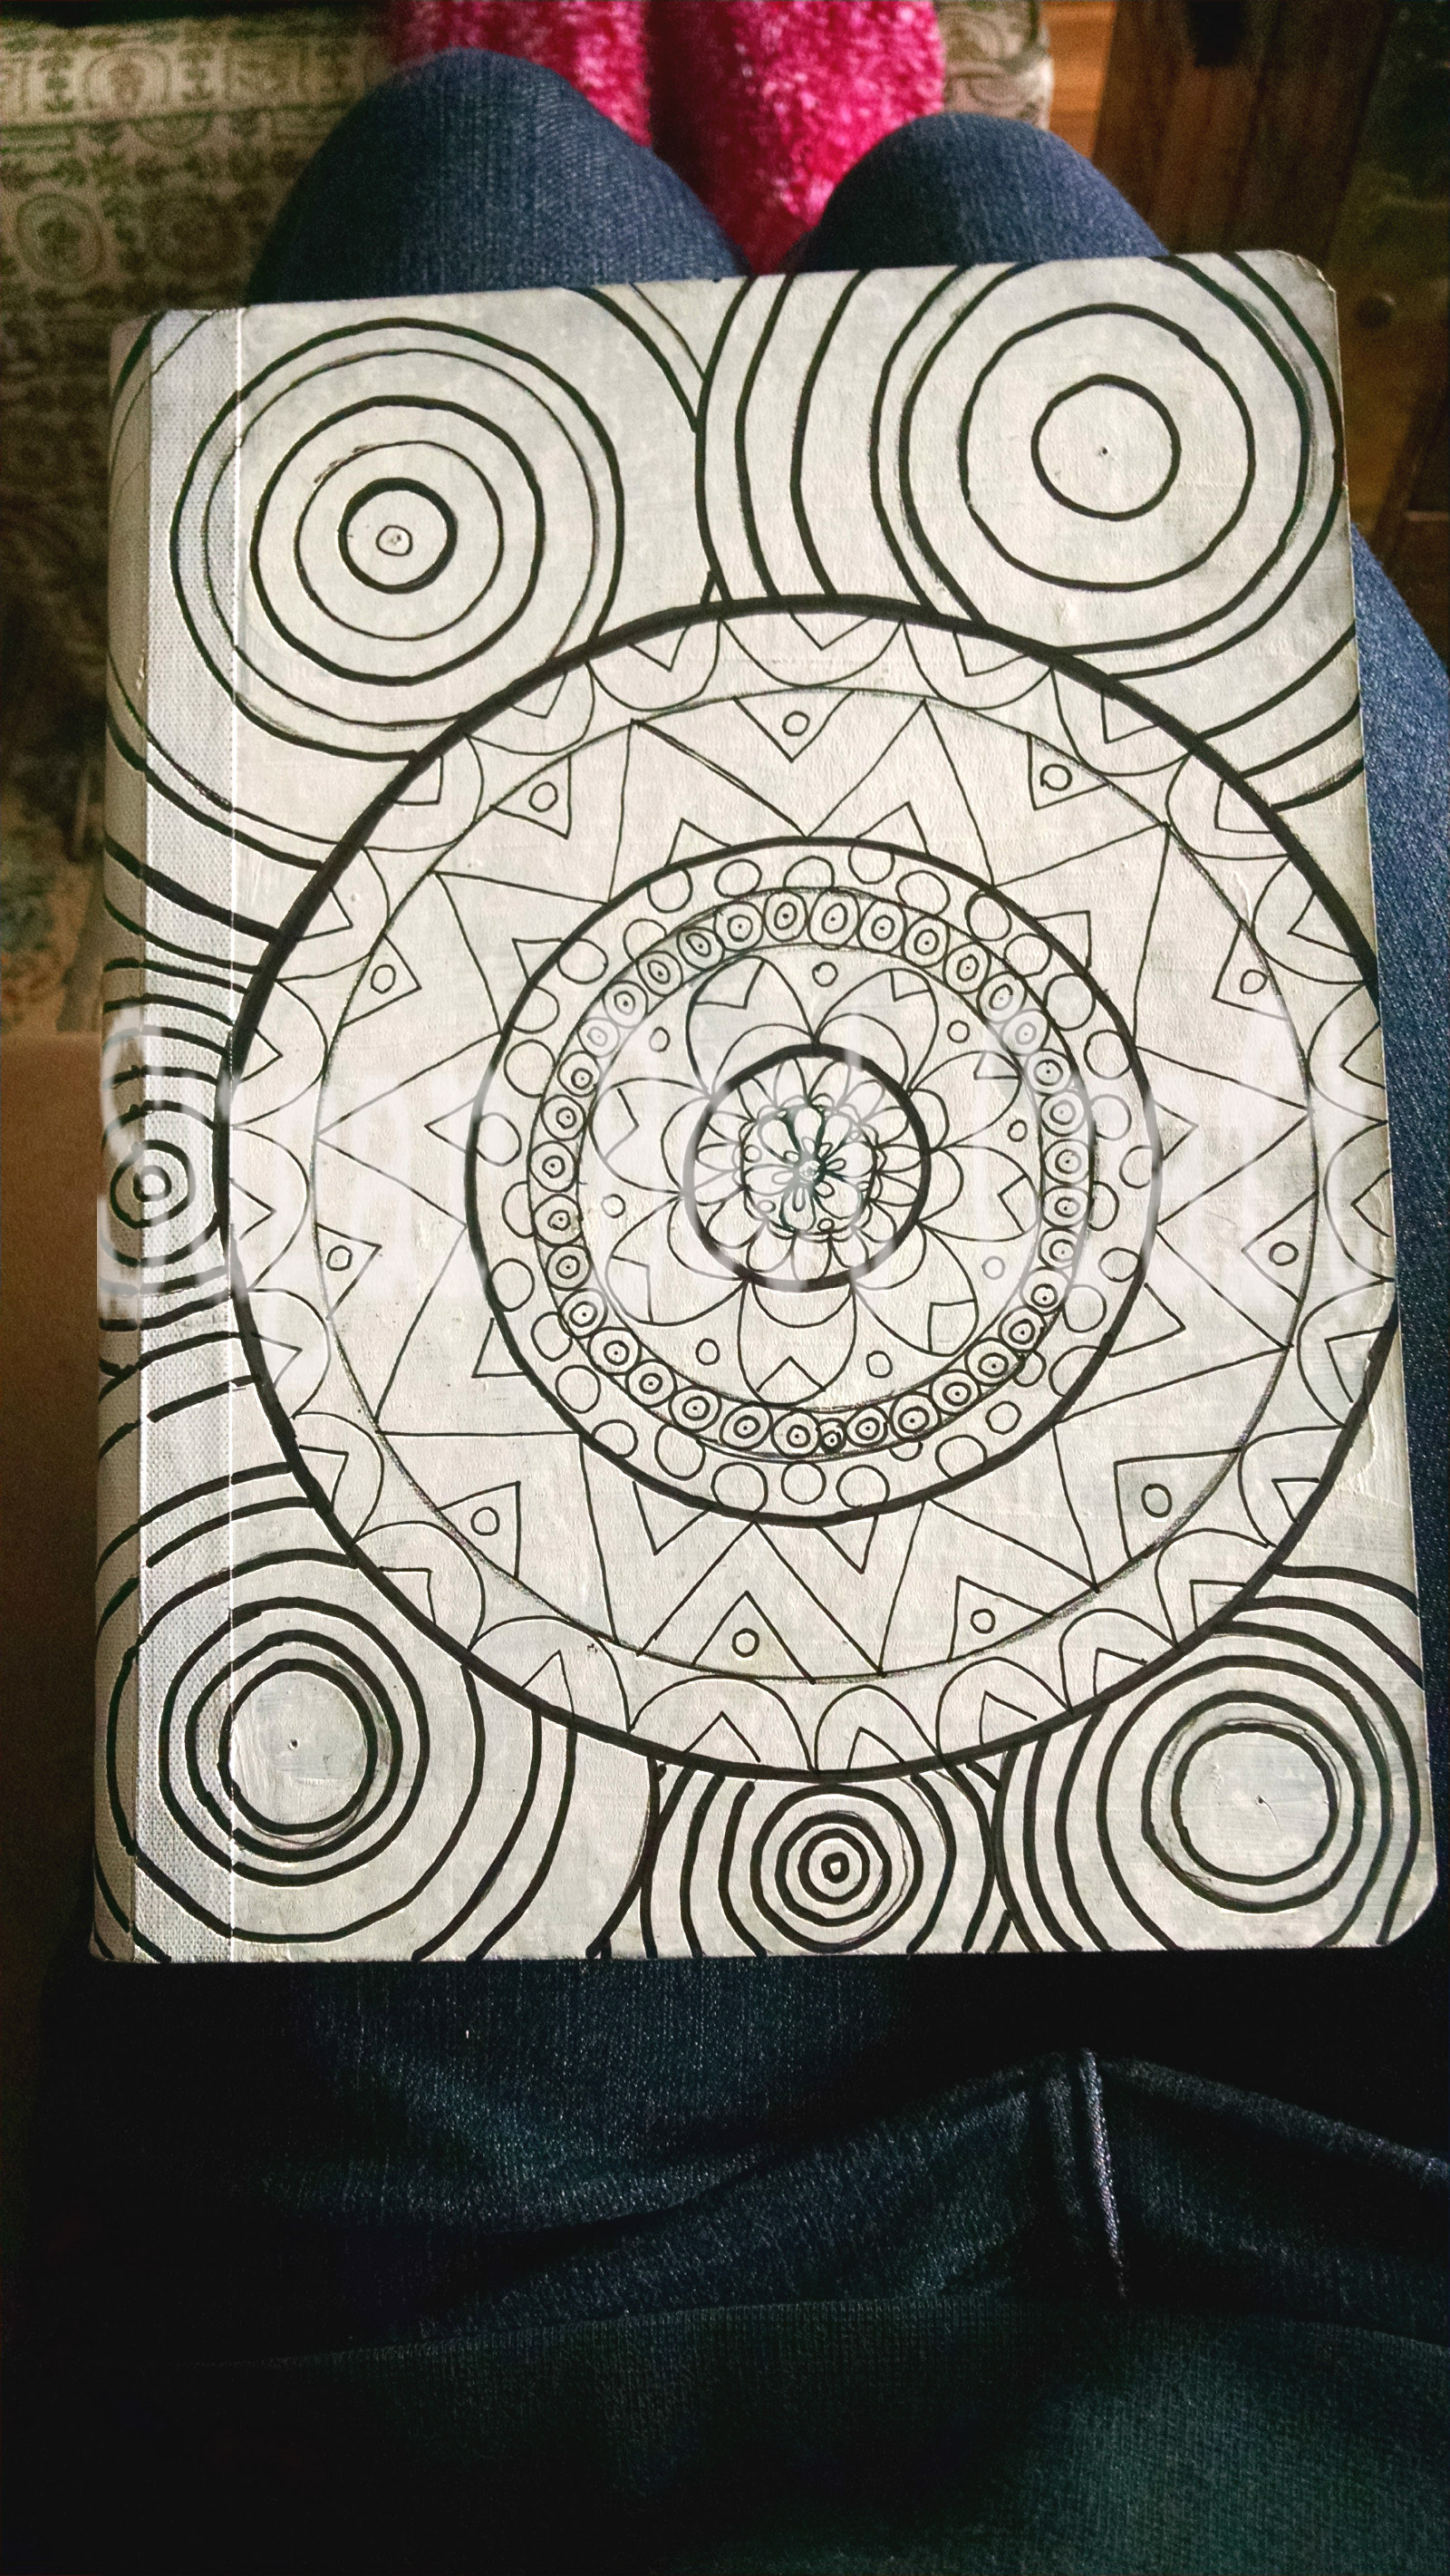
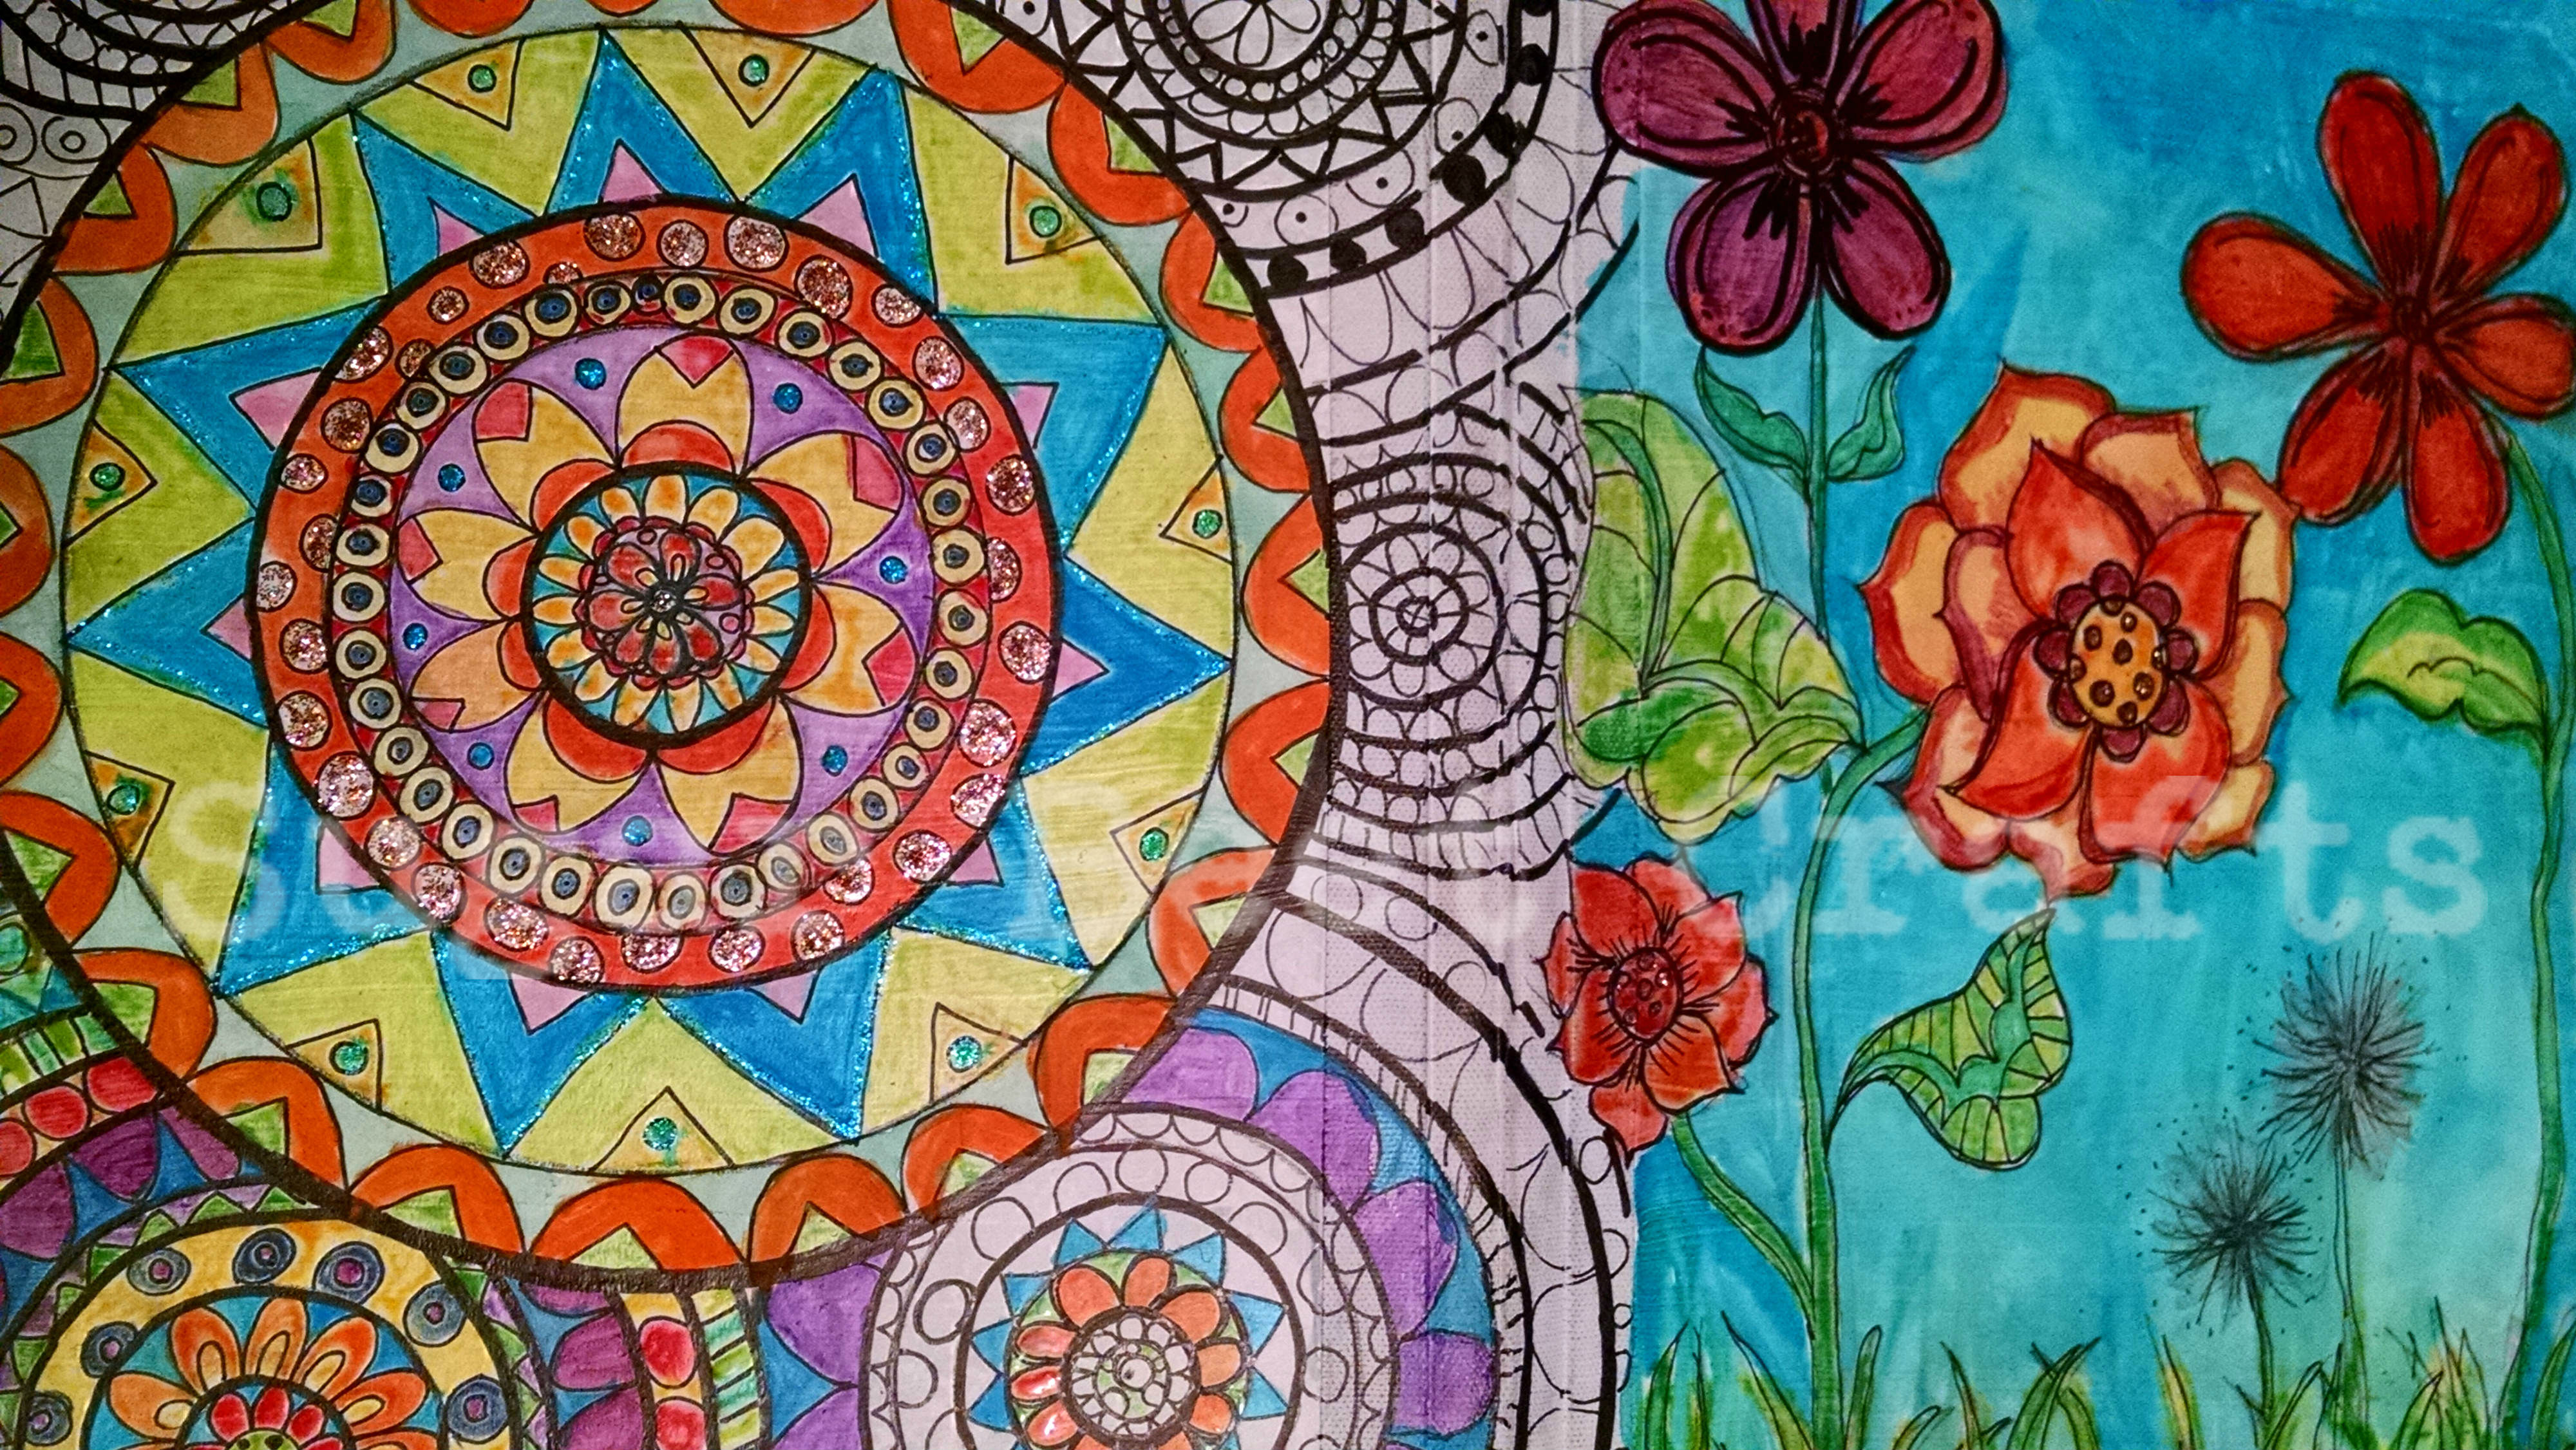
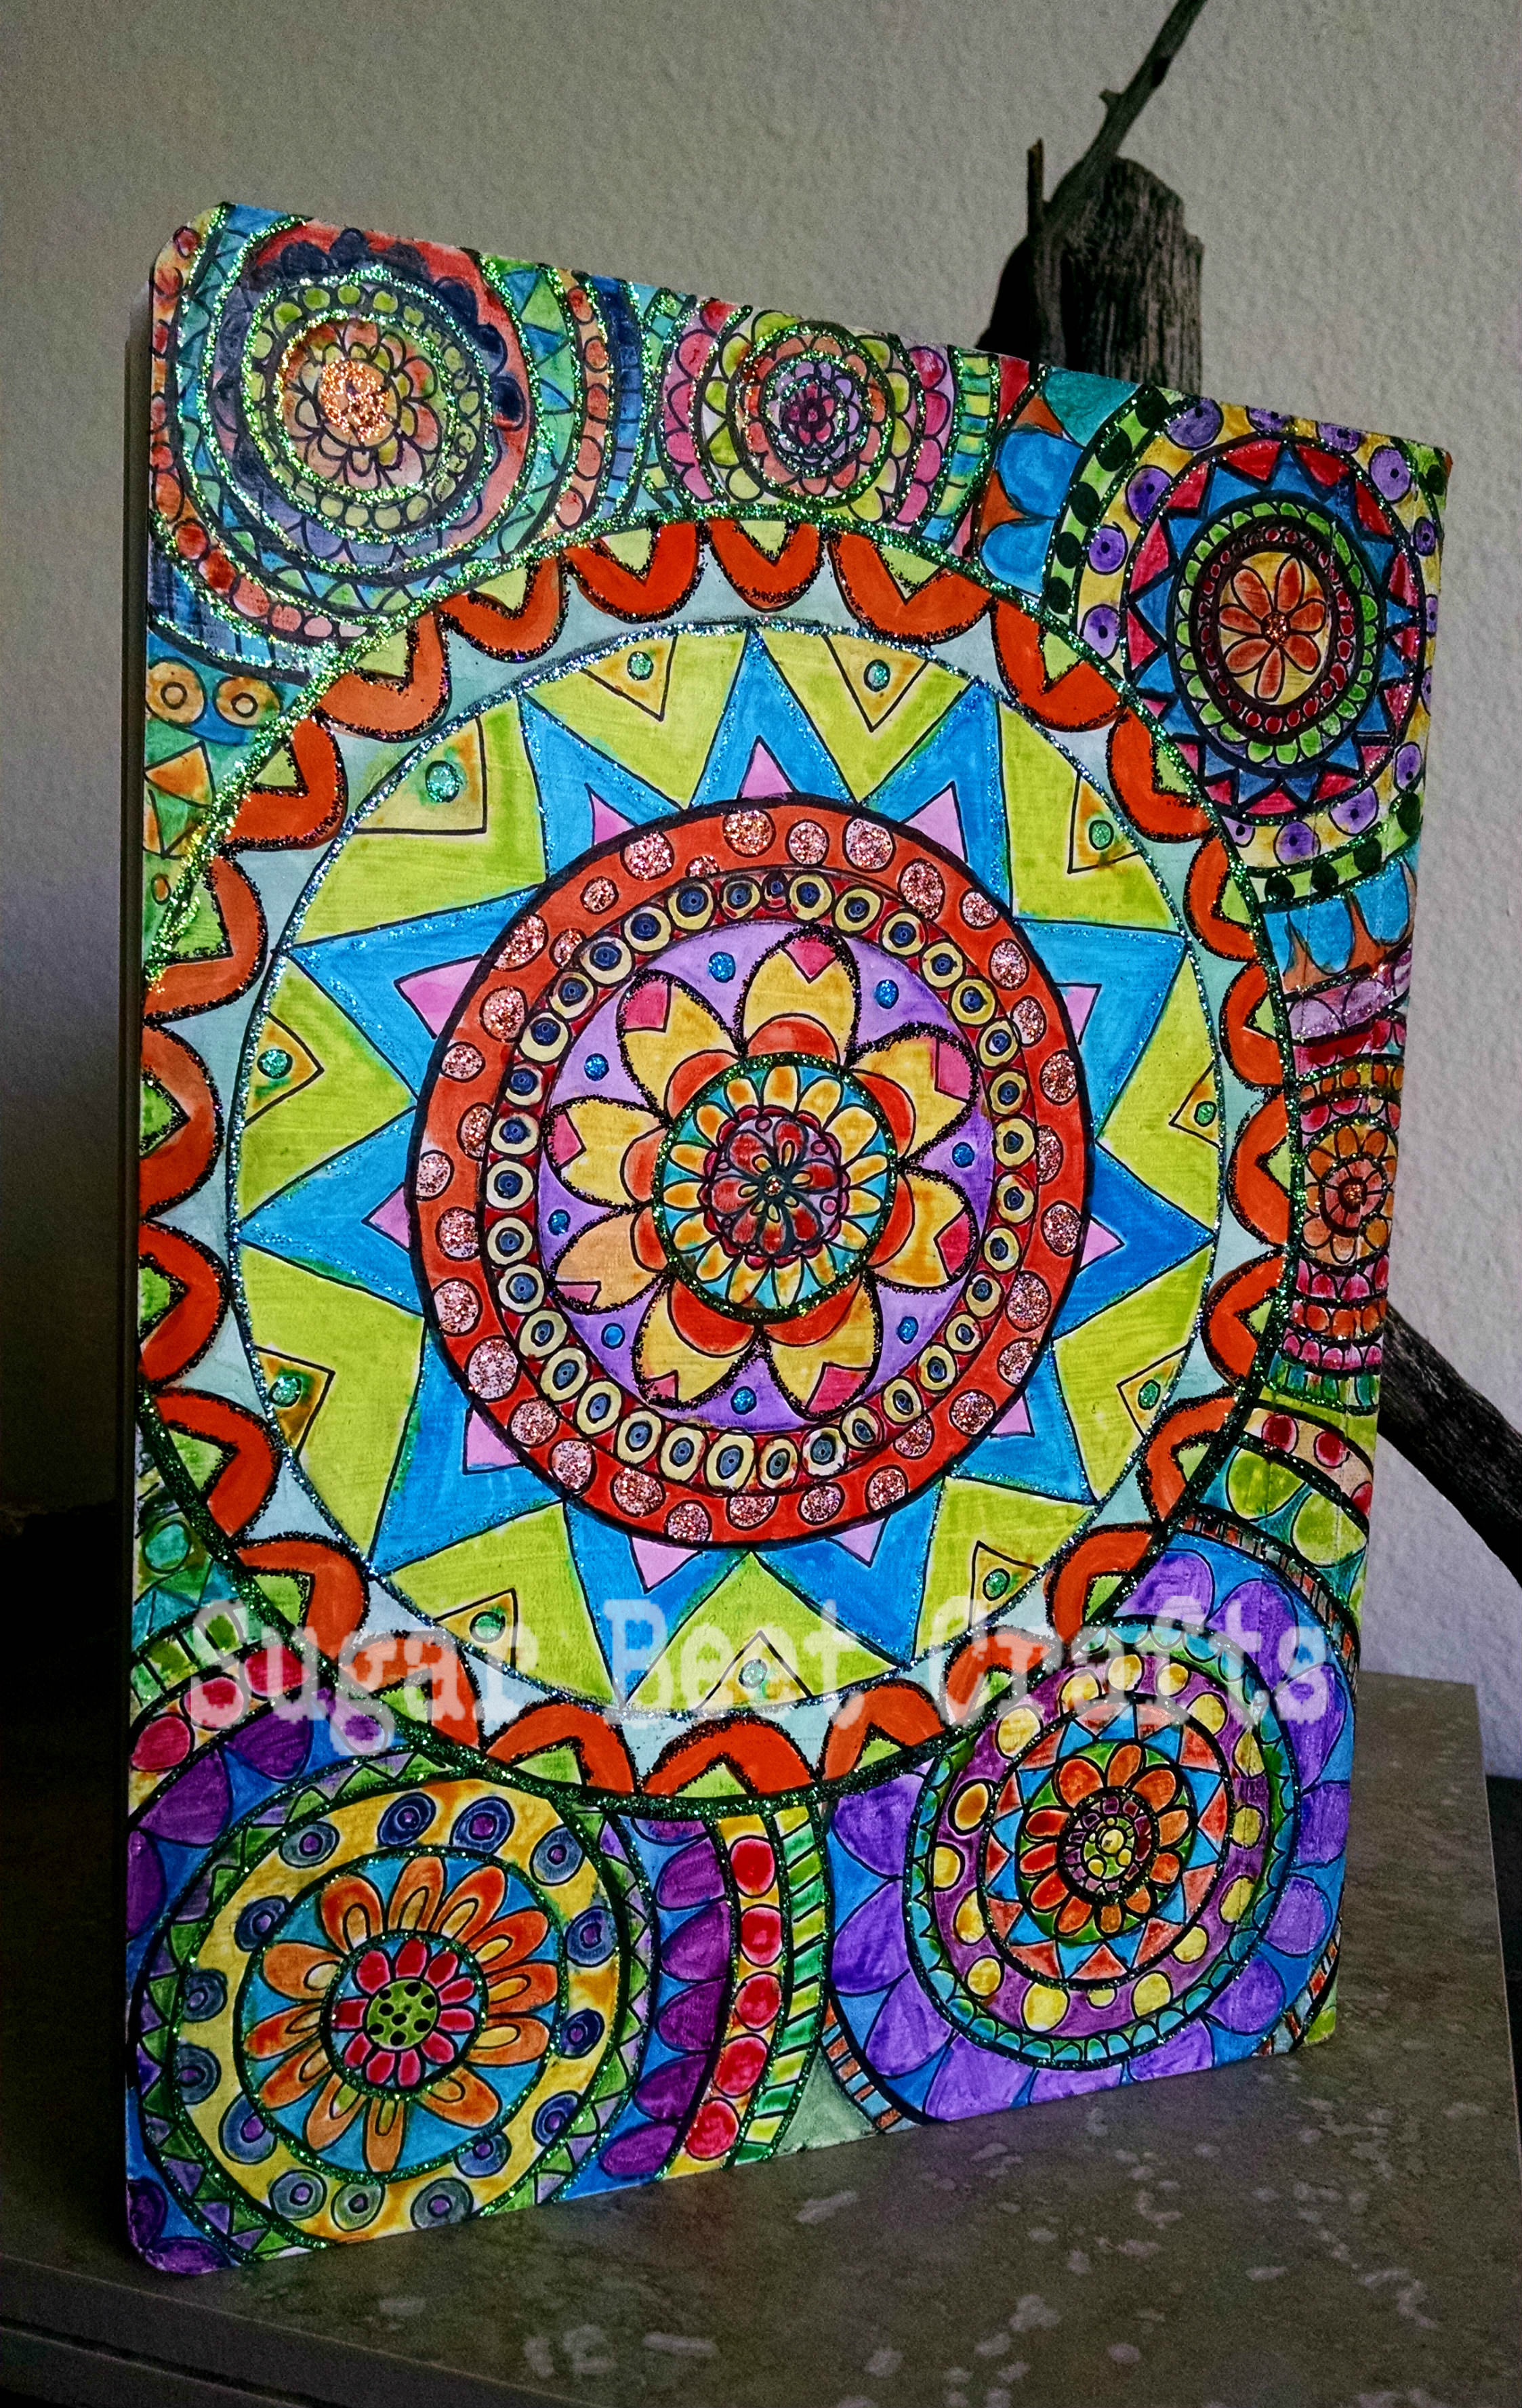
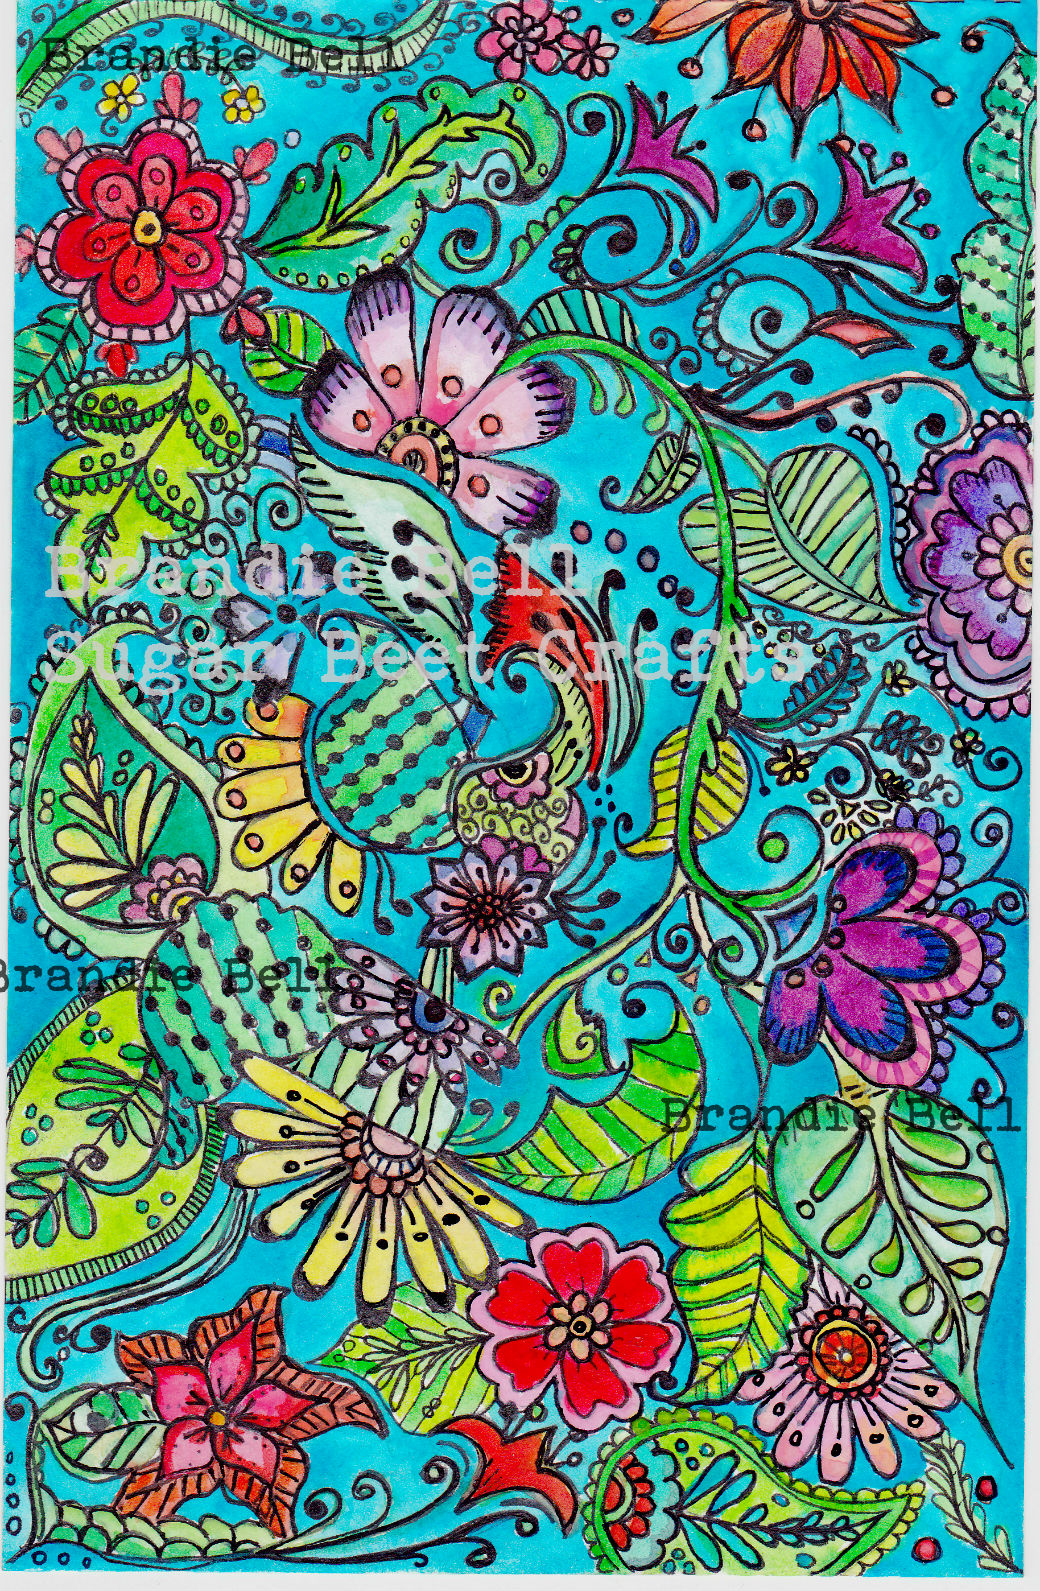
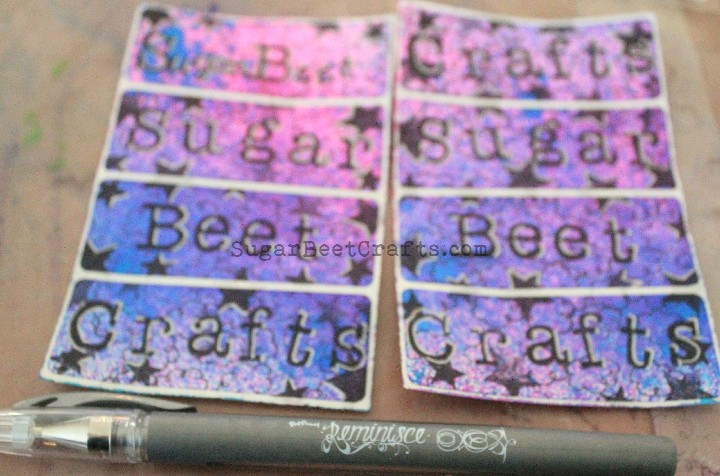
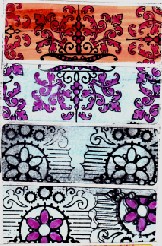
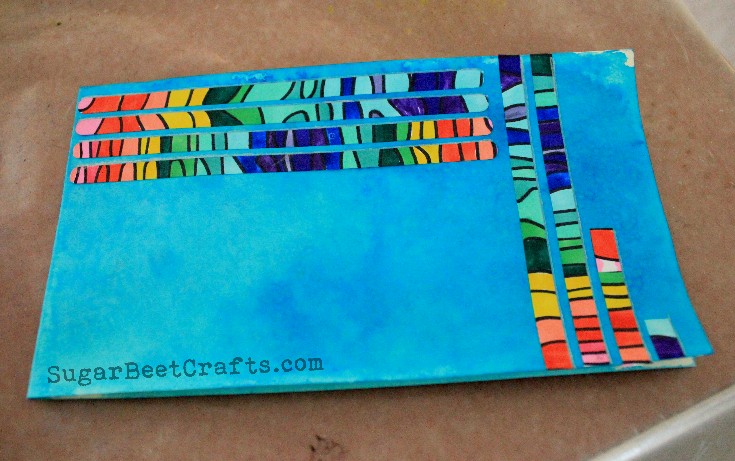
Recycled Beauty Art Page on Cereal Box
by Brandie Bell
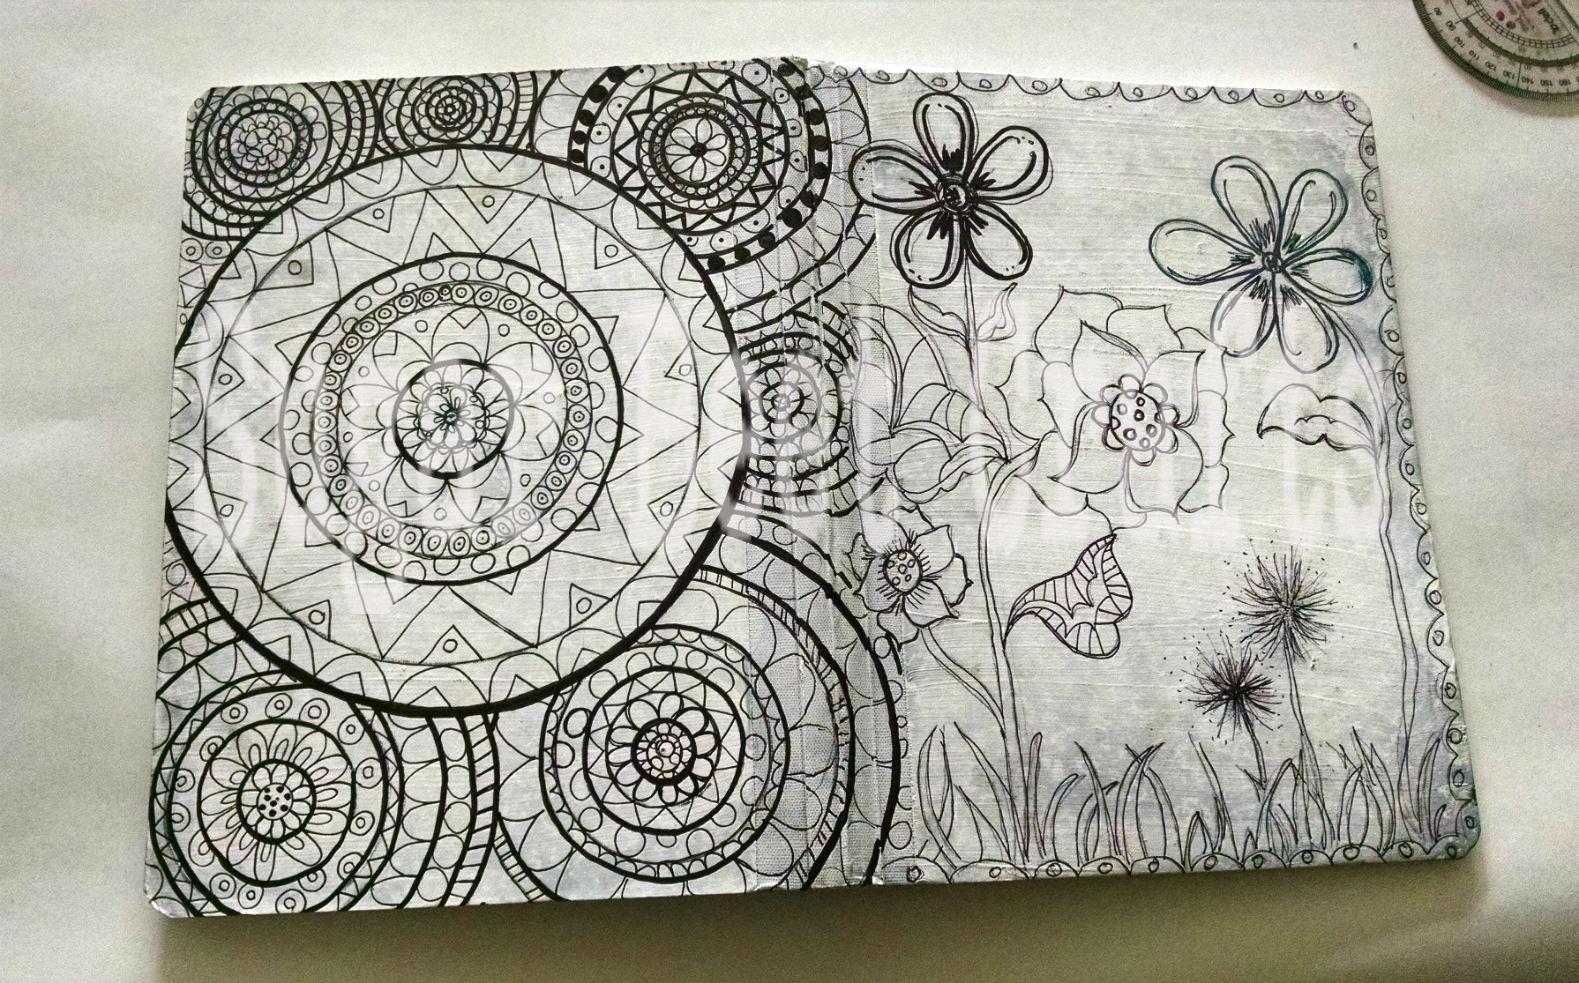
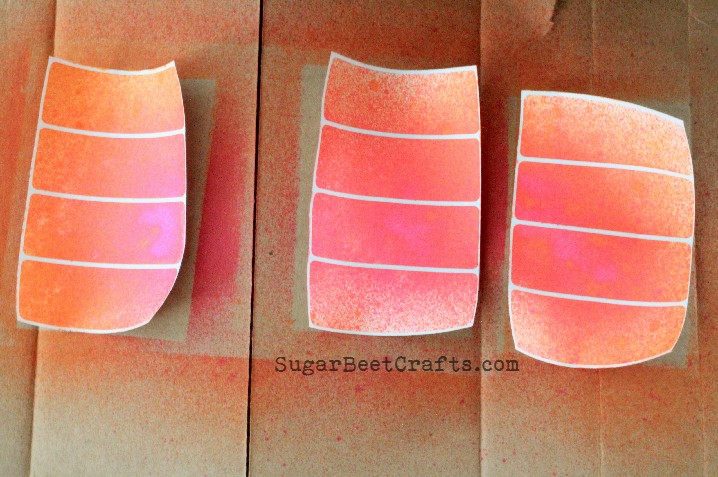
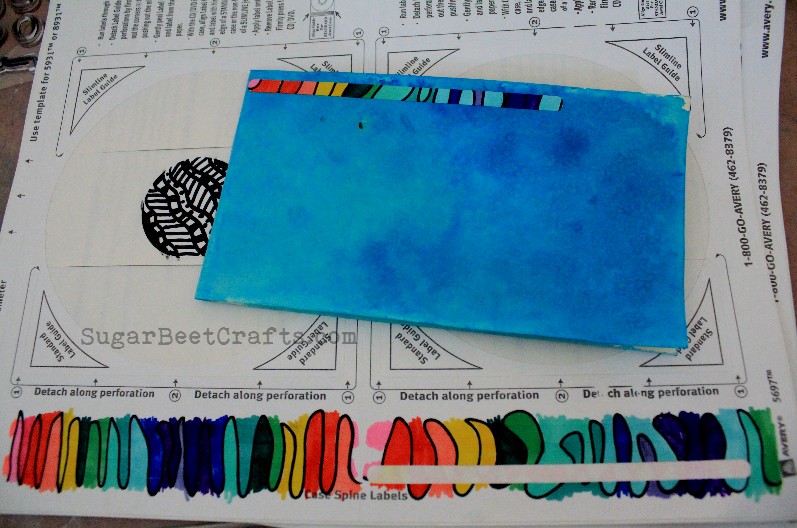
Once cut down, the possibilities are endless!
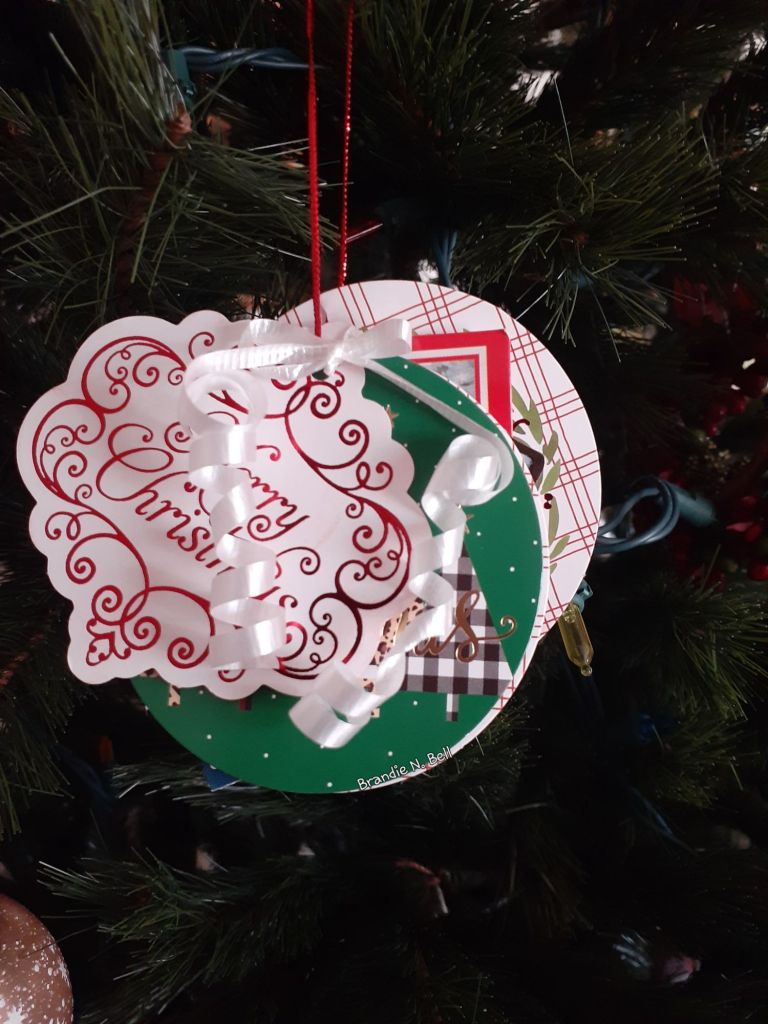
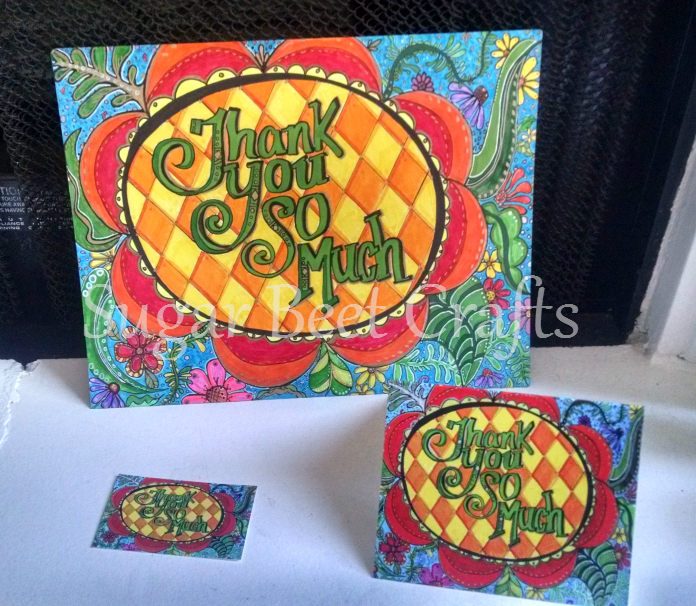
They are thick enough to make stencils & stencil masks, the ink sprays and acrylic paints I used did not seep through. Create your own works of art with decoupage, paint, fabric, embellishments, it is even strong enough for those steam punk projects. Cut out Tag shapes and make your own tags.
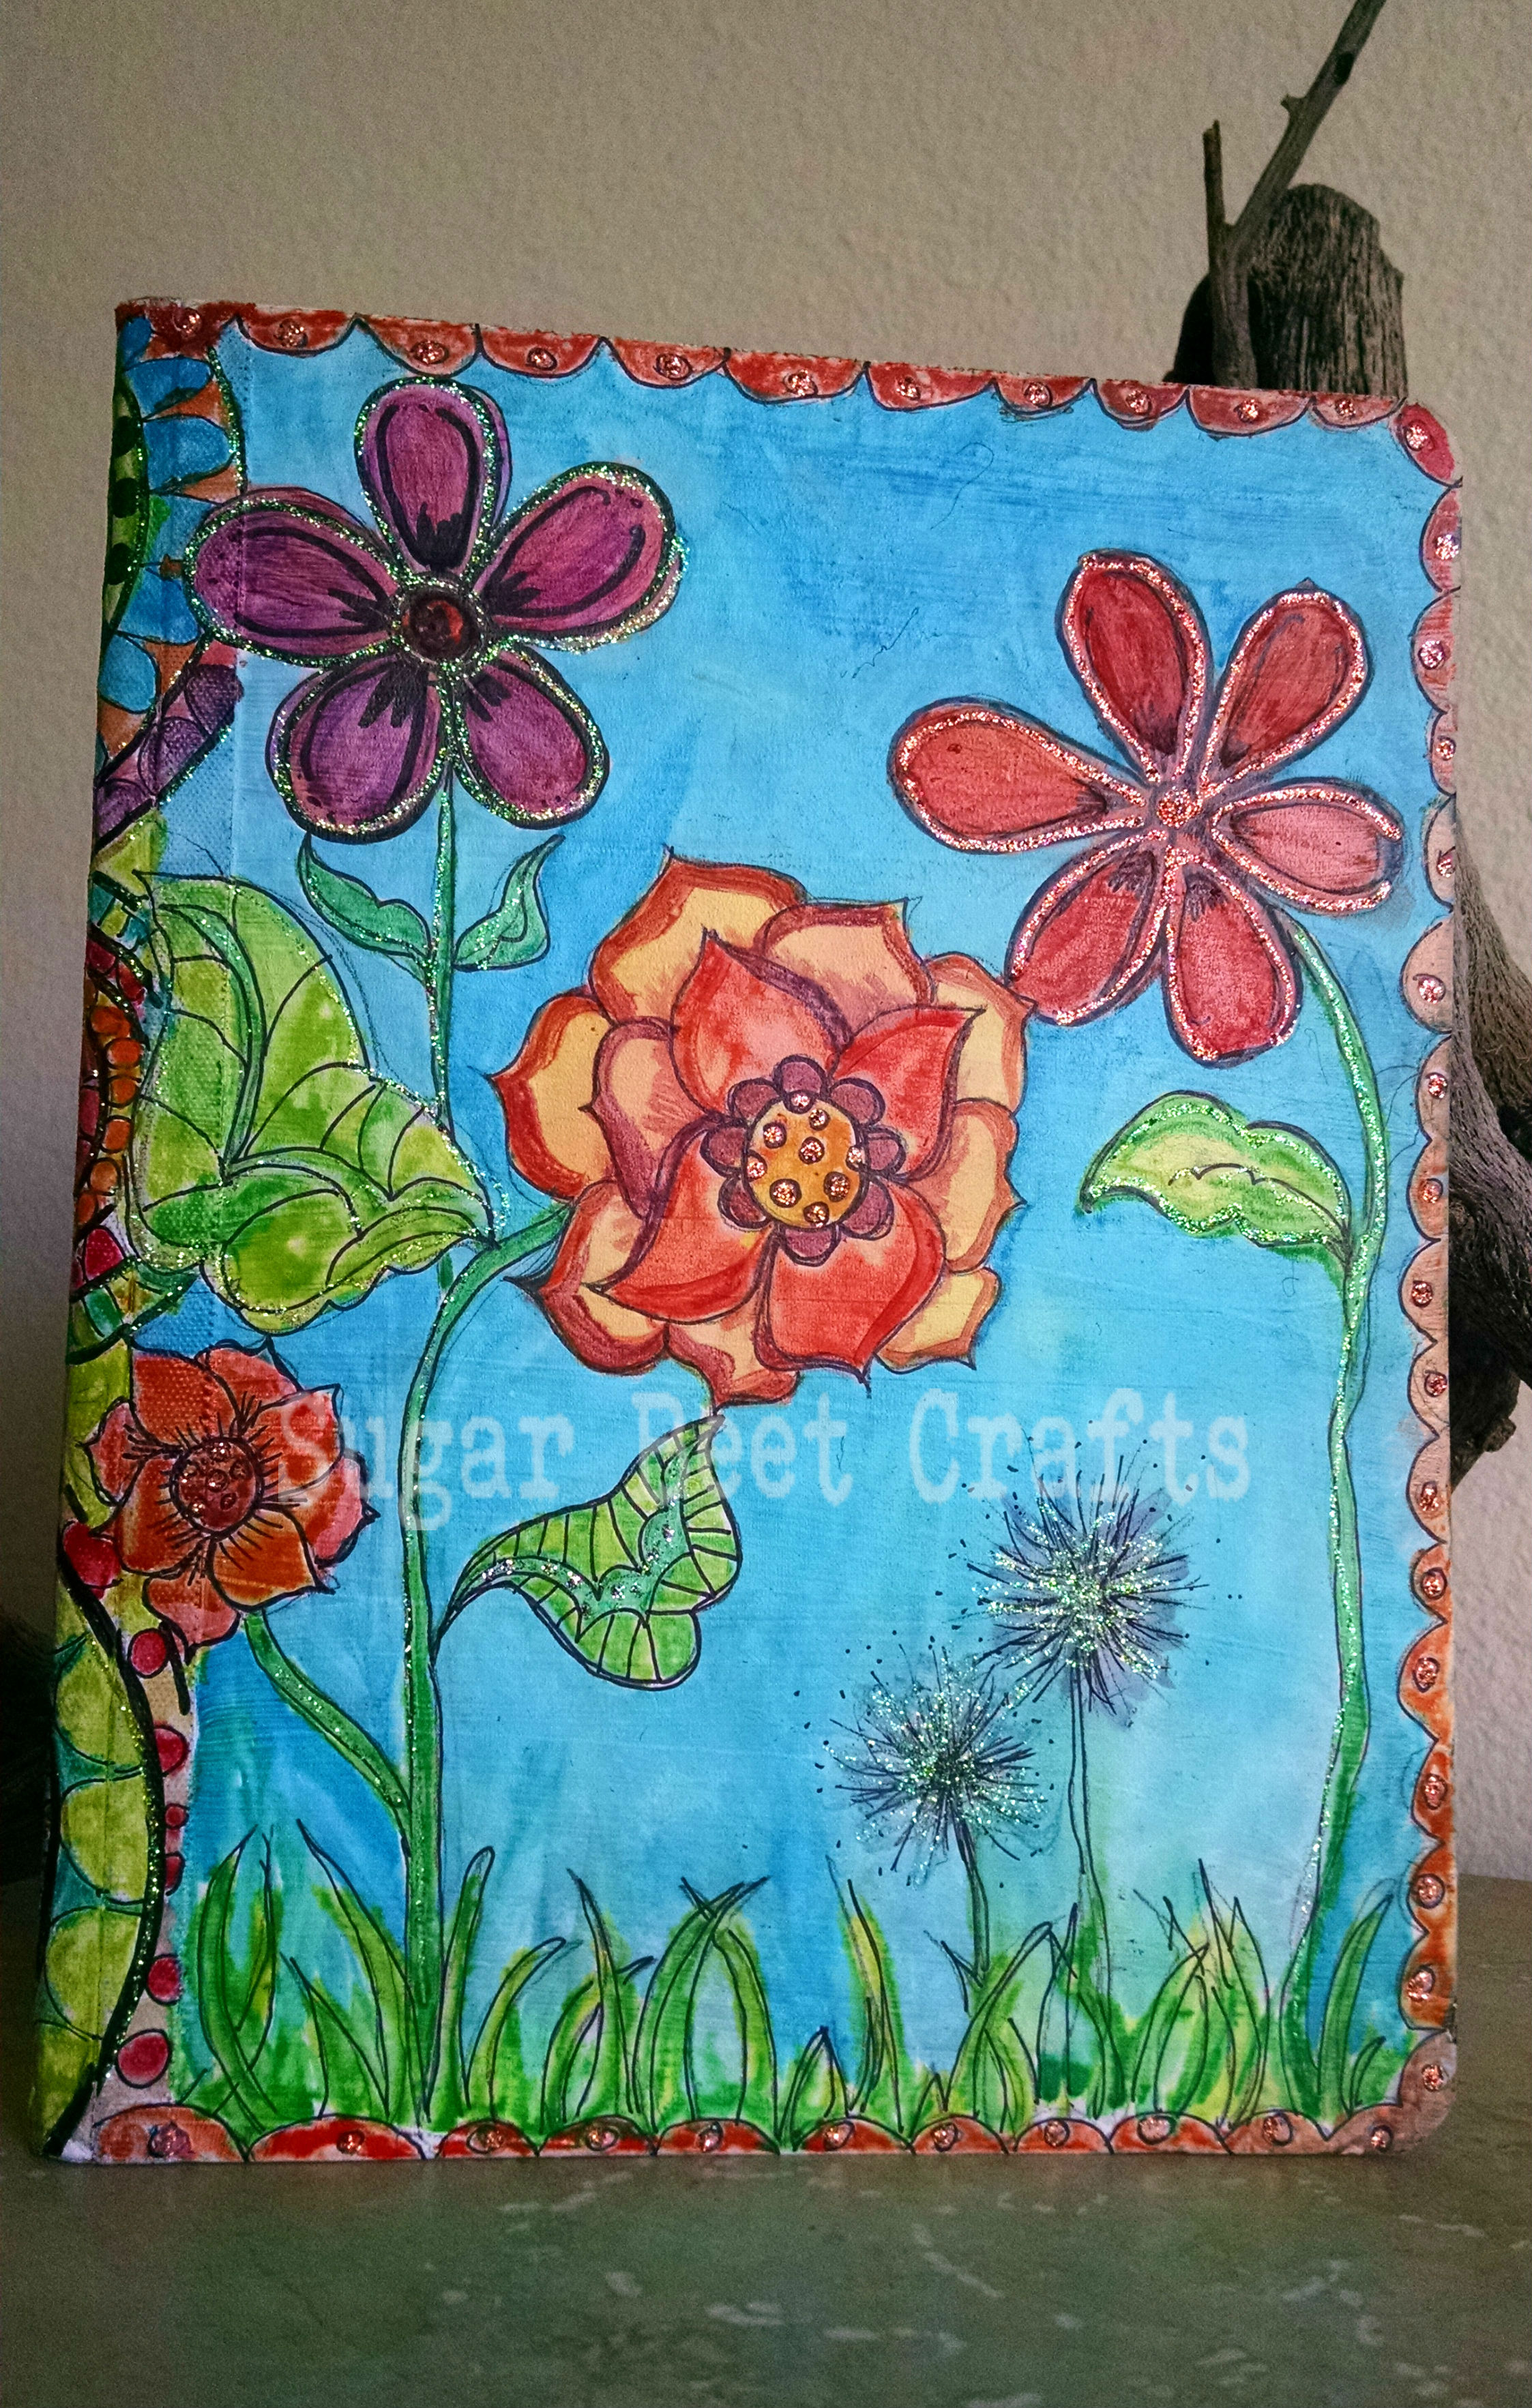
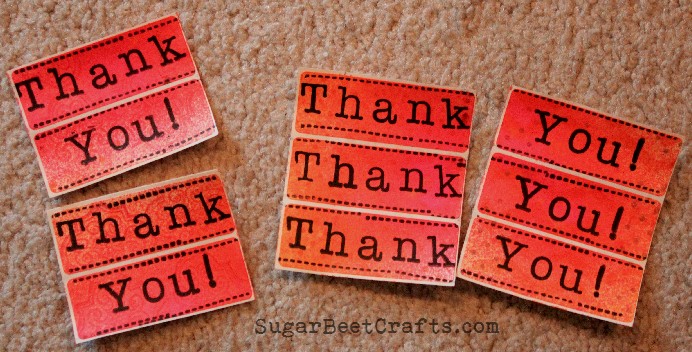
The skinny sides make great bookmarks!
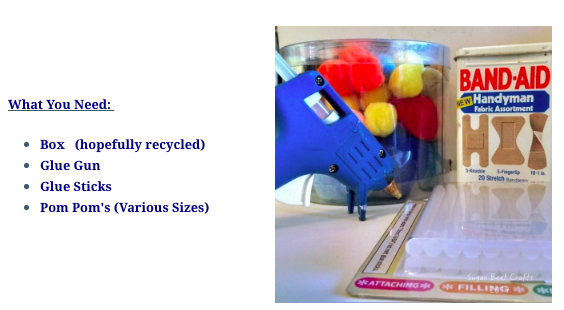
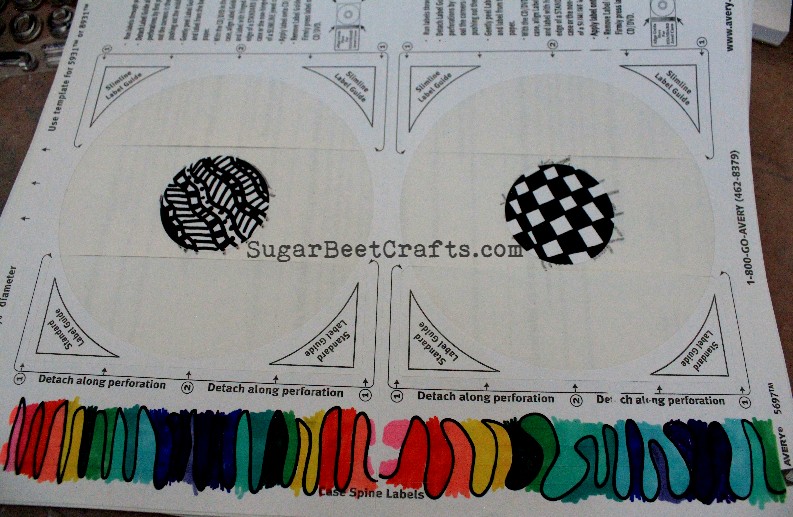
Here is how to do it the way I do:
1. Cut down the boxes right away. Easier to store and easier to start projects if the cutting is already done.
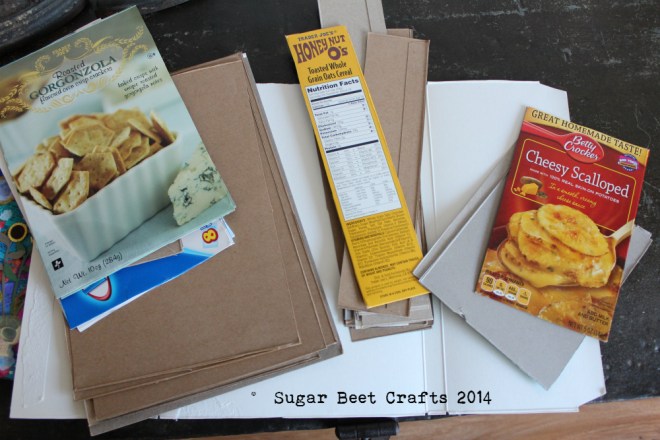
Cut up the boxes. I cut off the tops and bottoms but keep every side.
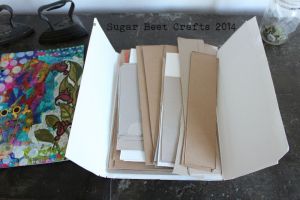
I have a nifty storage box (box my cat door came in..I liked the way it opened. I keep them in. One day I will decorate it and use it as a cover for all my projects. You can make one with a cereal box just cut down the center.

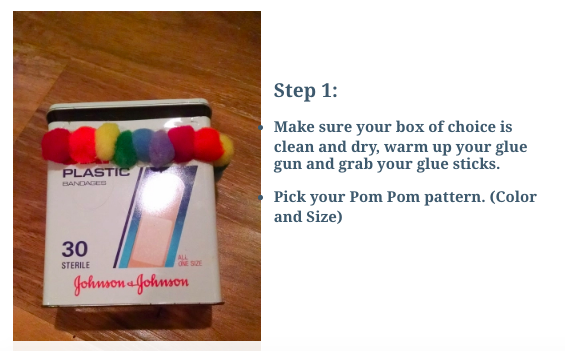
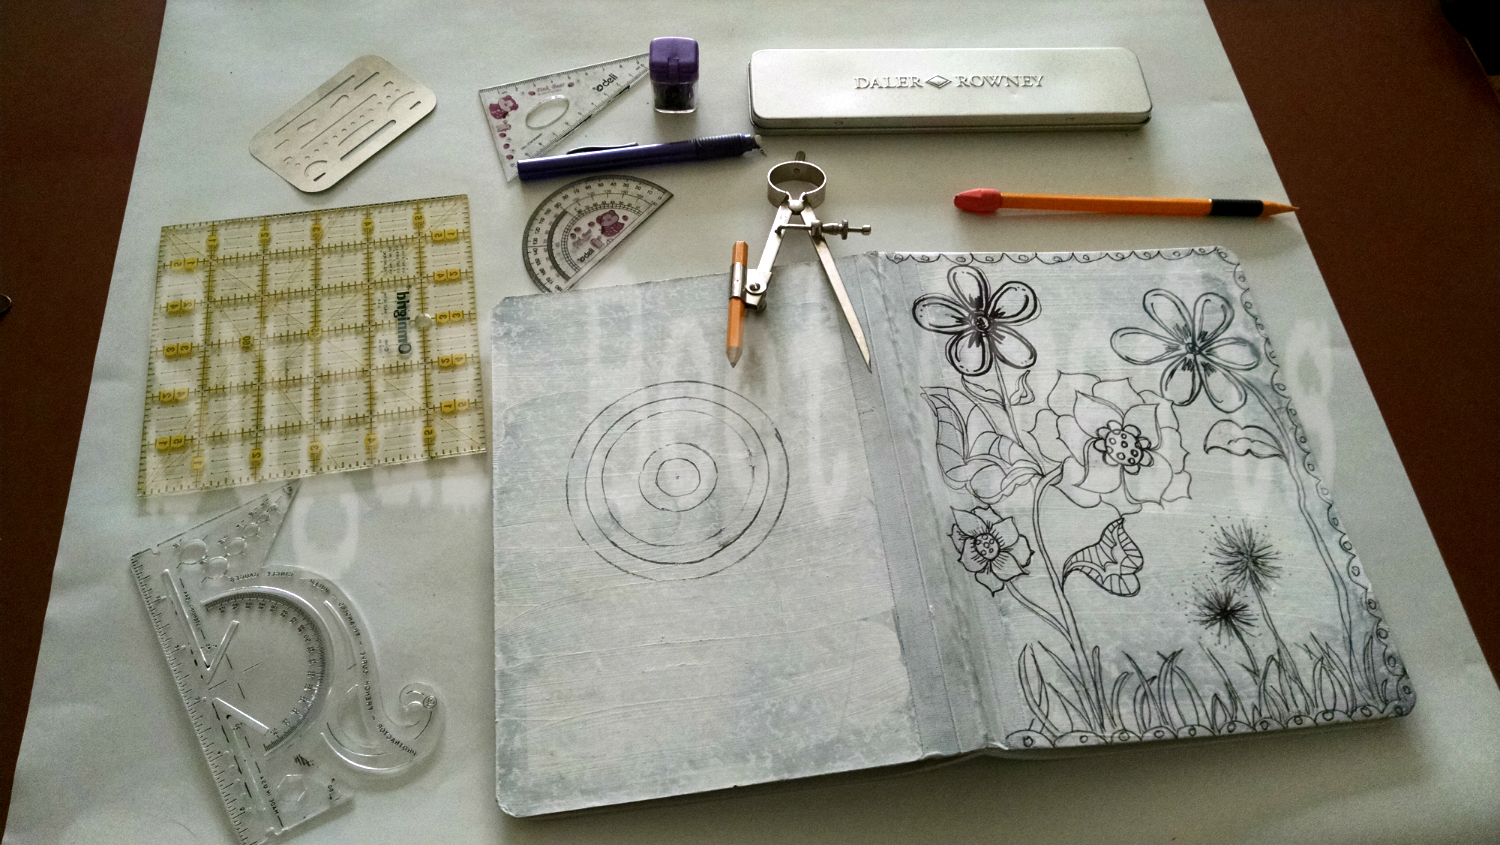
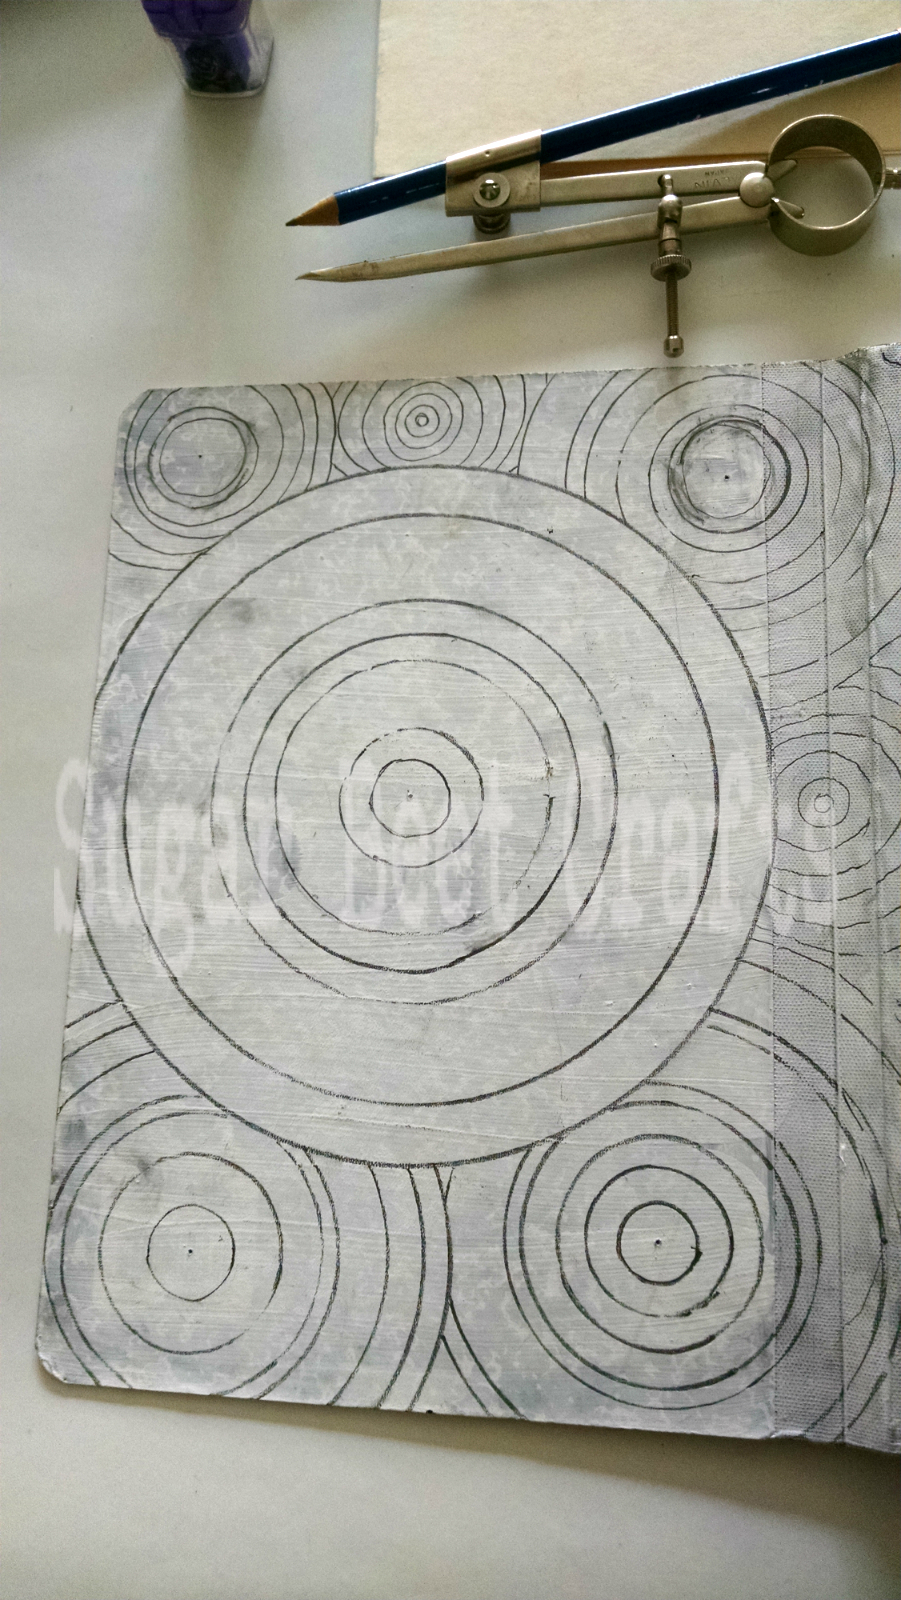
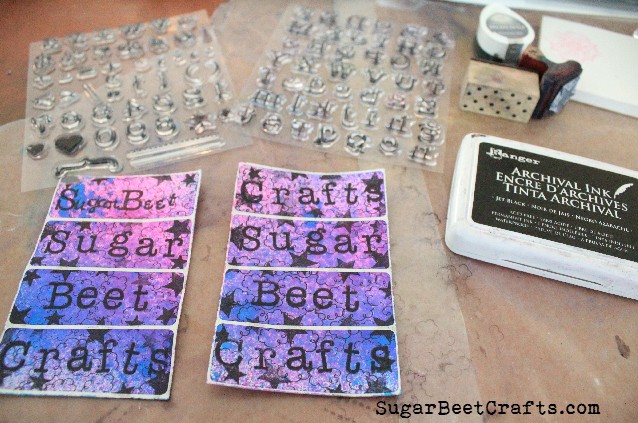
2. It’s best to prep your box, art work just comes out better. But this step is really up to you. I cover the image side of the box with Gesso.

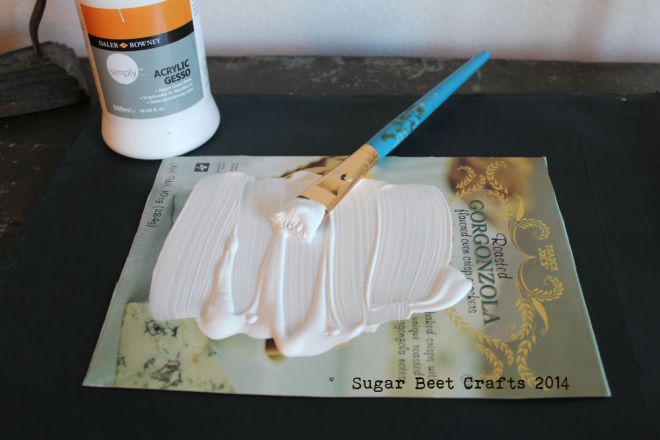
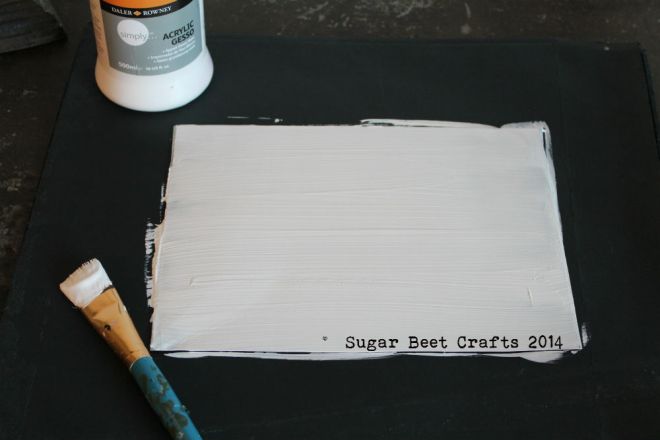
Once dry you are all set to craft away!
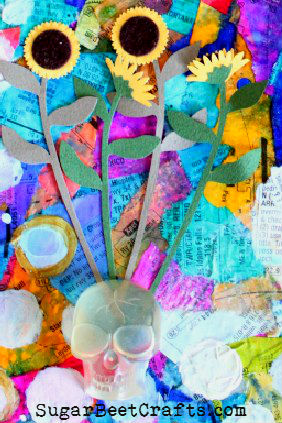
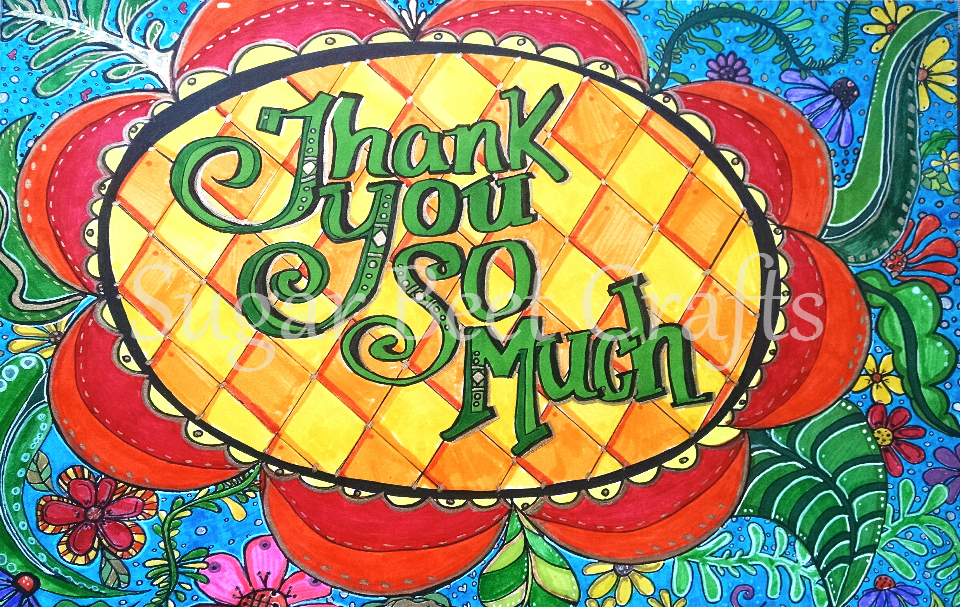
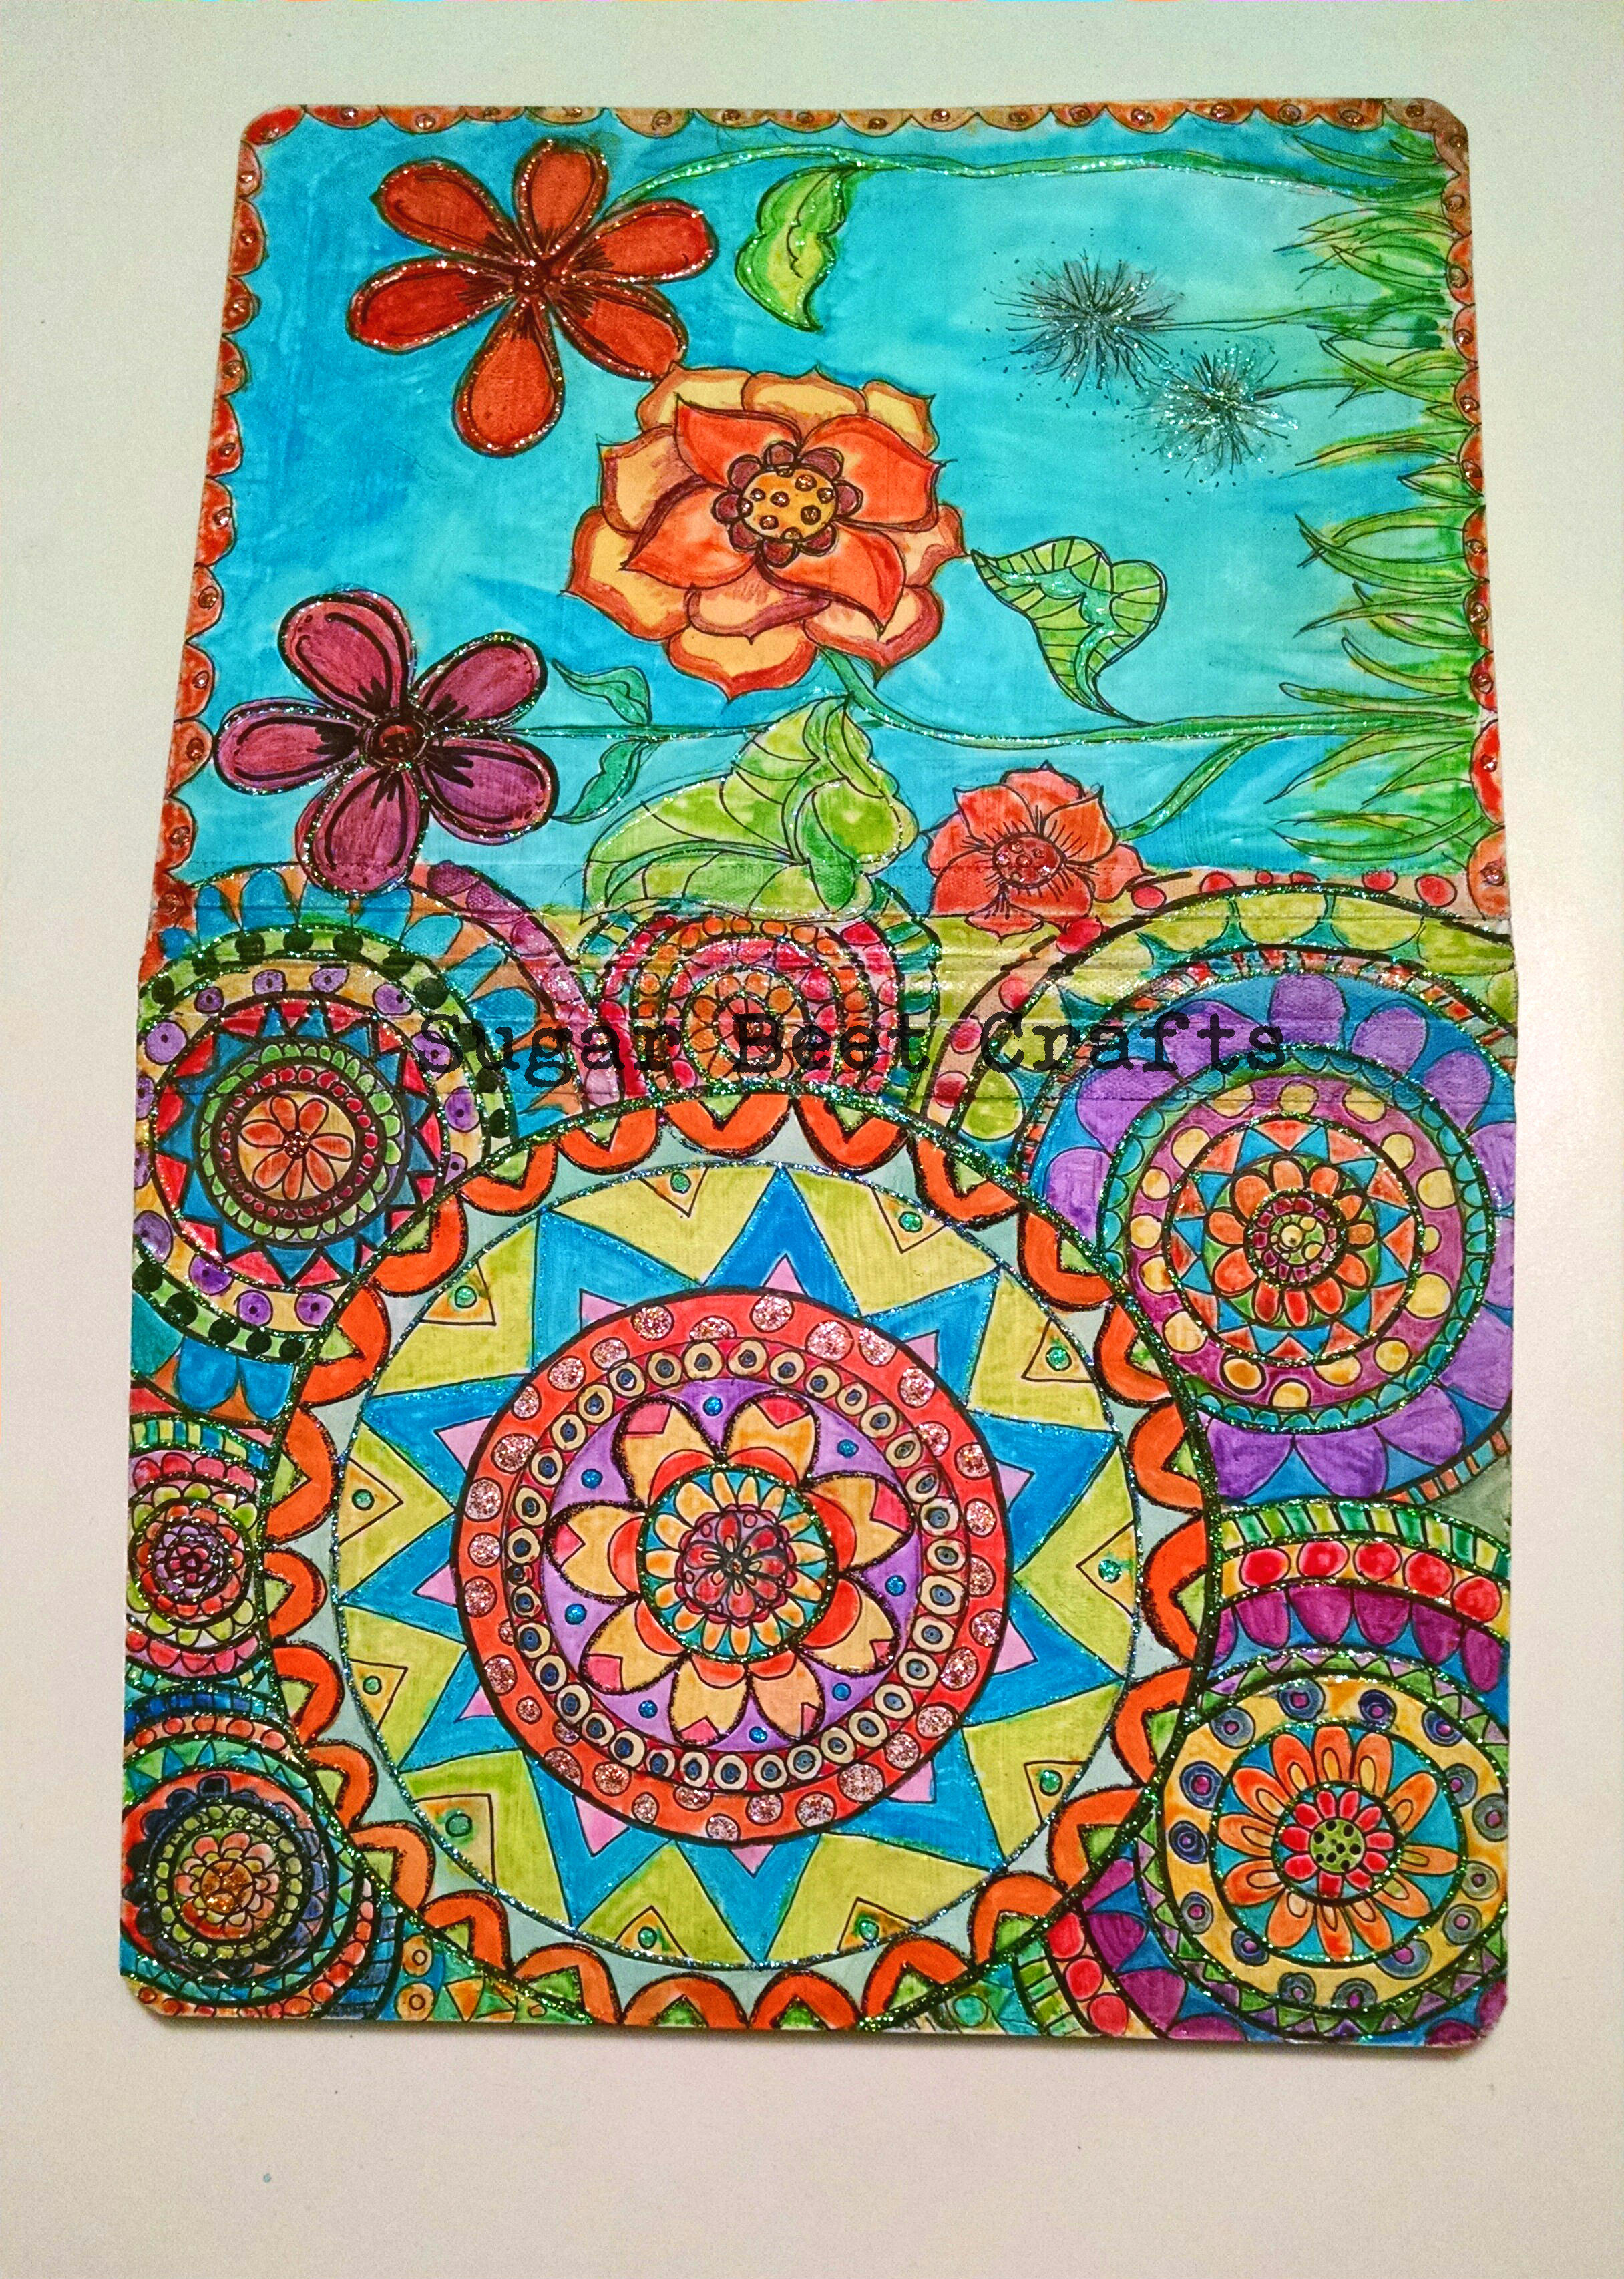
Recycled Beauty Art Page on Cereal Box
by Brandie Bell
I hope this post gets those creative juices flowing!
How do you use recycled products in your art? I would love to know and maybe even blog about you! 😀
Please Share I appreciate it!:


You must be logged in to post a comment.