
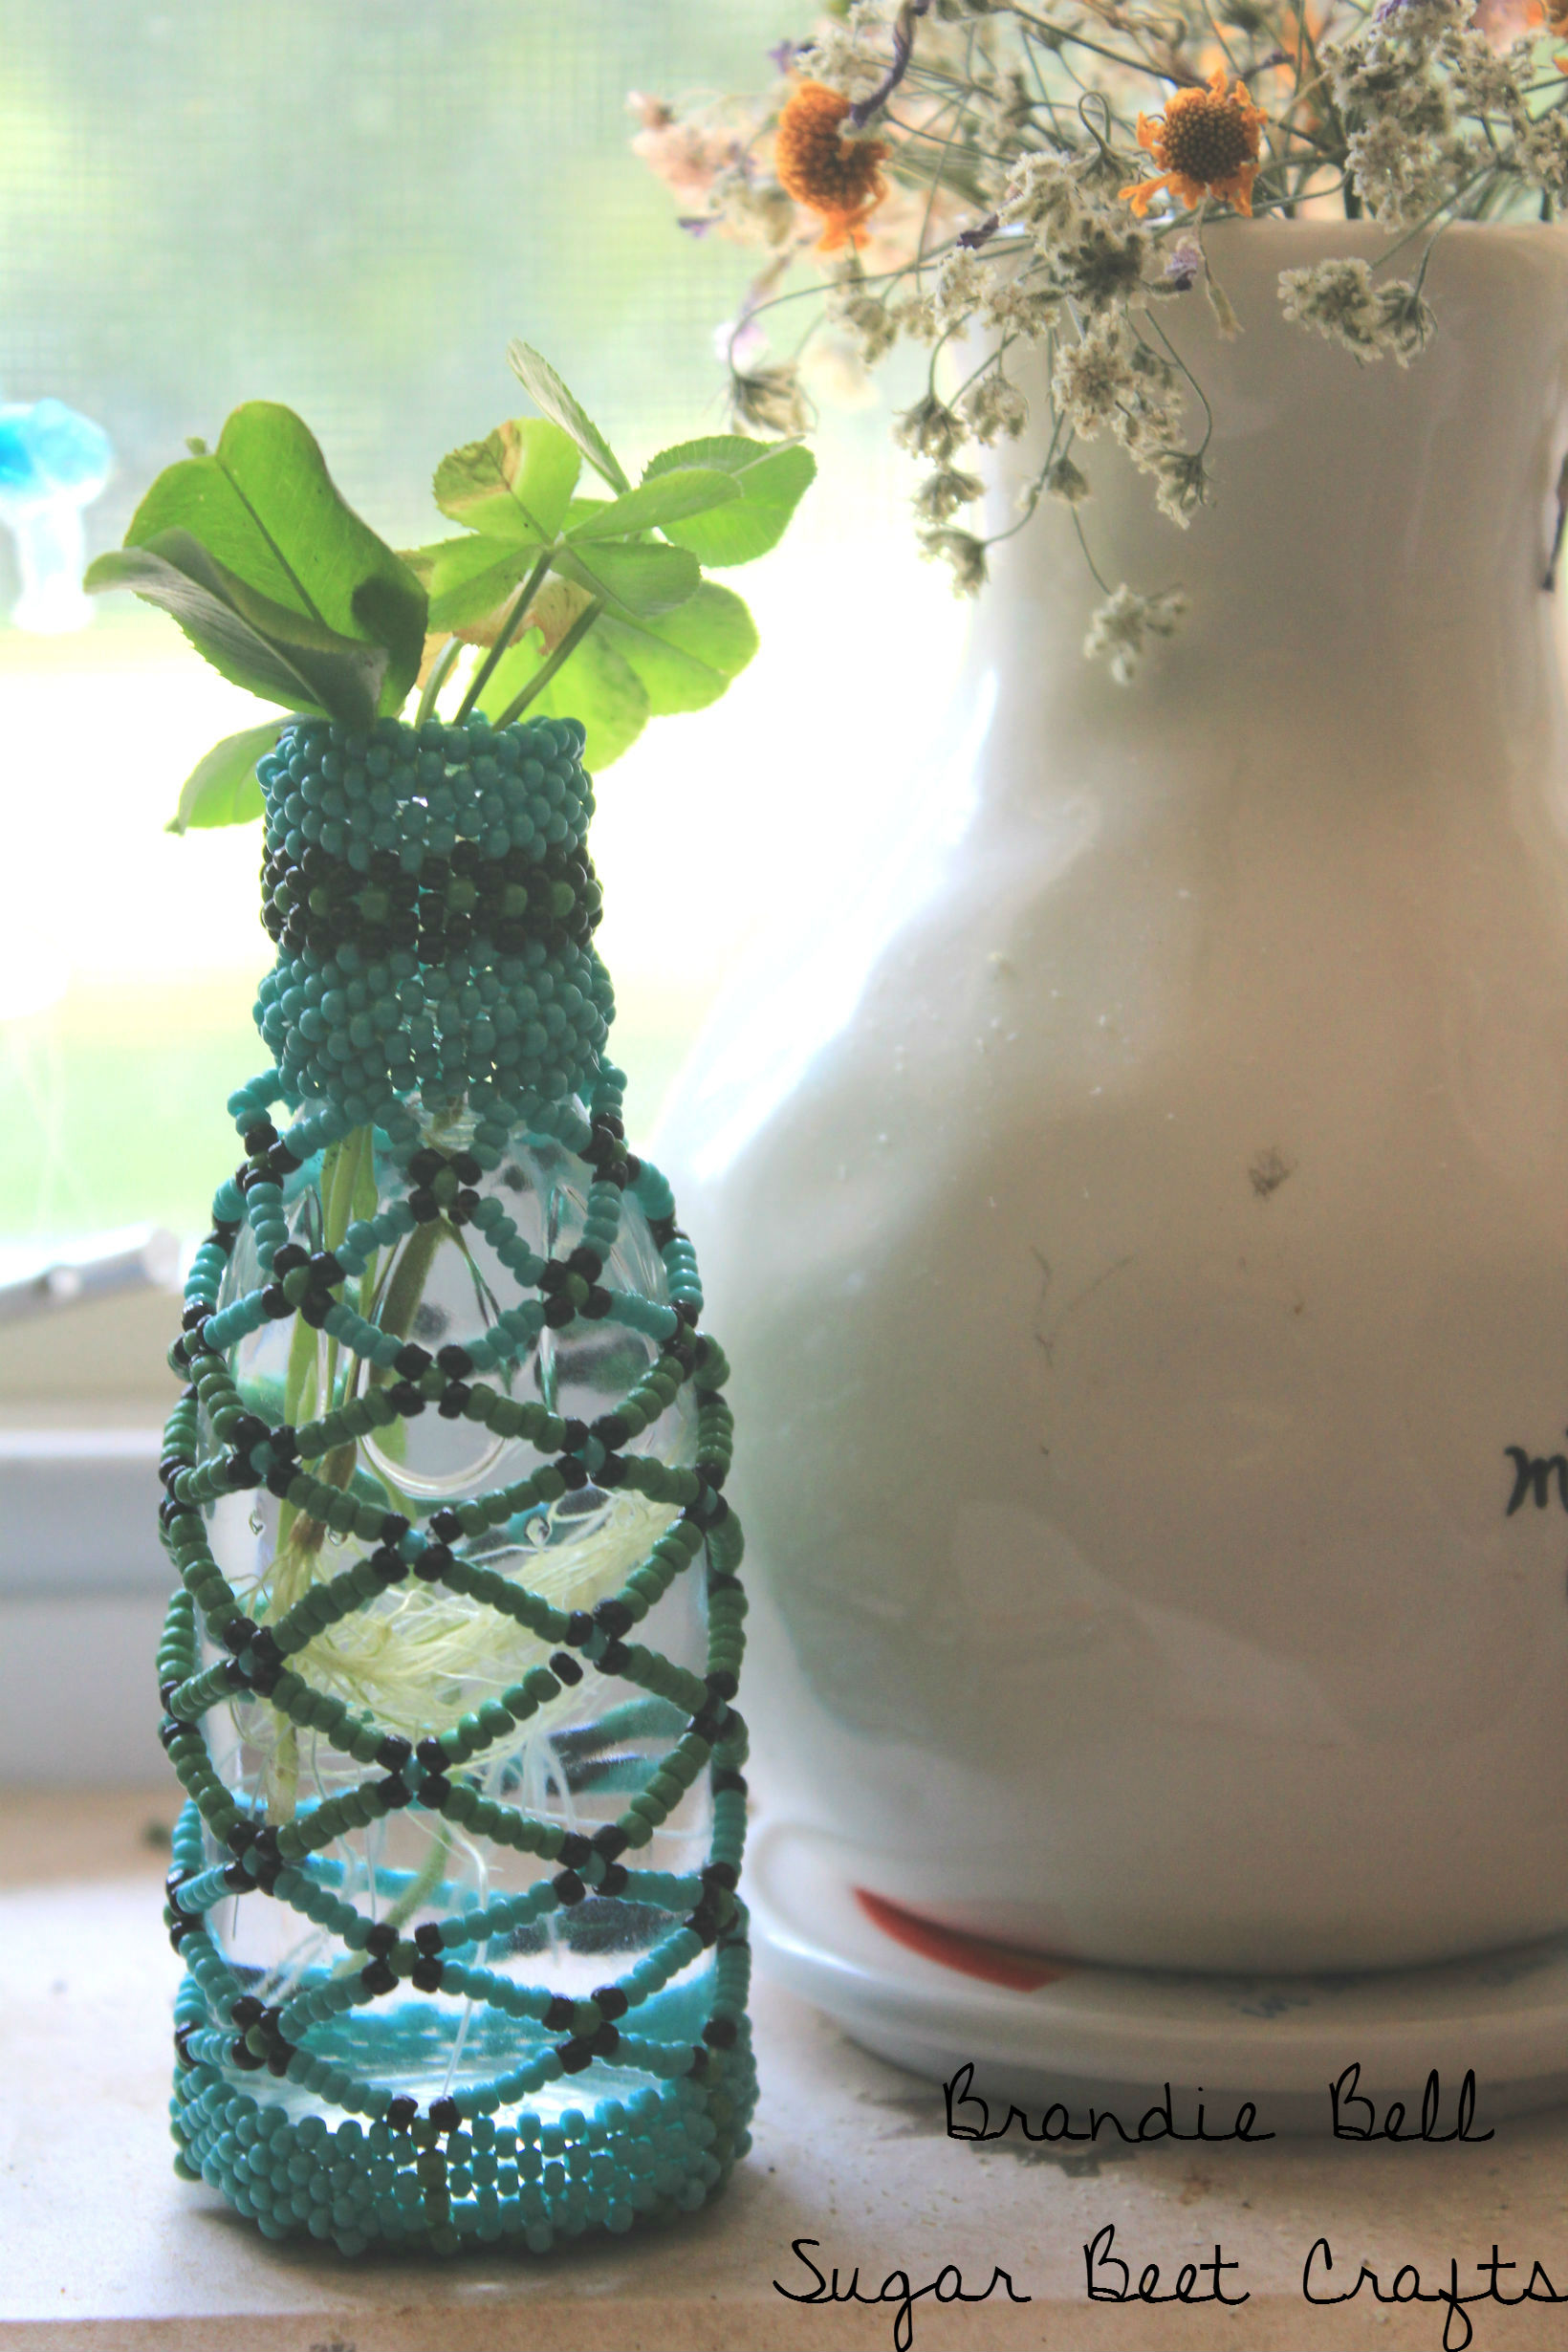
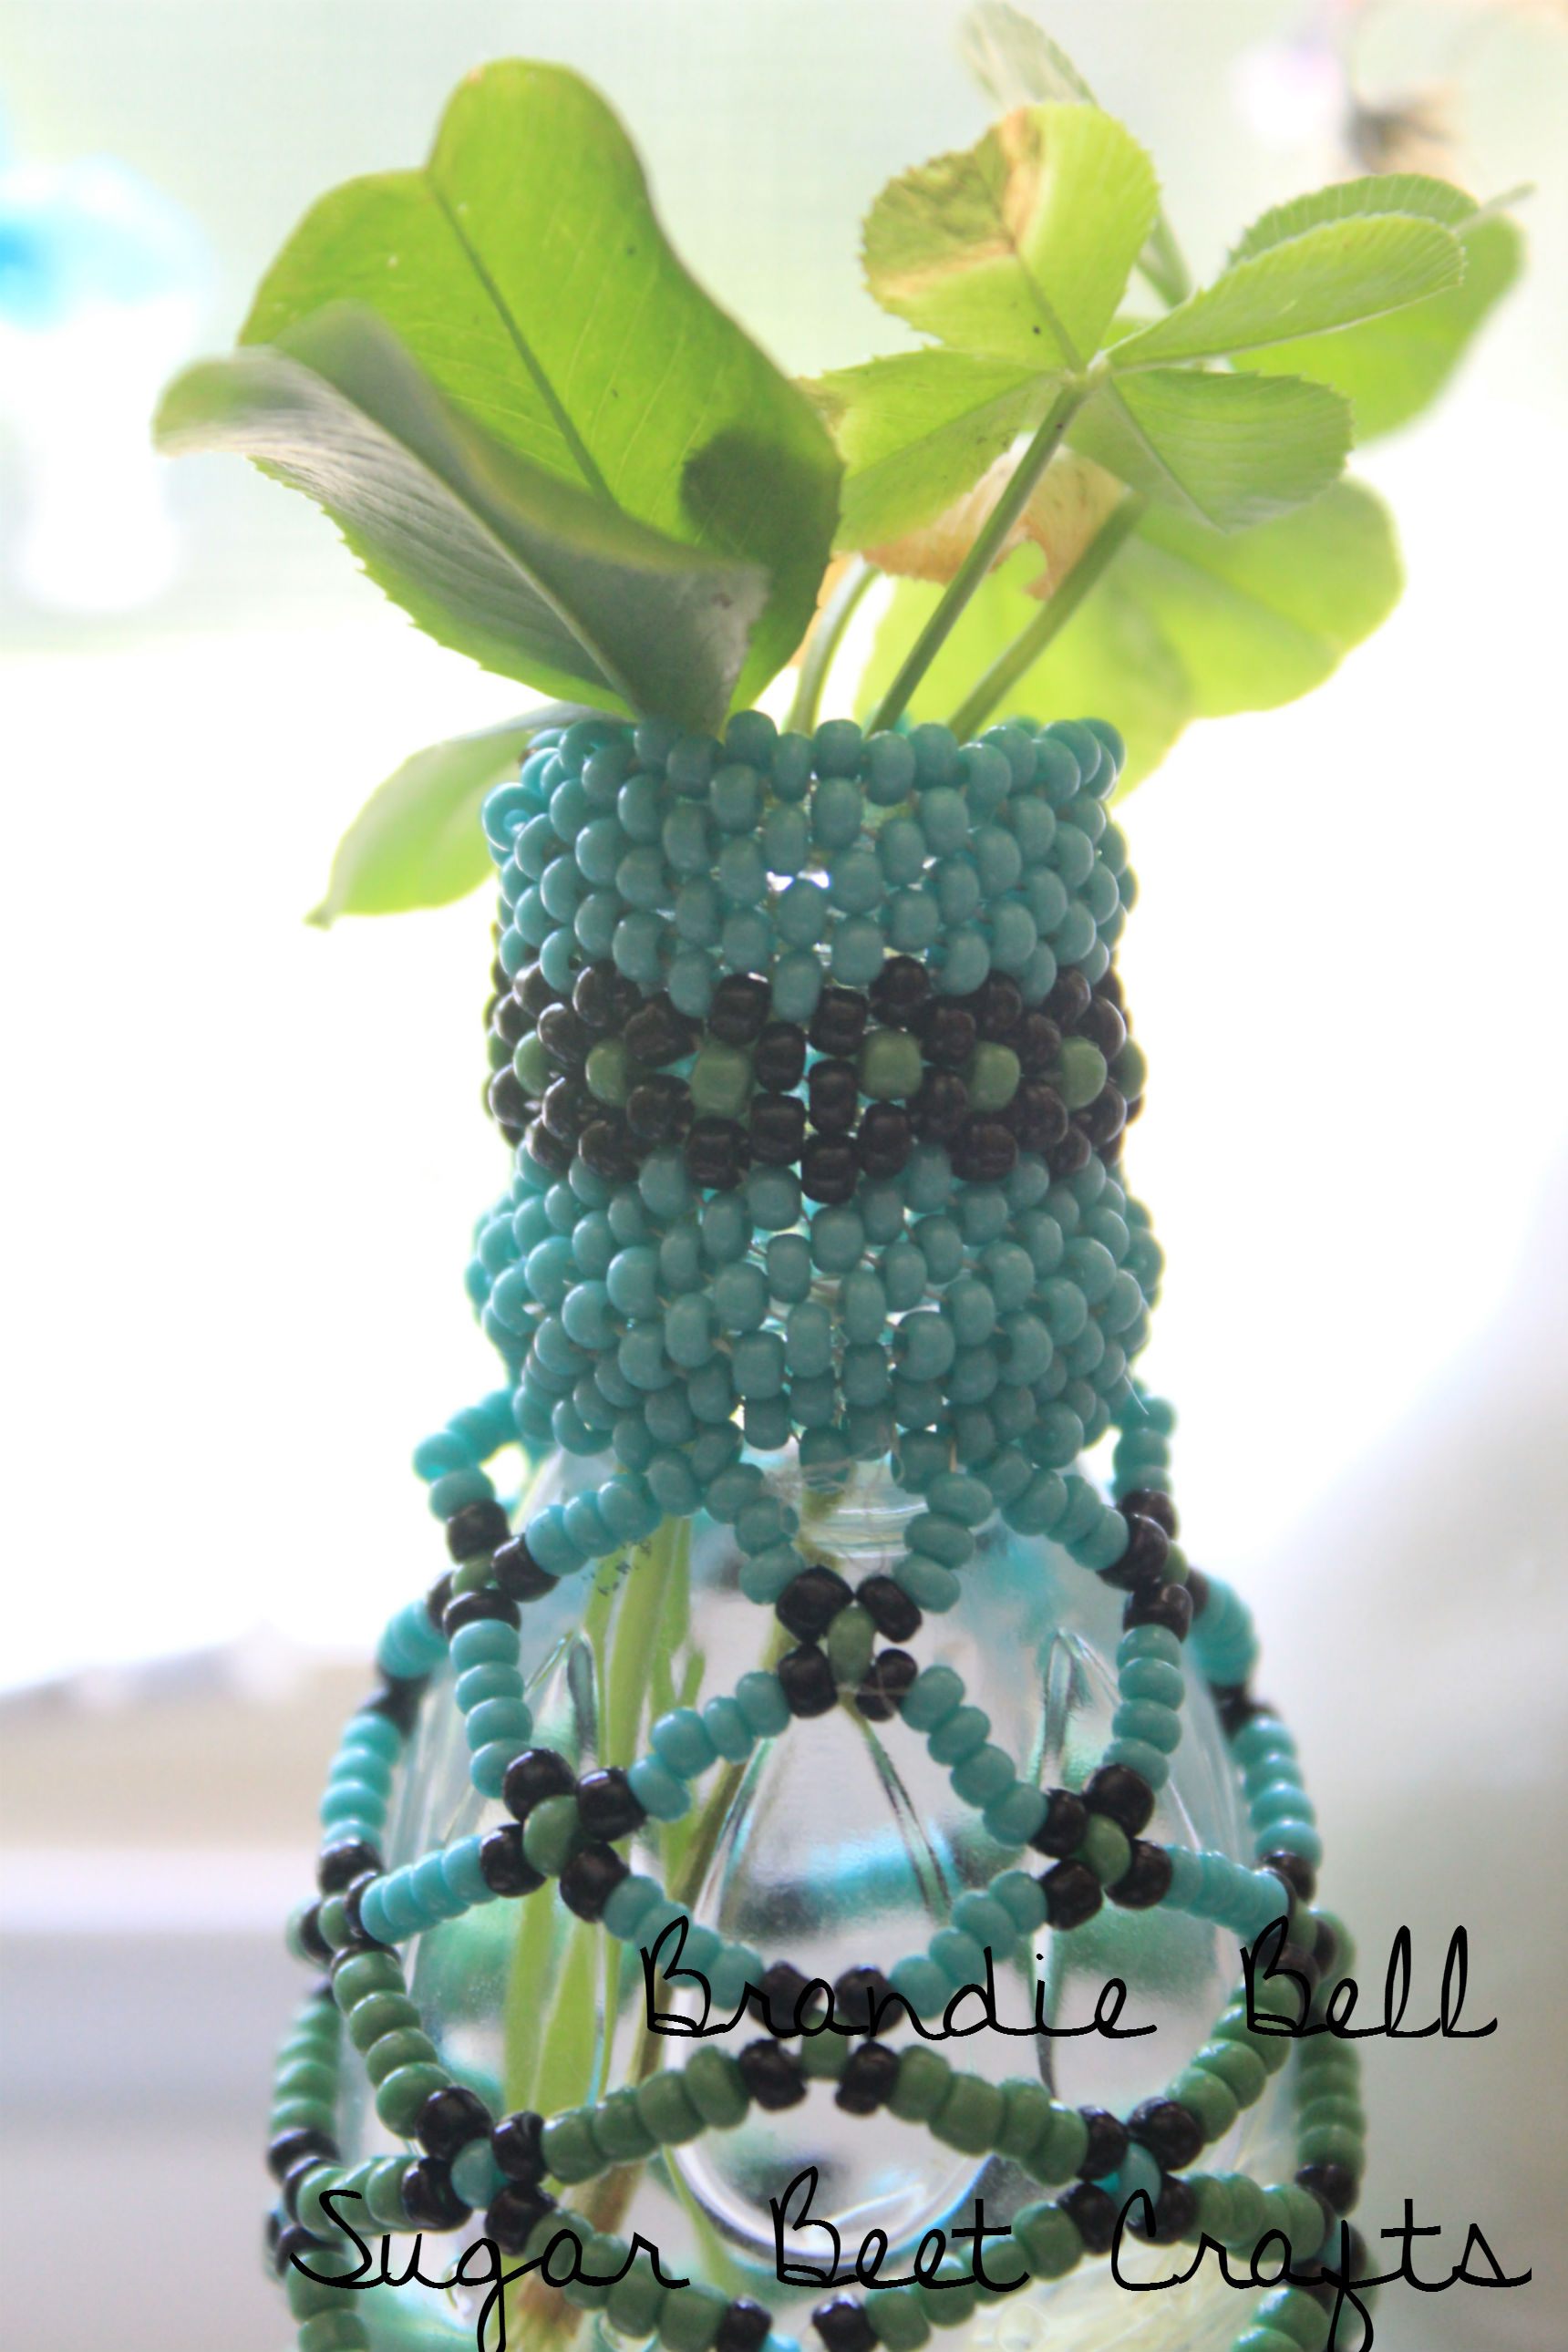
Jewelry time! This necklace was made out of turquoise color seed beads and small pink and green jade round beads. The round beads are recycled from an old broken necklace.

Jewelry time! This necklace was made out of turquoise color seed beads and small pink and green jade round beads. The round beads are recycled from an old broken necklace.


Tutorial Title: Iron Skillet Handle Covers
Written By: Brandie @ Sugar Beet Crafts
Tutorial Description:
Cast iron skillet handle covers are a great way to accessorize and keep safe in the kitchen.
Most “coated” cookware can be toxic after time. In an effort to be healthy we decided in our home to use only cast iron skillets. After burning myself a few times the light bulb in my head went off, “I should make some handle covers!” I found the perfect fabric, so lets get sewing!
I used a colored thread so you can see the stitches, but you might want to use a thread color that matches the seam binding. I am still new at sewing (and this is my first attempt at this project) so please excuse the crude stitching.
Materials Needed:
(4) pieces of material 3 1/2 x 1 inches (two for inside, two for outside)
(4) pieces of batting (like polyfil)
seam binding – the size of the binding depends on your actual pan handle. You need enough to go around your handle and two short ones for the opening. Mine was aproxomately 15 inches
Instructions:
Step 1: Gather up all your materials
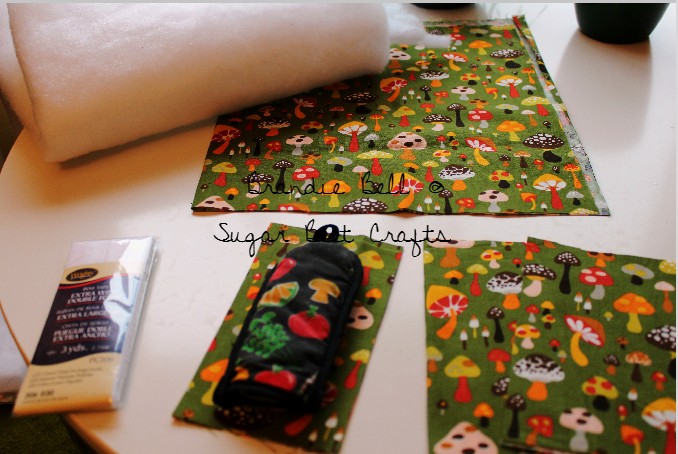
Gather all your materials
Step 2: Make a template for your pan handle cover. I used my biggest pan, this way I can make one size that works with all of your pans.
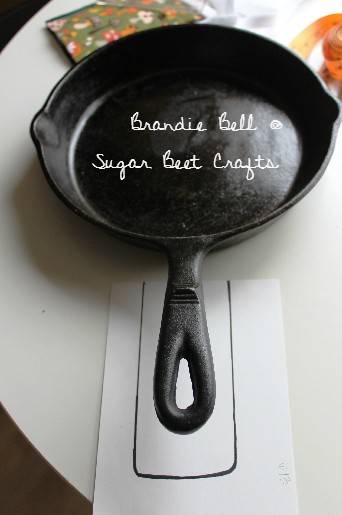
Measure your handle
Grab a ruler, a big index card and a sharpie. Trace a square all the way around your handle. Make it about an inch larger than the handle to allow for seams.
Step 3: My panhandle was 2 1/2 x 5 1/2. Cut out your template.
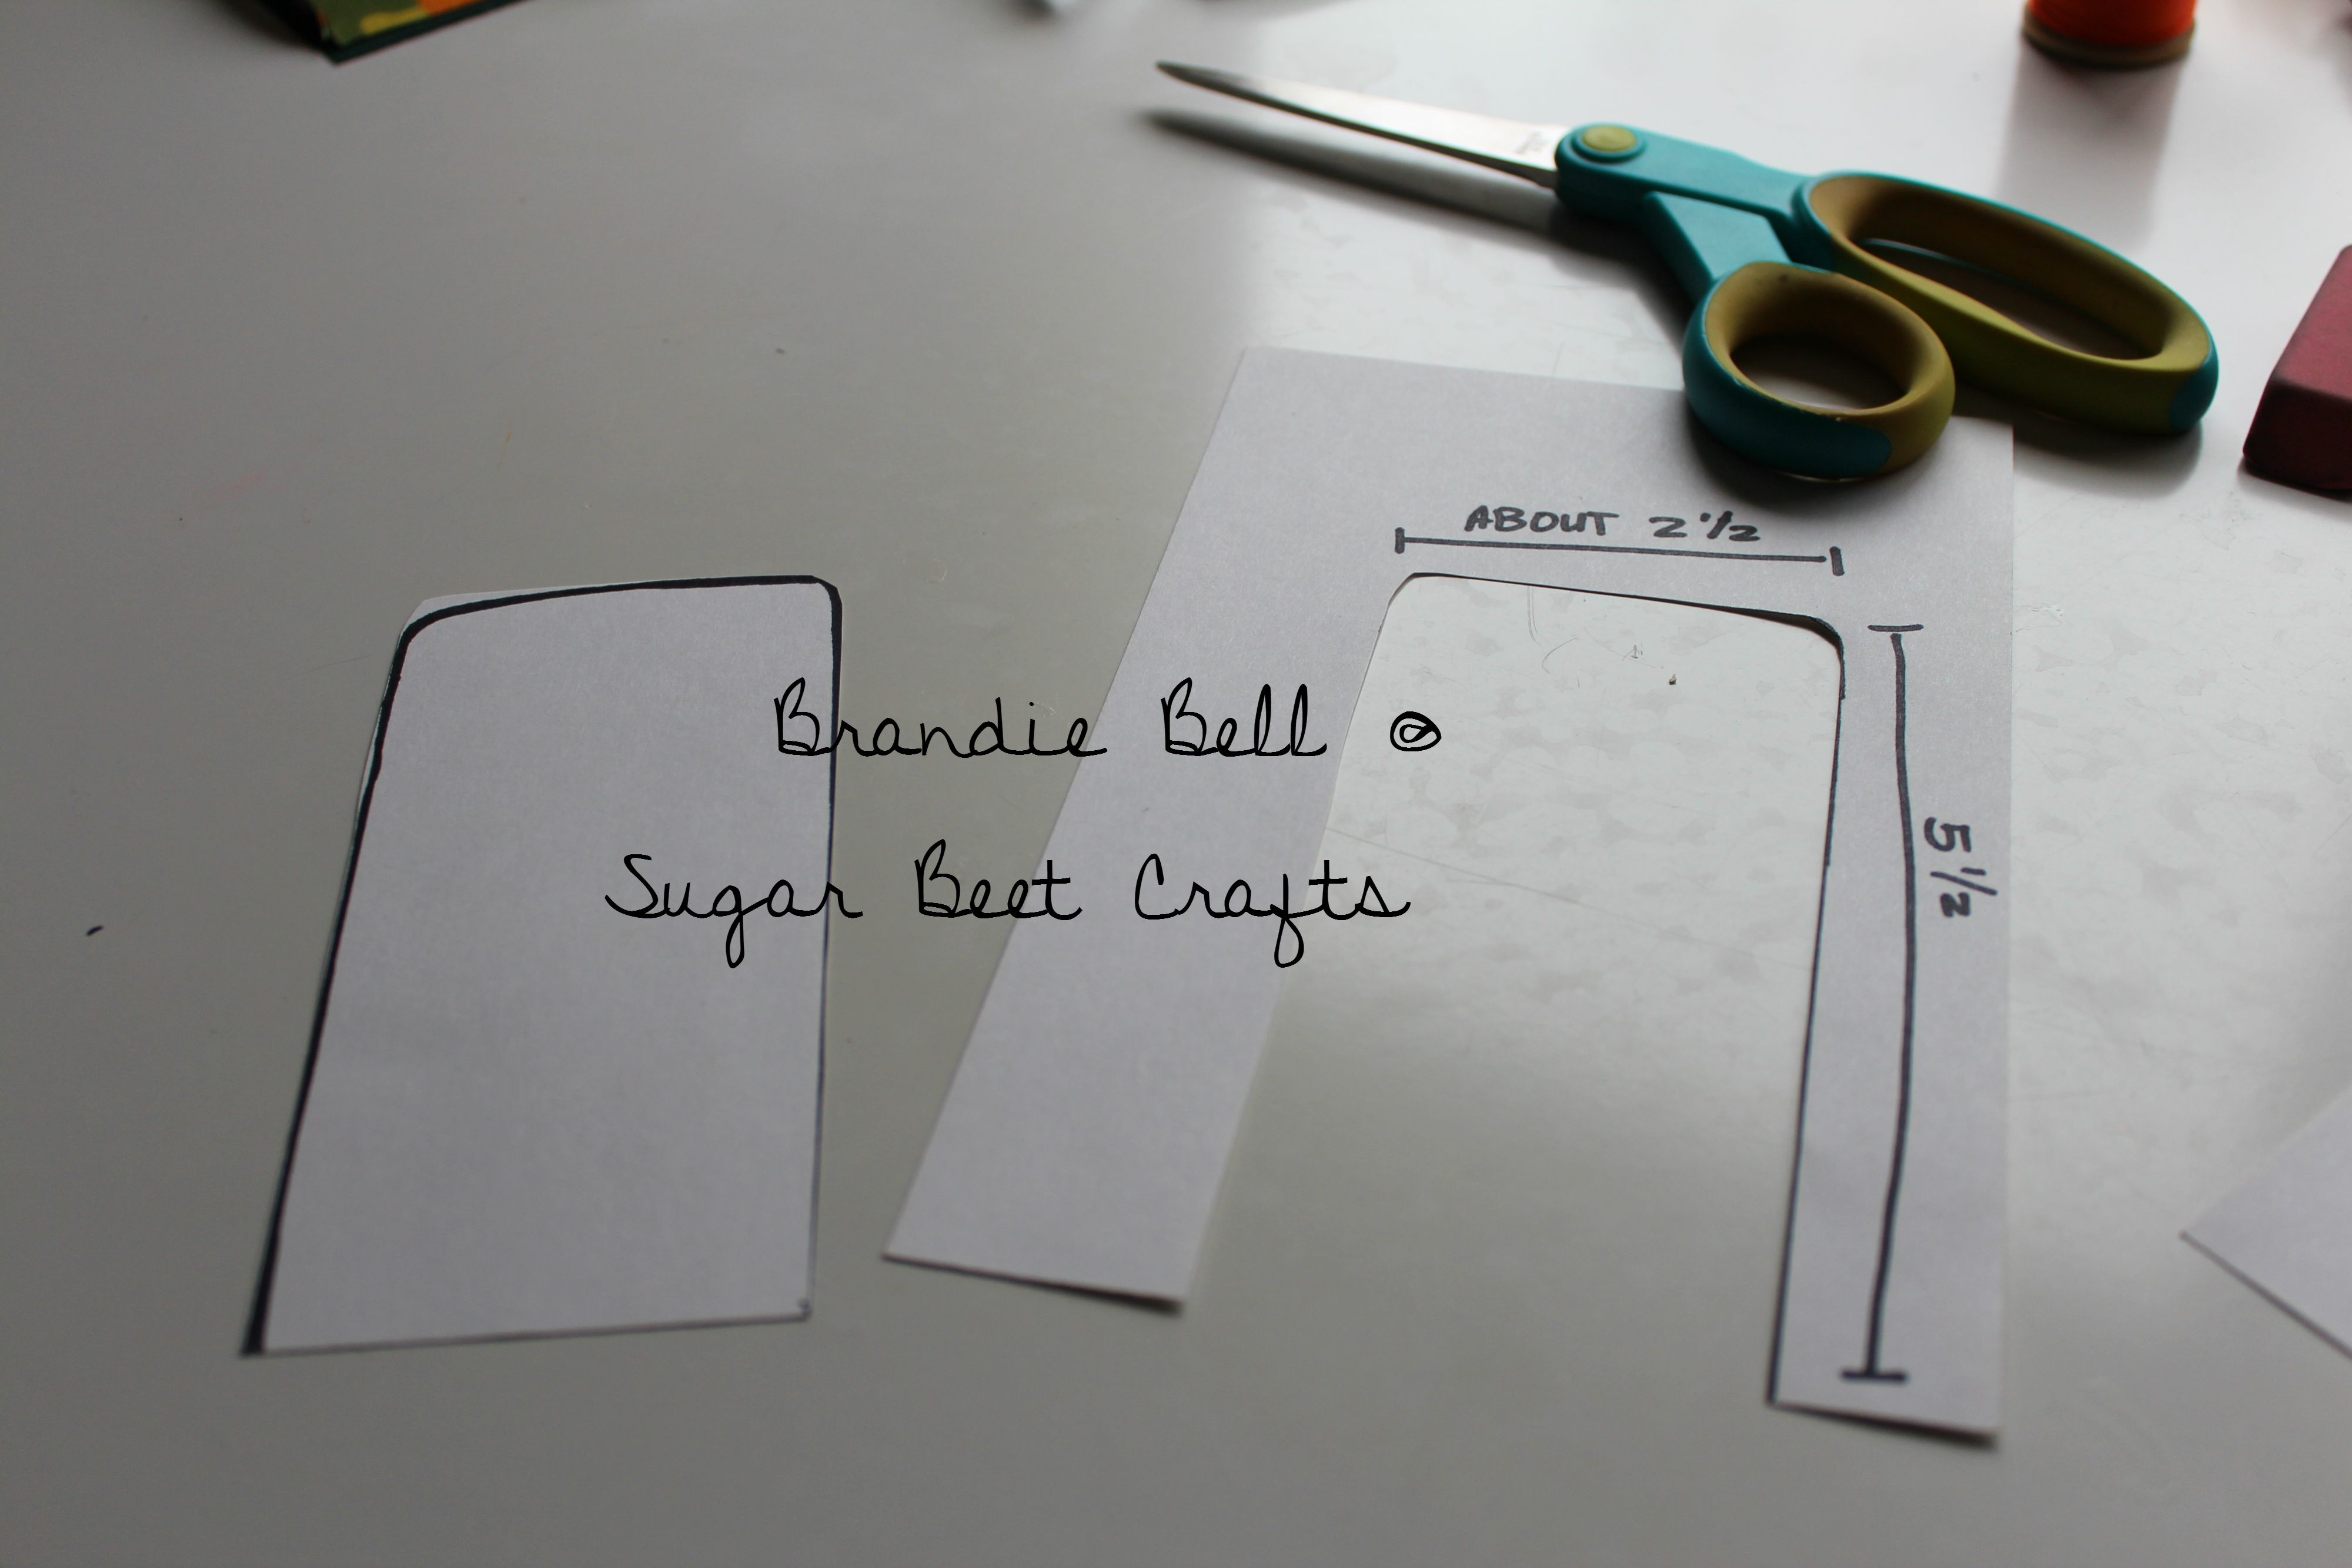
Measure and cut out handle templates
Step 4: Cut your material. I made the fabric rectangles bigger than my template so that I can trace the template onto the material and use that as a sew line.
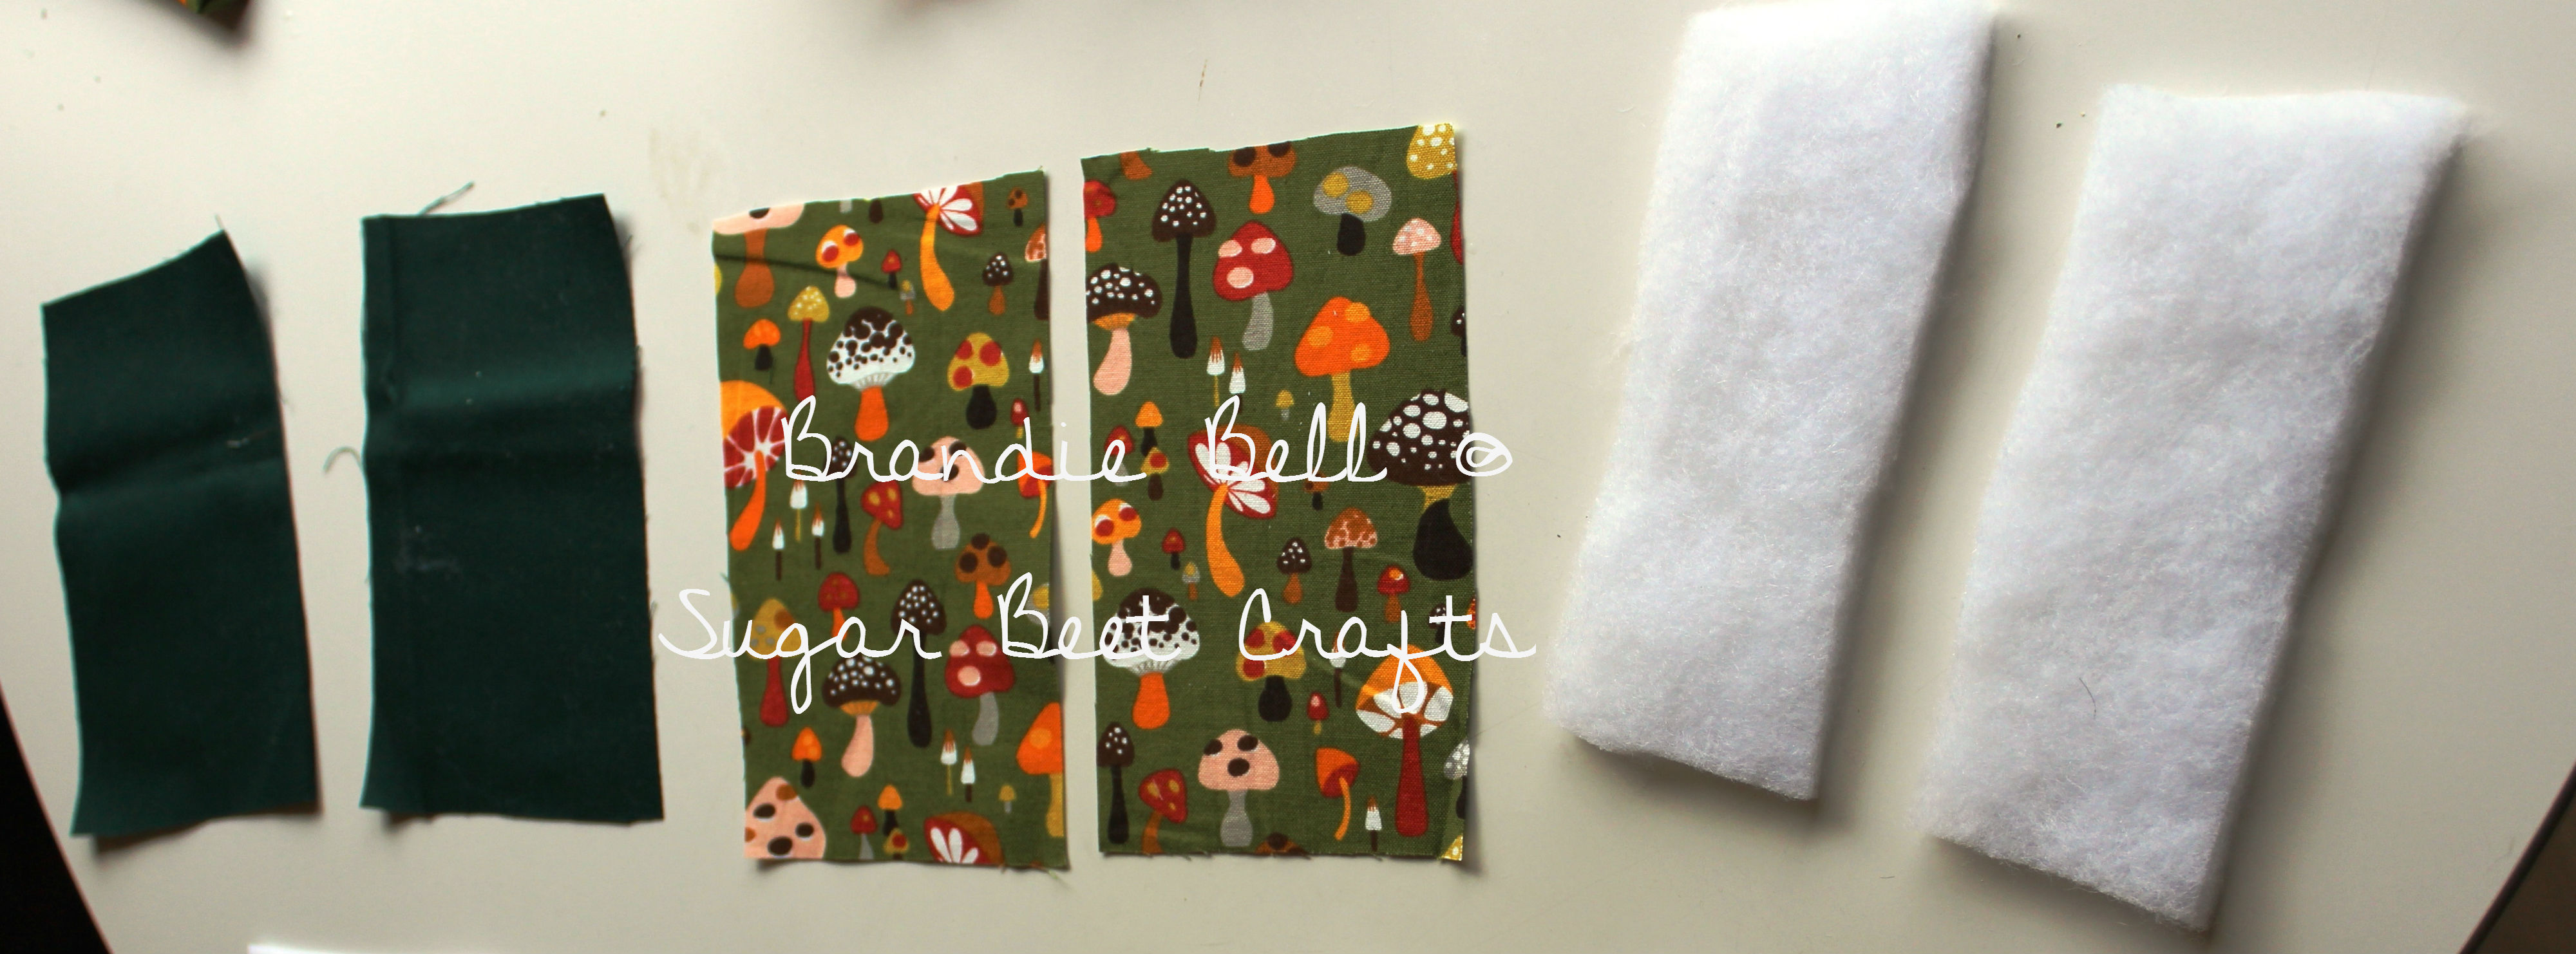
cut out your fabric
Step 5: Next place your fabrics together, I used a dark green for the inside and the mushroom print for the outside.
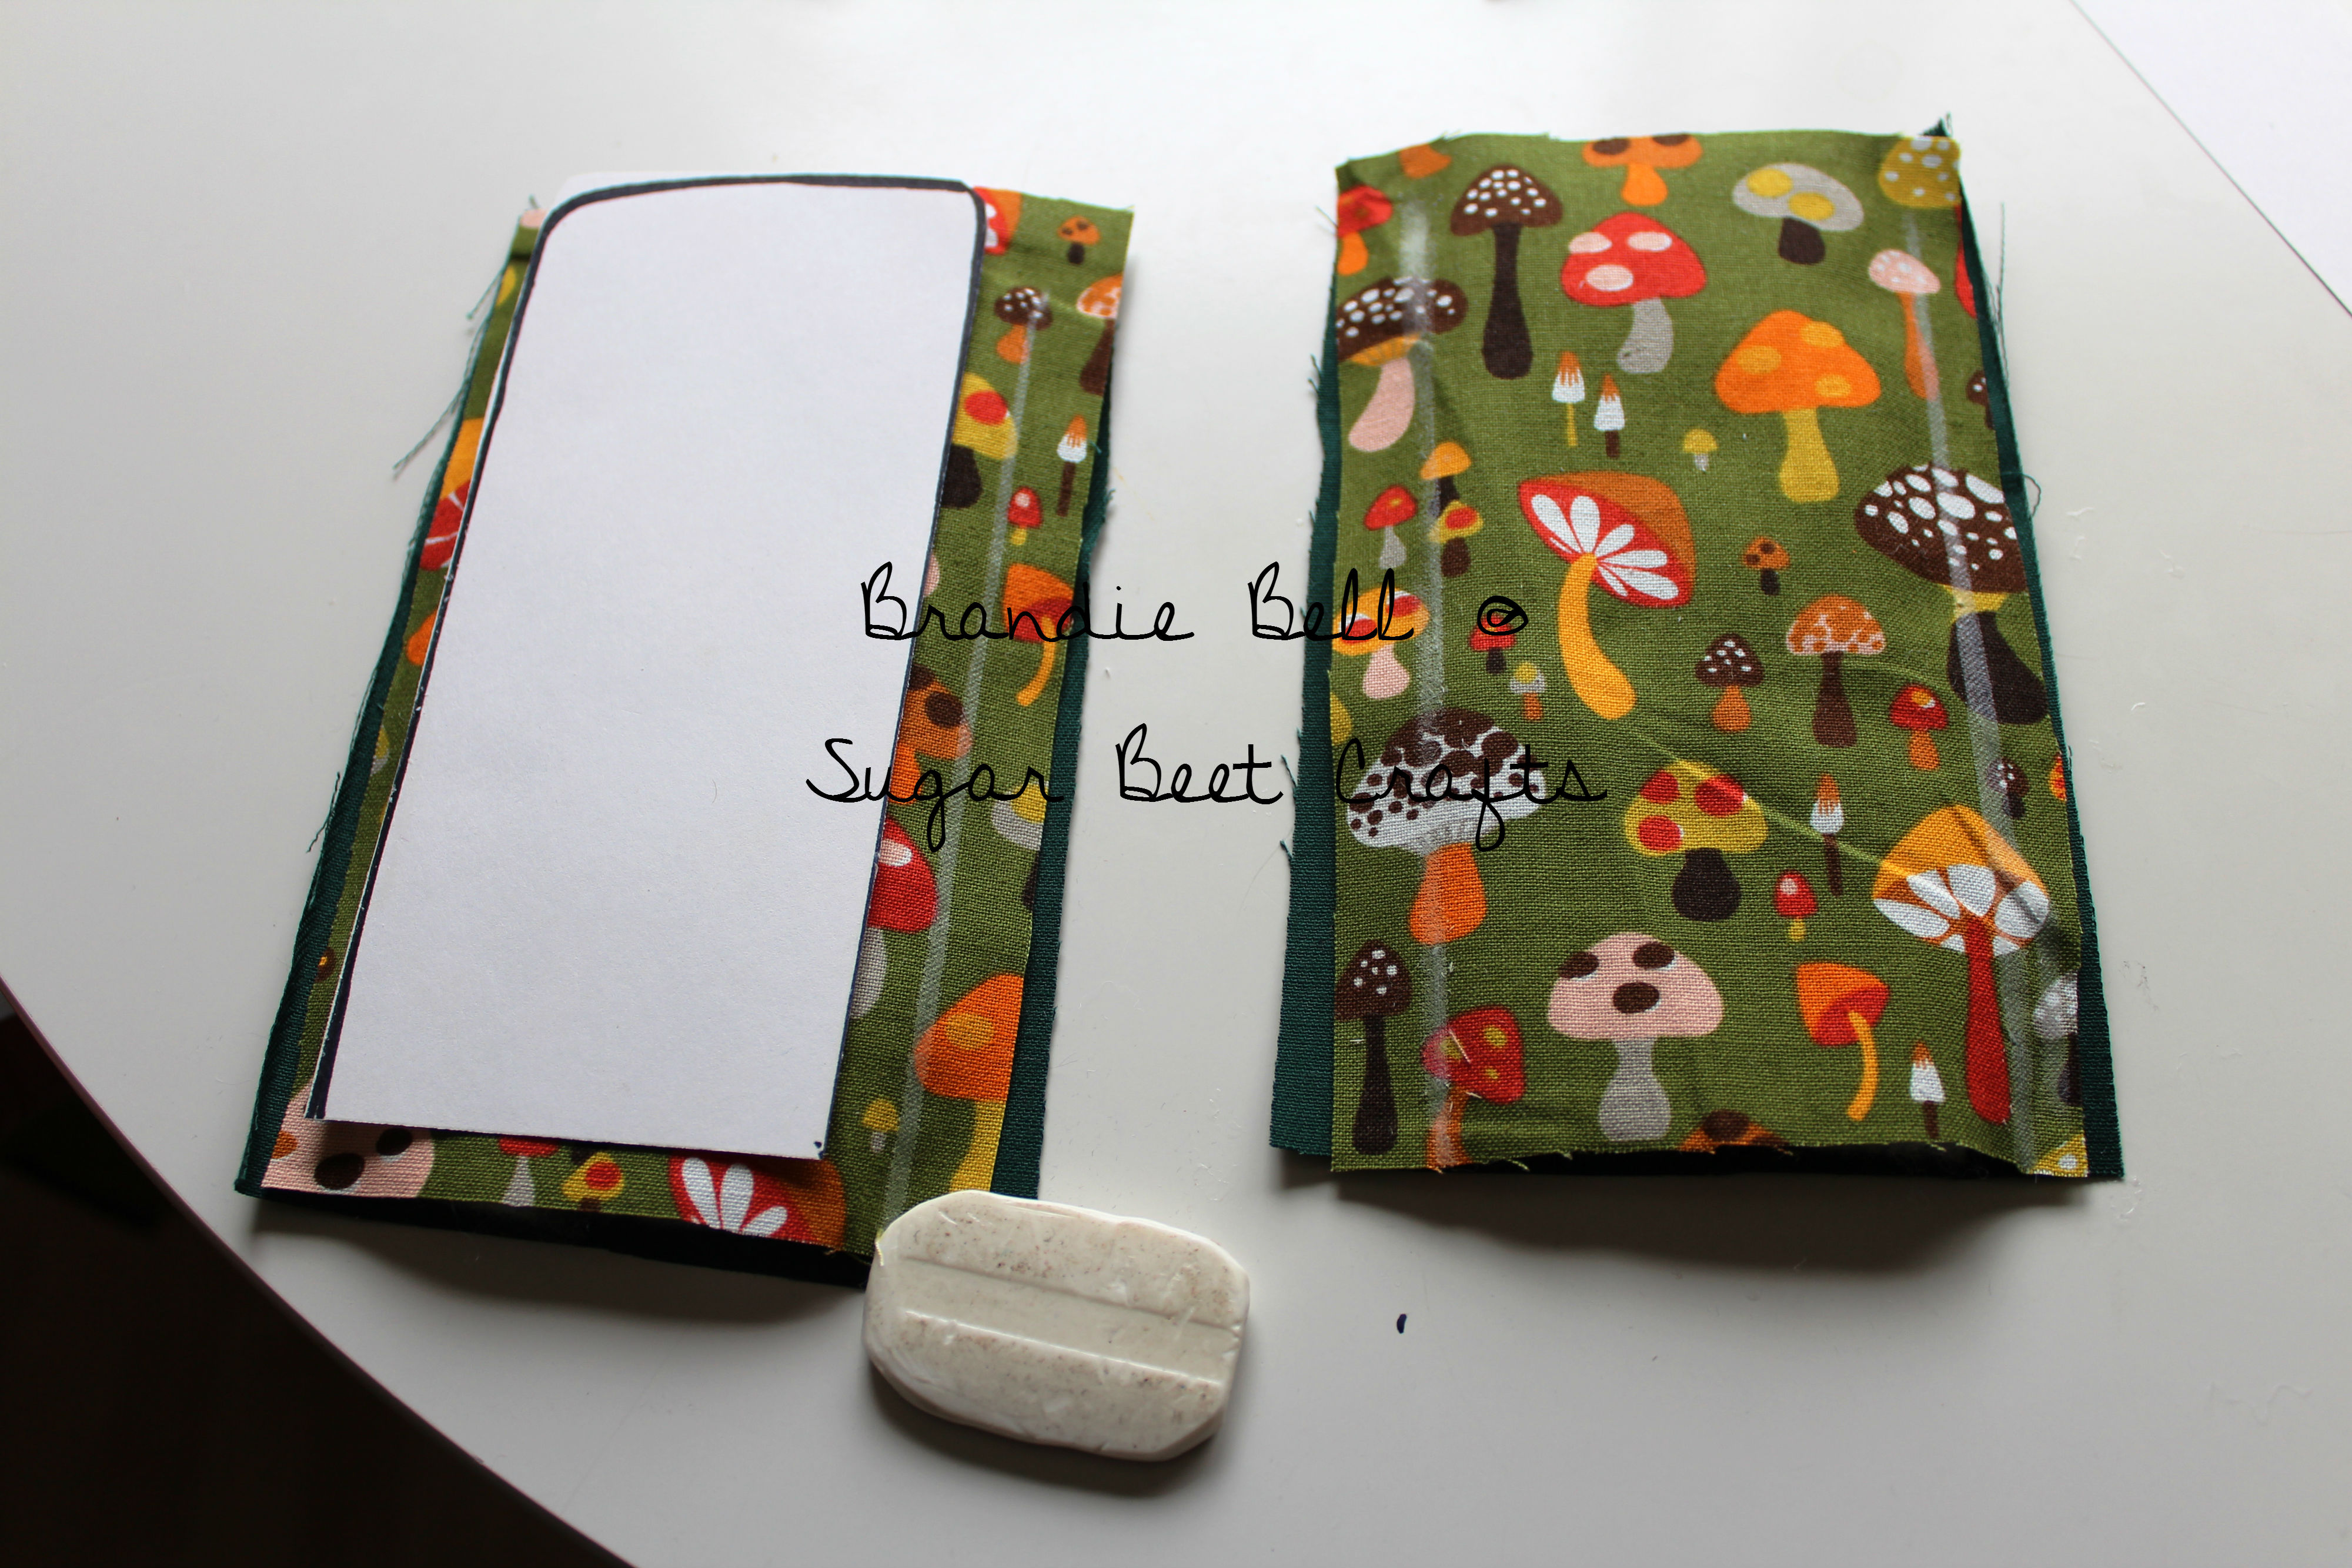
put your material together
Your fabric should be right sides out with the polyfill in the middle (put 2 pieces of polyfill in each side, I tried it with just one and it was not quite enough to protect from the heat). You should wind up with two “material sandwiches”.
Step 6: Sew the top three sides of all the layers together using the lines you traced from the template. Then cut off the excess material.

Sew along the template line then cut off the excess
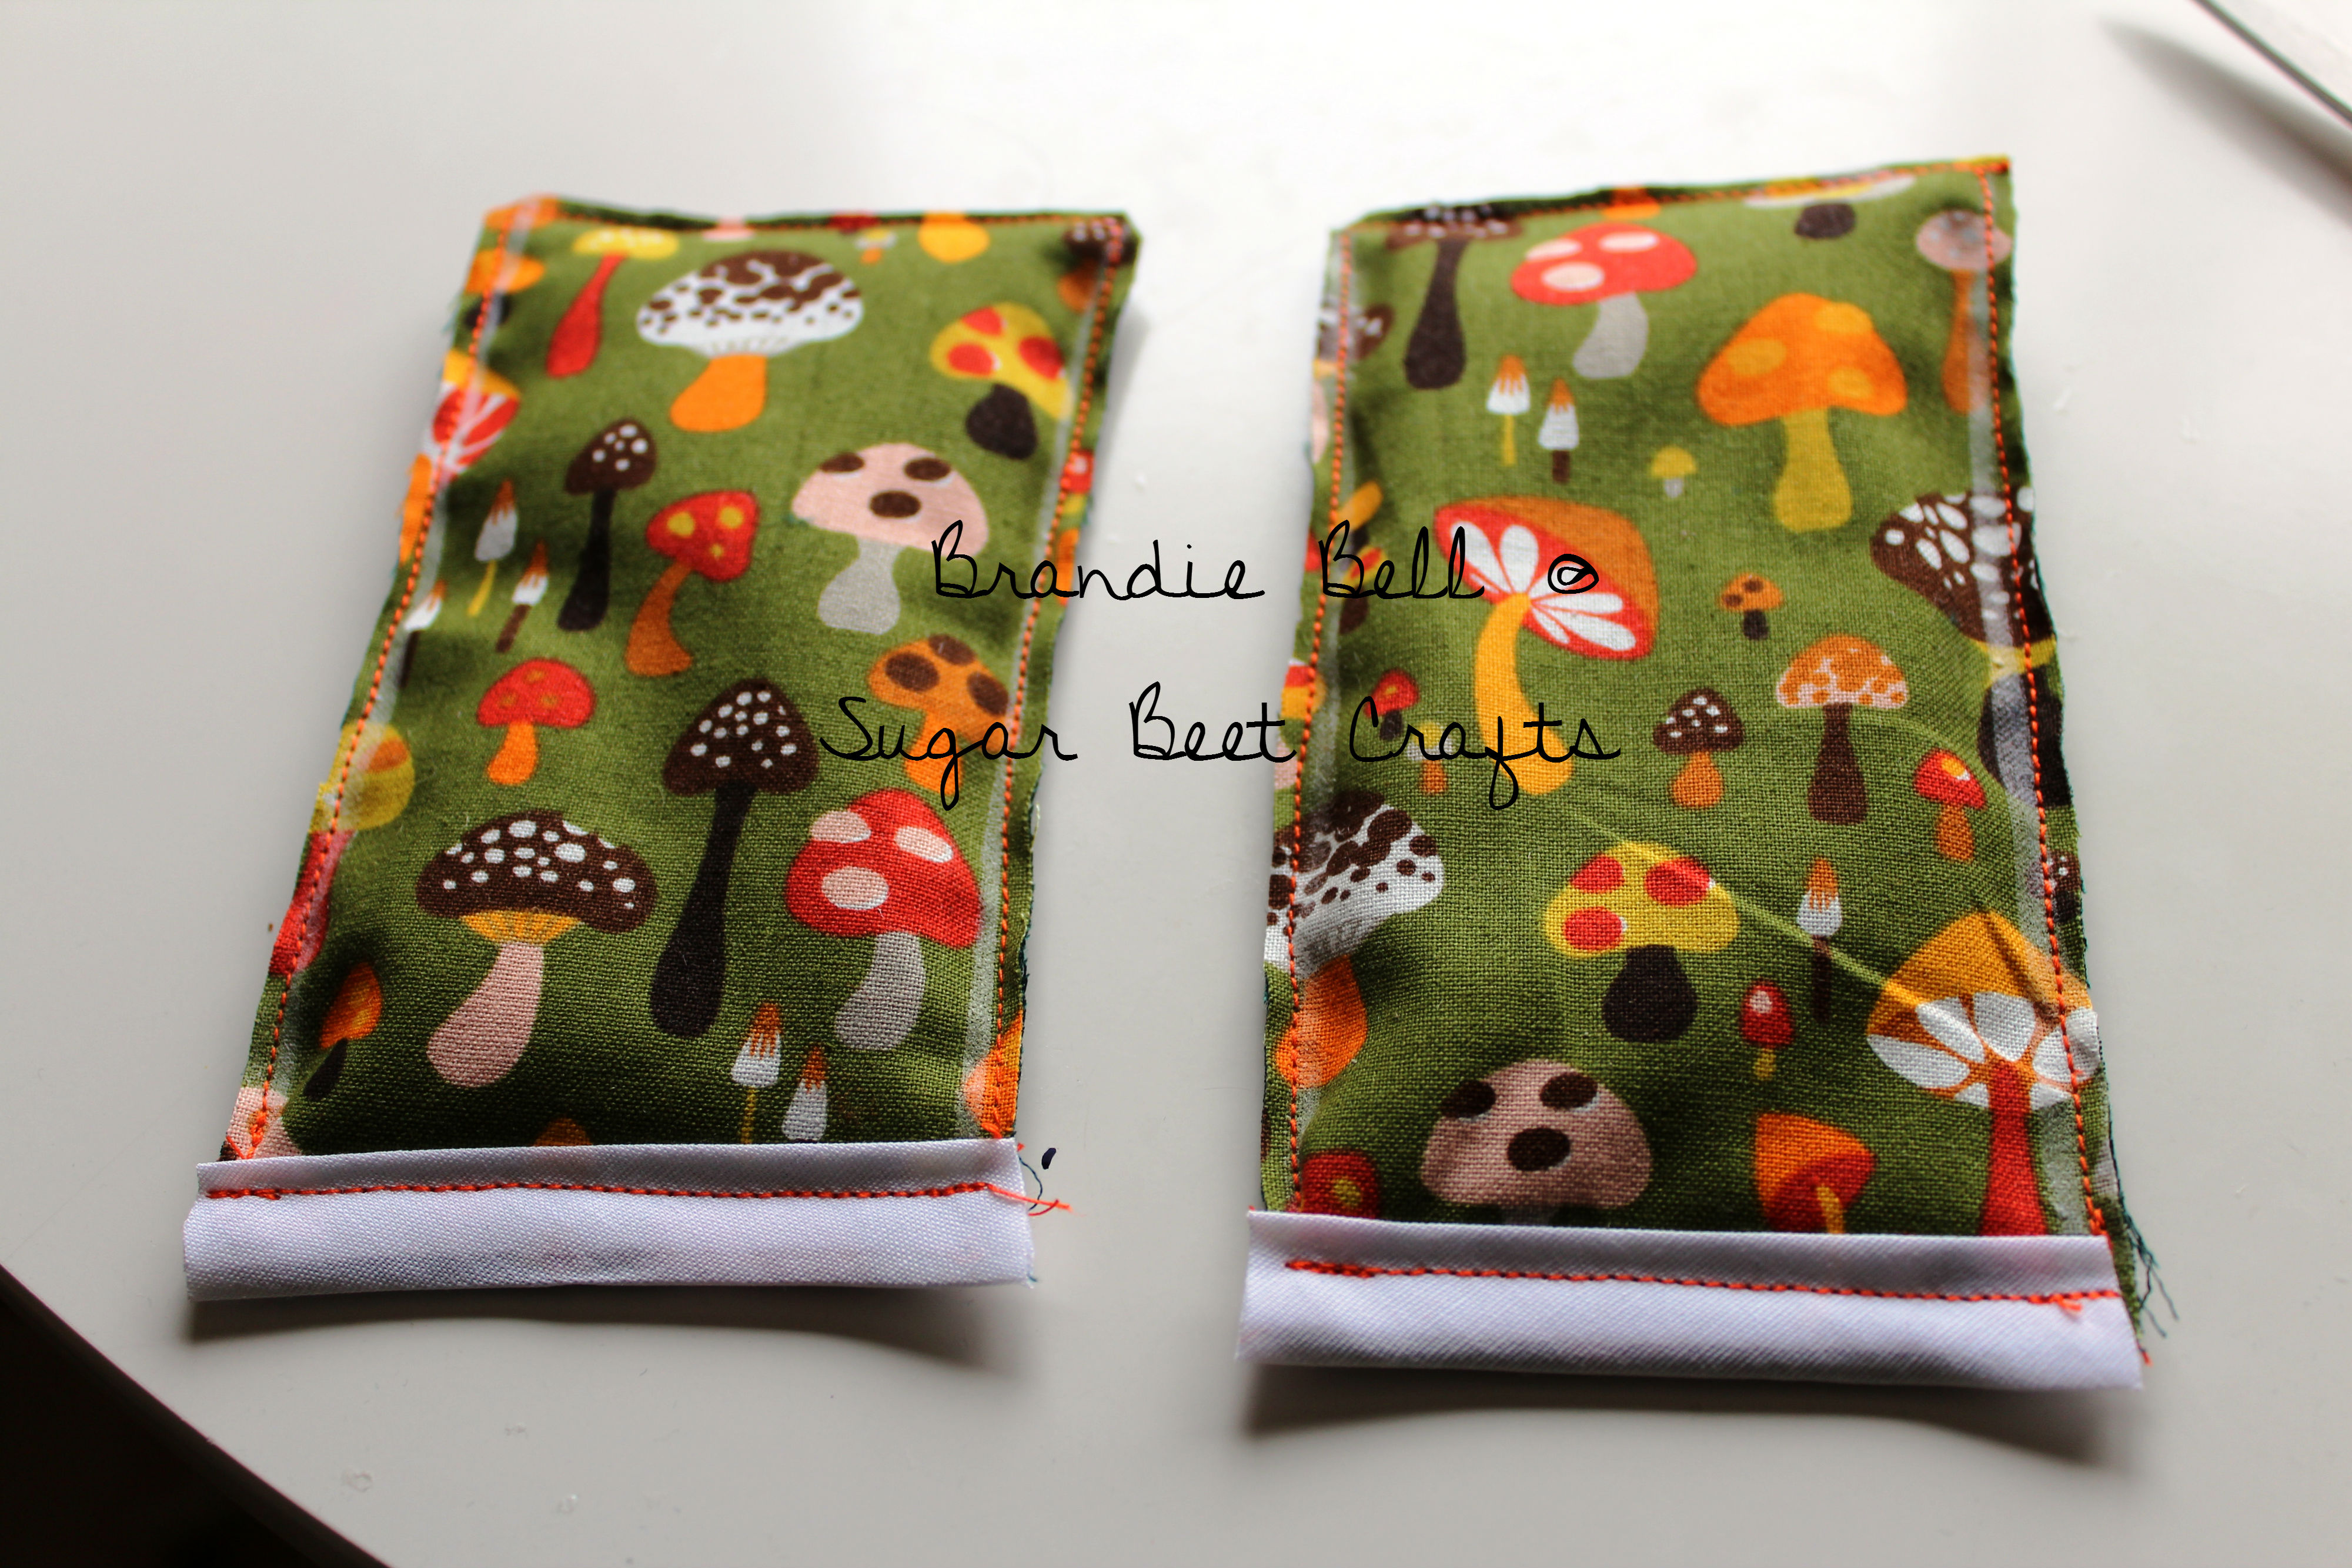
Step 7: You should have two little “pillow”pieces that look like this.
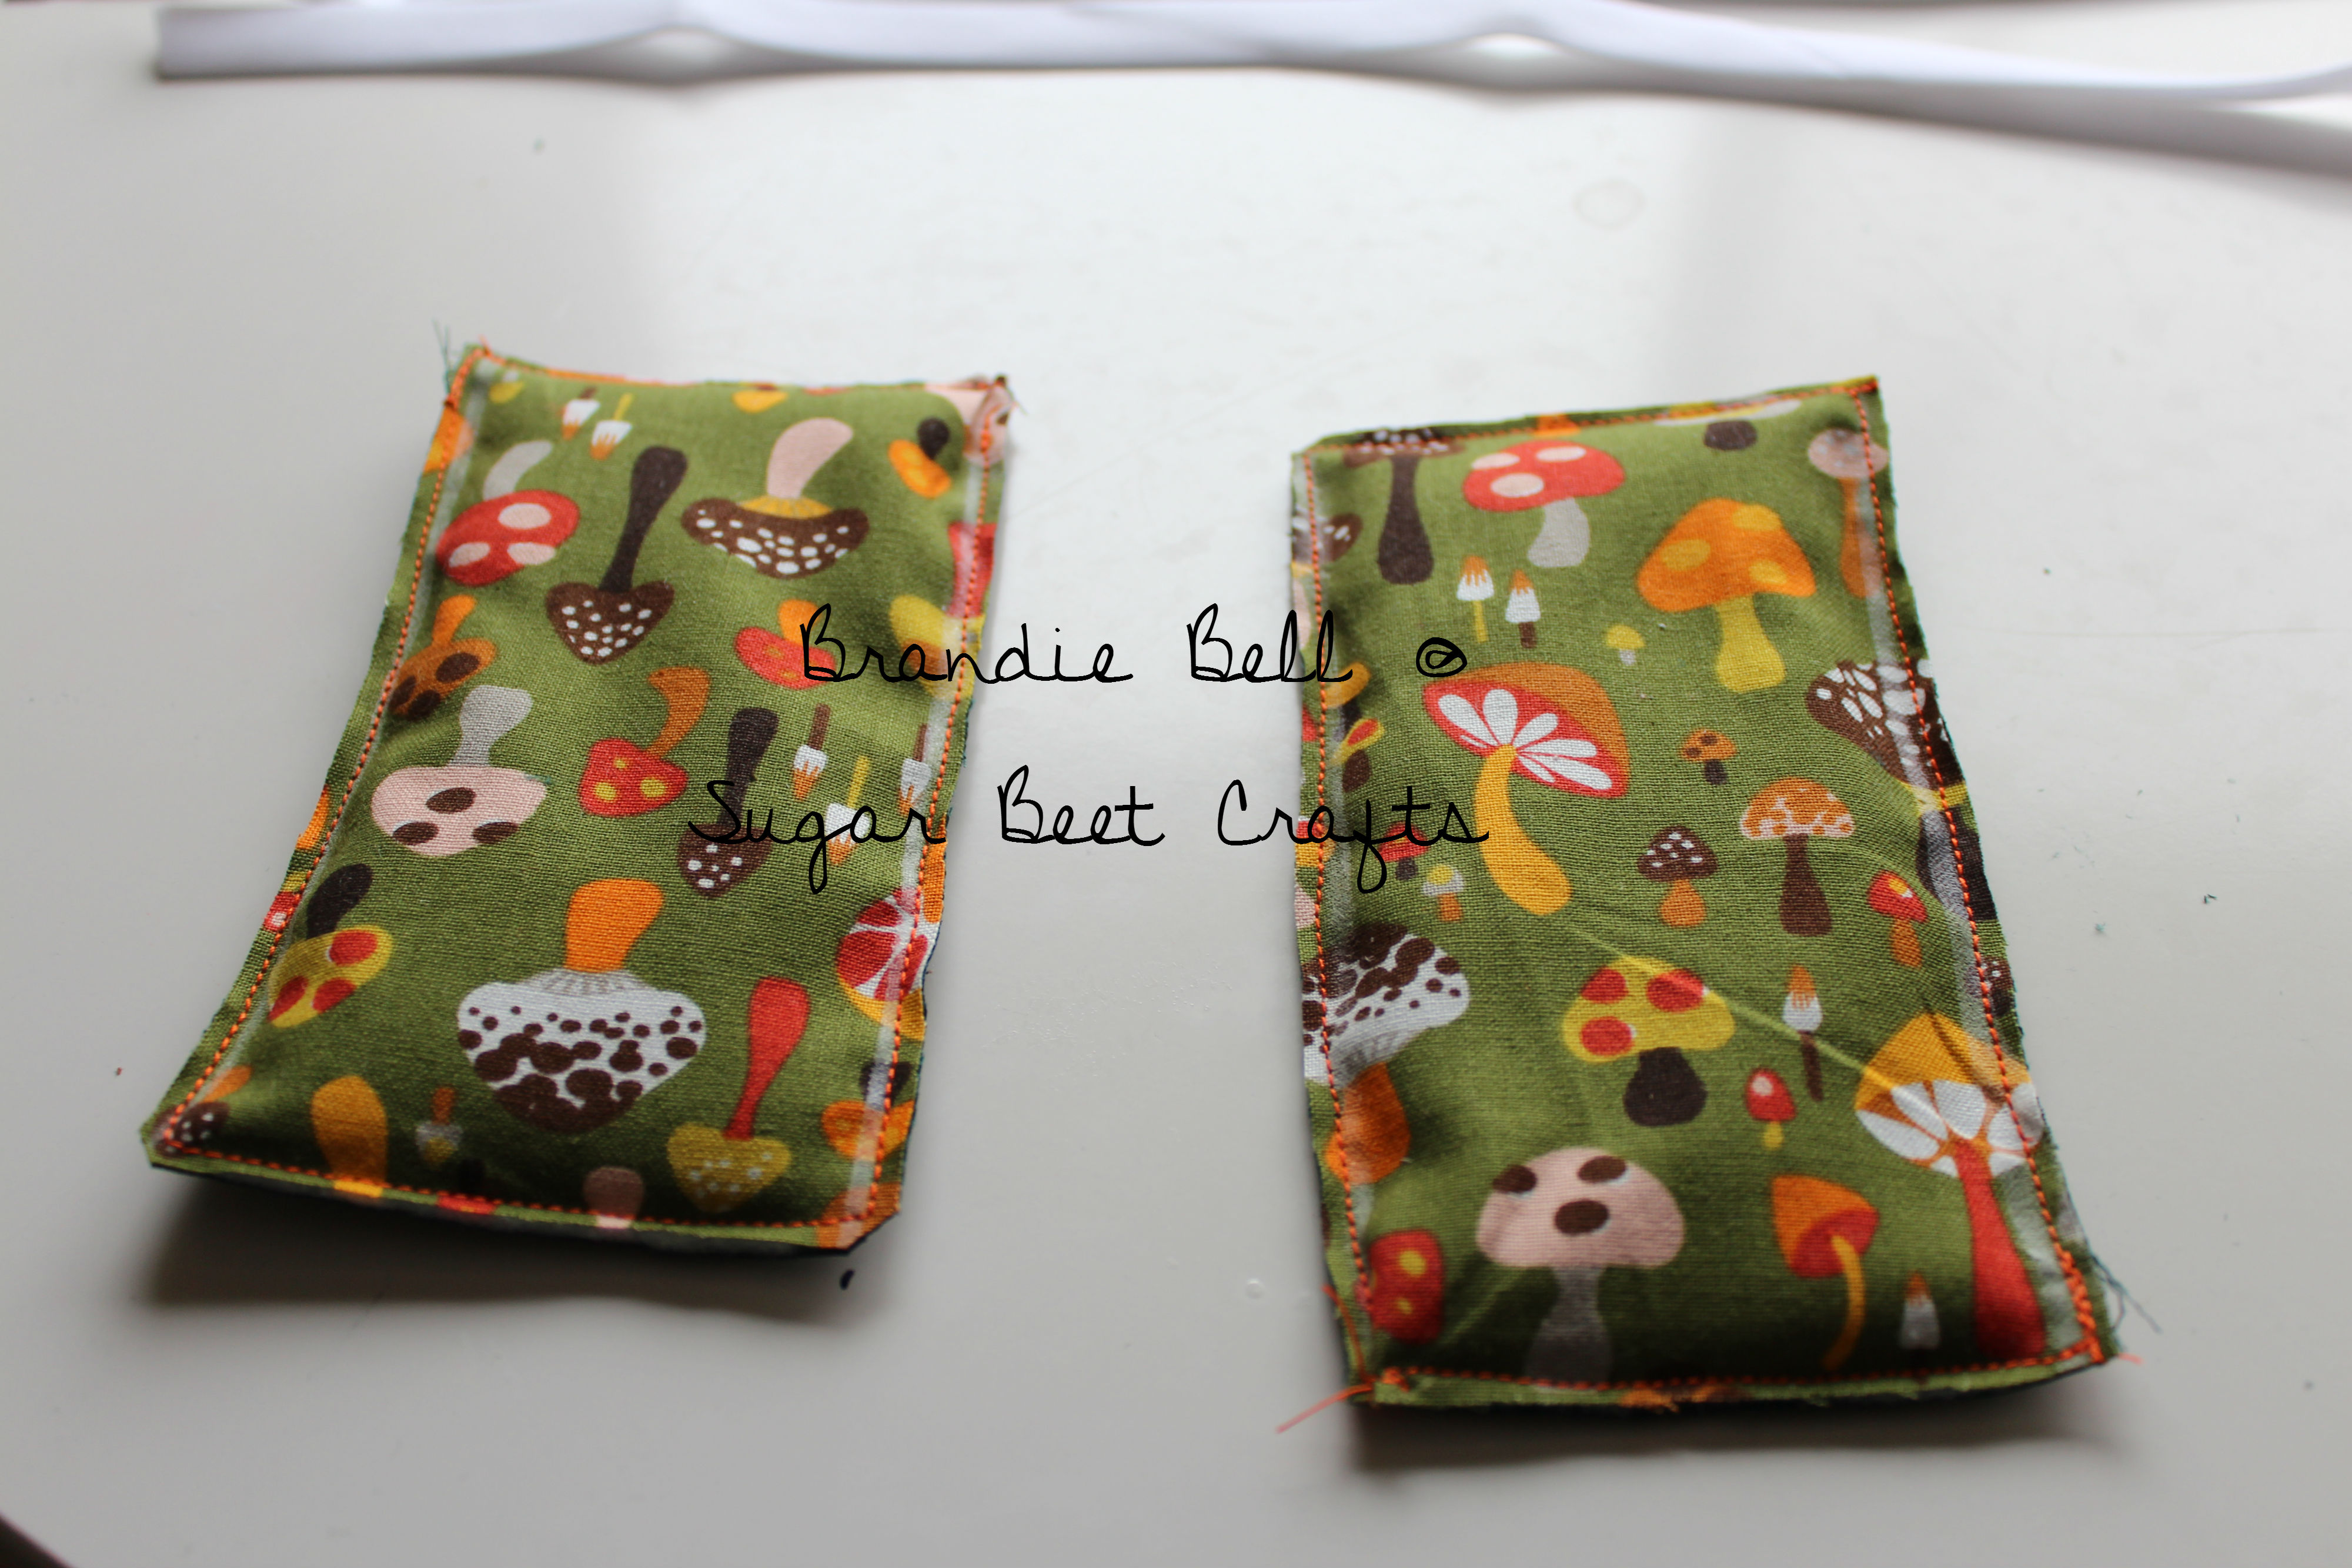
two pillow pieces
Step 8: Grab your seam binding. Measure out two pieces to fit the bottom of each side. Tuck your material into the binding (make sure both side of the little pillow are covered) then pin. Once pinned sew across the bott
Add seam binding to bottom
Step 9: Sew some more seam binding around the remaining three sides. Then using a small amount of the seam binding, make a loop. Pin down the loop to the top and sew. *Make sure you tuck the ends of the seam binding under for a neater look.
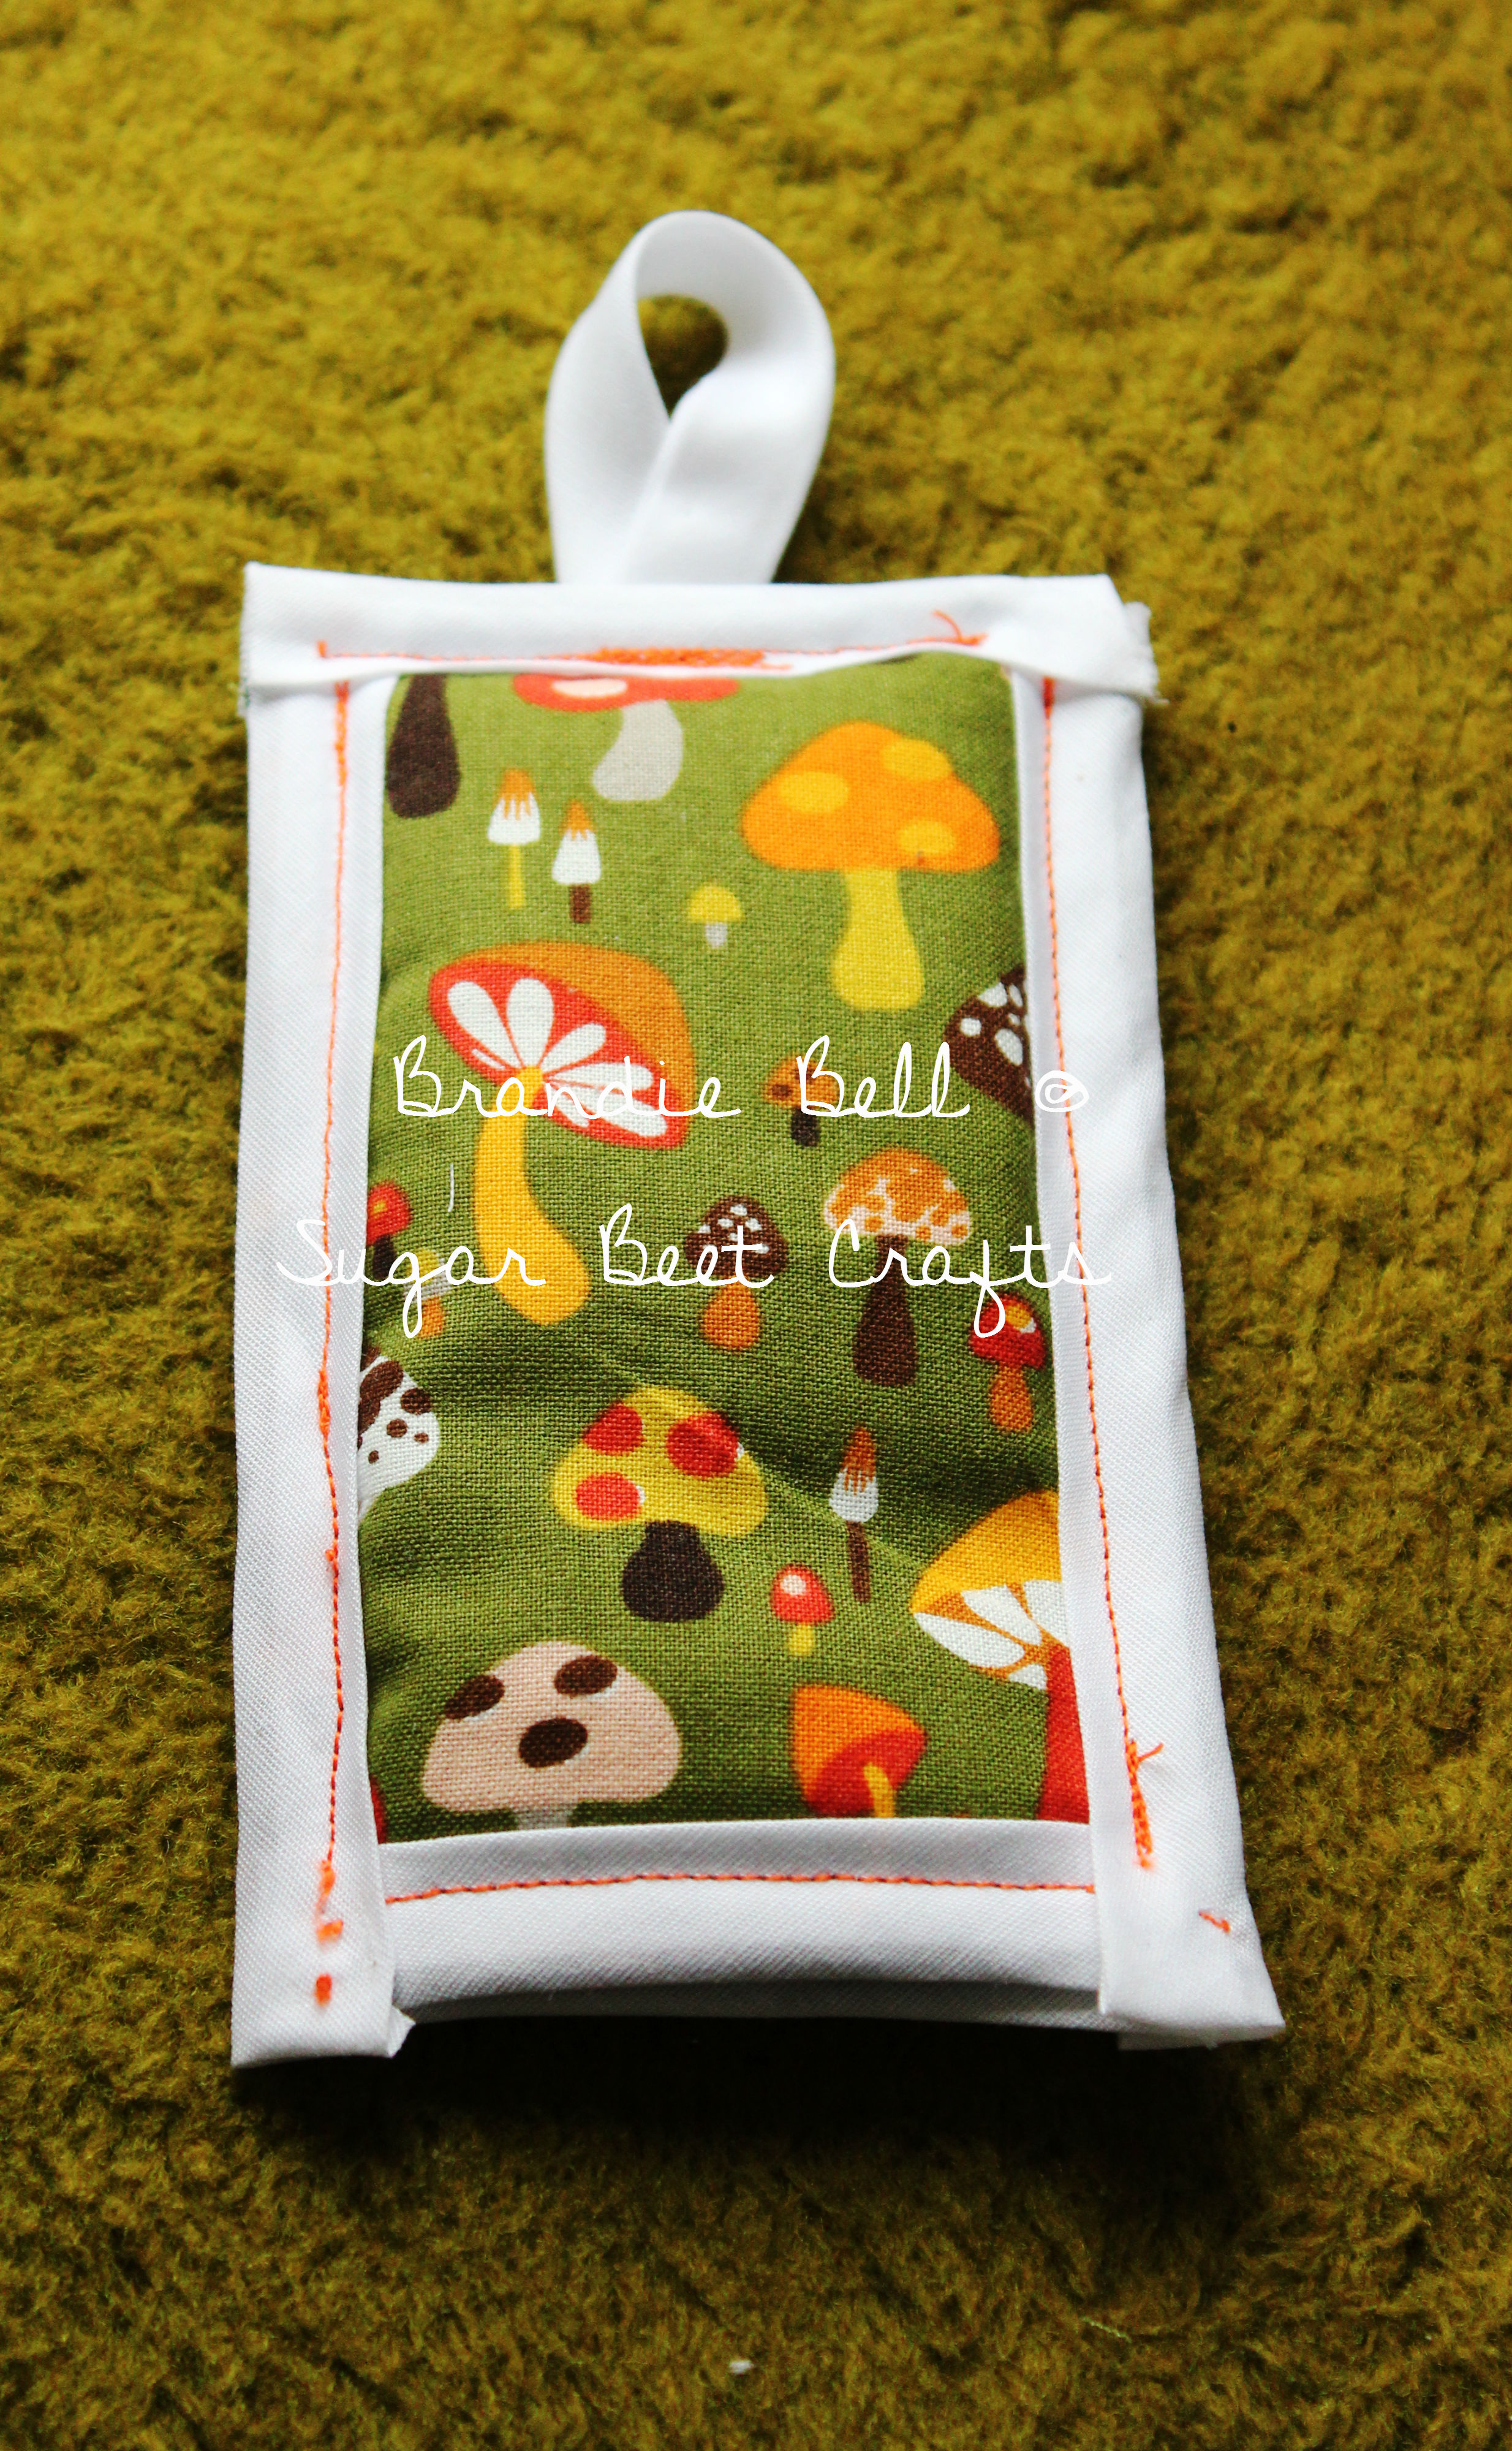
Pan Handle Cover
Comments:
I am sure there is probably a better way of making these, so if you have any tips or tricks please feel free to comment.
I hope you can use this tutorial in the future. If you do make one, I would love to see them!


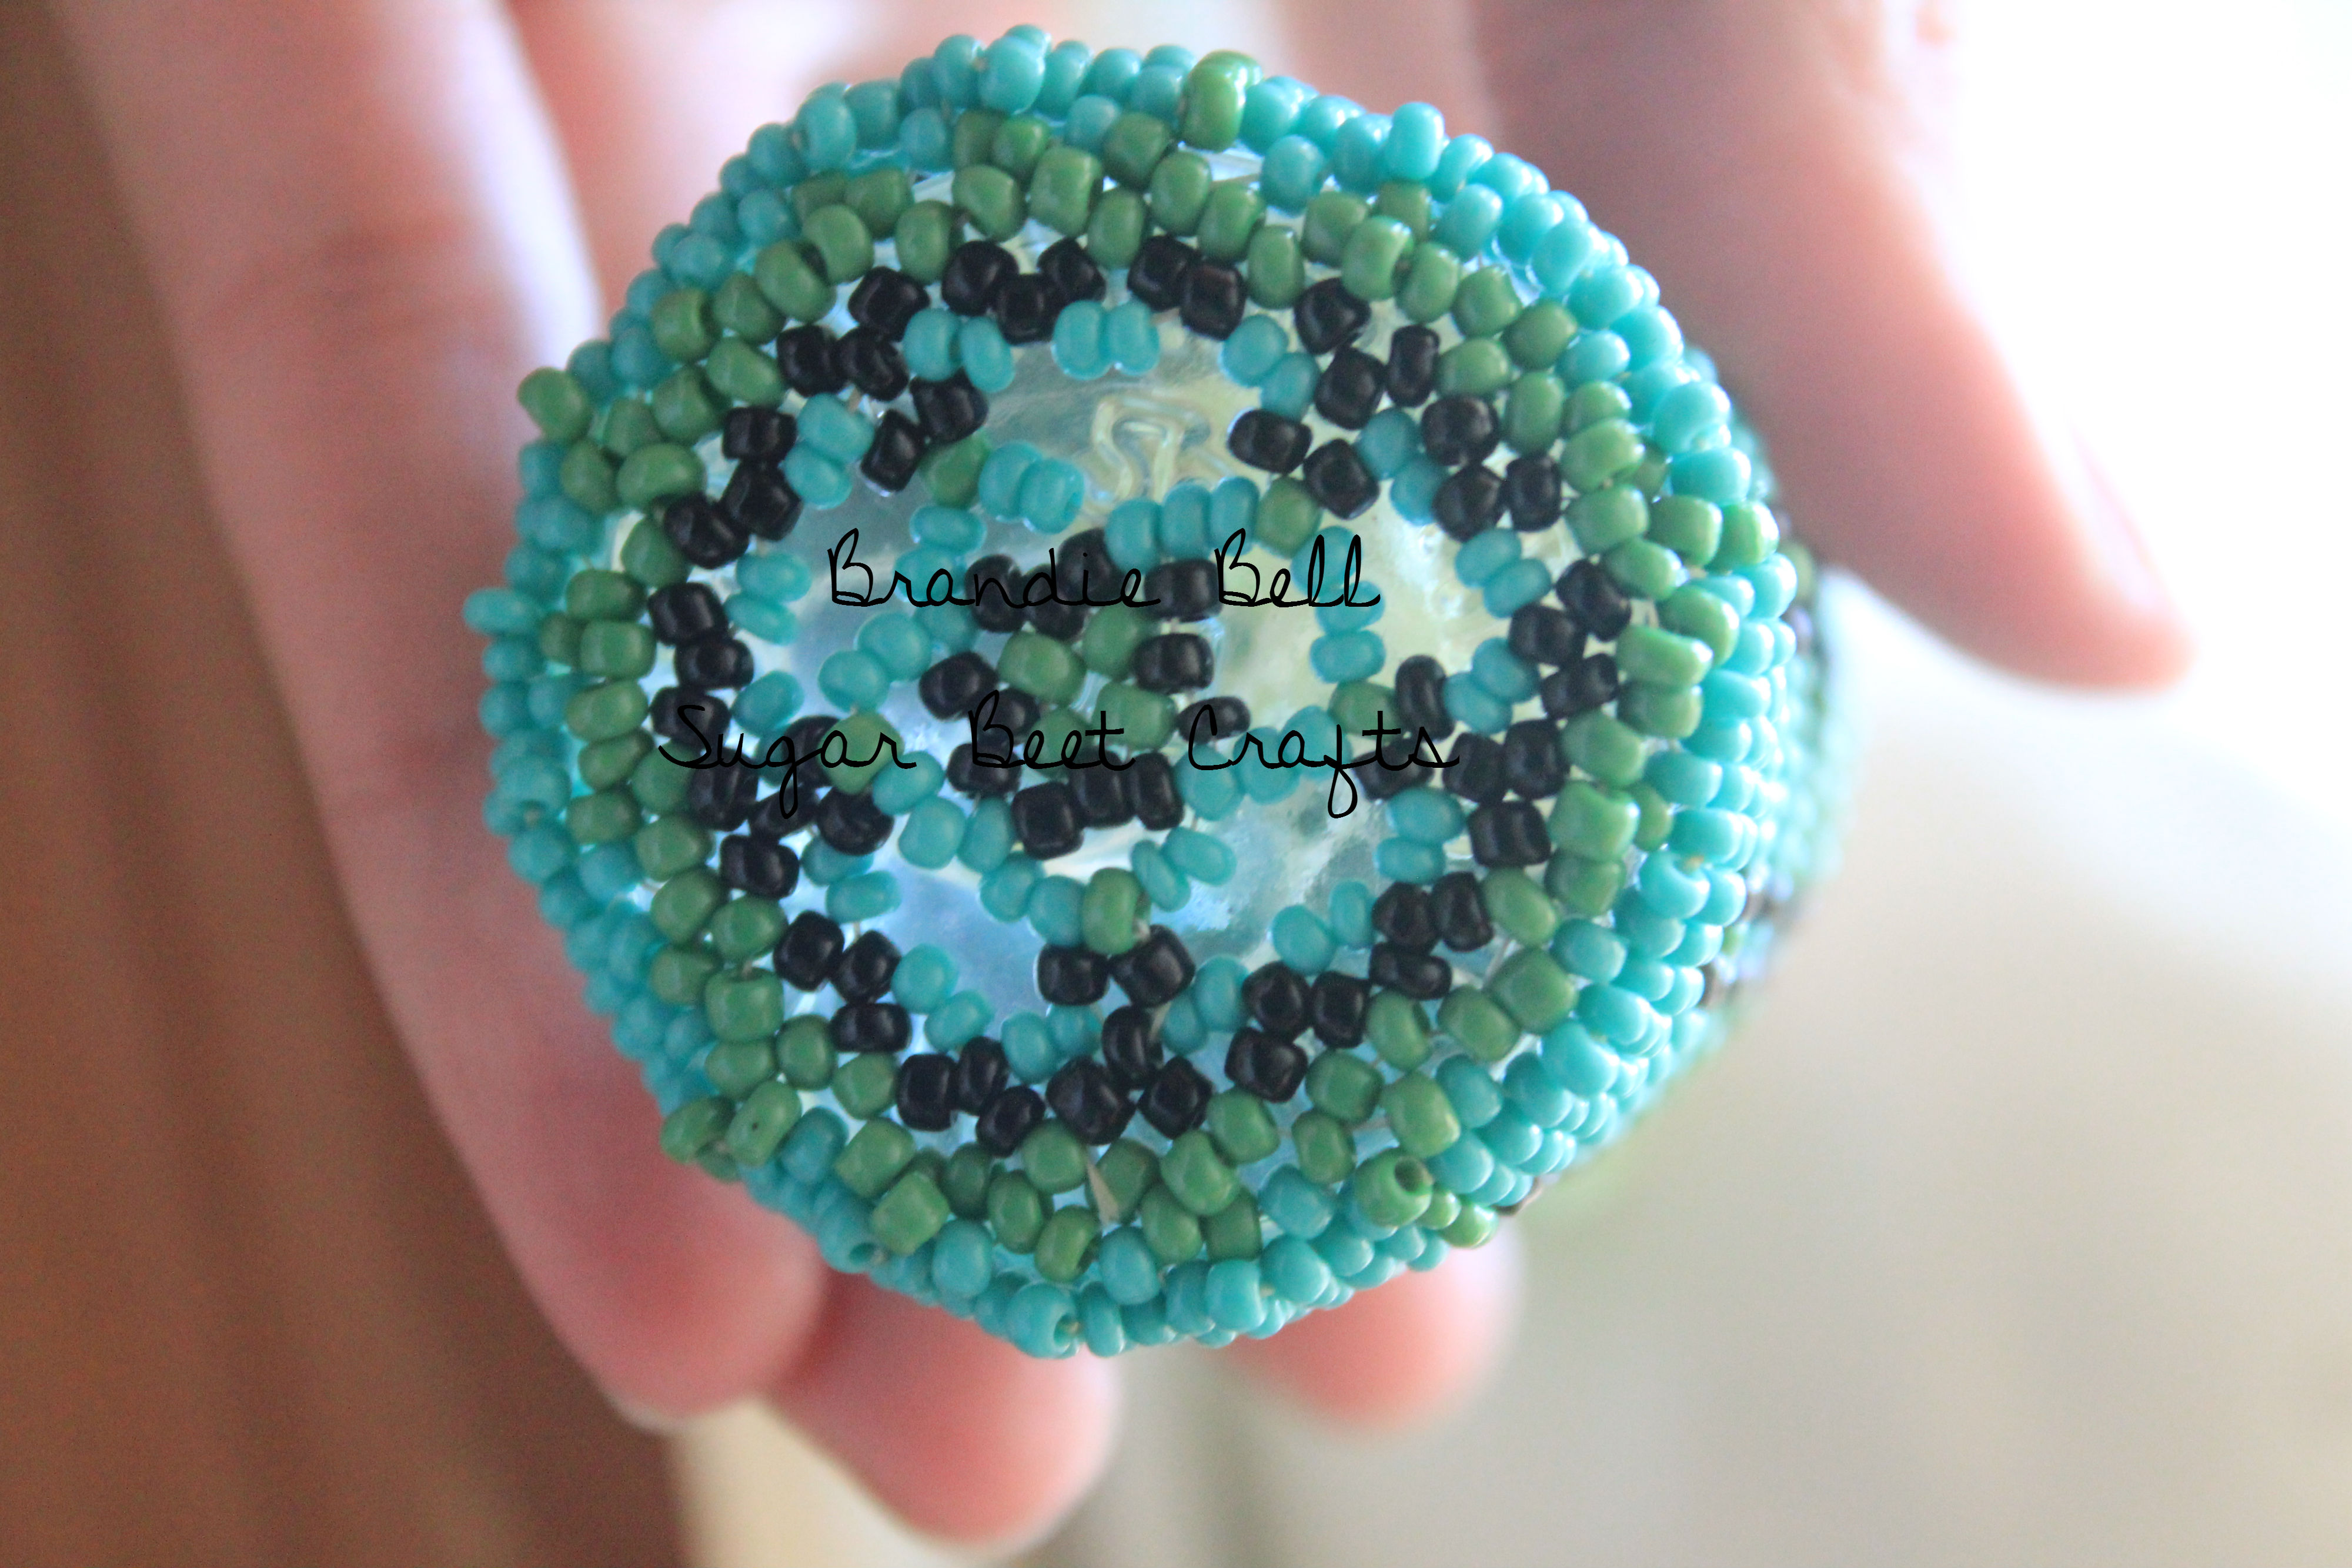
My boyfriend’s mother is a wiz at finding 4 leaf clovers. She was keeping them in an old empty syrup bottle from Cracker Barrel. It was begging to be decorated, a 4 leaf clover is special, so it should have a special home. So I did what I do best, I put beads on it.
Have you ever seen an object you just had to decorate? I would love to know please leave a comment.
Small bottle of syrup from Cracker Barrel


![]()
Free Printable from Sugar Beet

September is a fantastic month, and not just because I am finally home from Oklahoma! September is the start of a new season. Kids are back in school and the cool air starts to creep up turning leaves a wonderful blend of fall colors.
It is a month full of cultural diversity, planet awareness, self-improvement and much much more. Over the next few weeks I will be highlighting the many bizarre and unique holidays celebrated in the month of September.
September is:
Classical Music Month
Hispanic Heritage Month
Fall Hat Month
International Square Dancing Month
National Blueberry Popsicle Month
National Courtesy Month
National Piano Month
Chicken Month
Baby Safety Month
Little League Month
Honey Month
Self Improvement Month
Better Breakfast Month
Phew! keep an eye out!
The next few weeks should be fun and interesting. You wouldn’t want to miss it! Please follow by blog via email, twitter, Facebook.
I hope you have a wonderful day!
See you soon!

I am allergic to dairy, when I eat it my throat swell up and I get a cough. This makes me very sad.
In the spirit of National Frozen custard day, I did a little research.
I found a vegan recipe that actually looks like something I can do. It comes from Naomi at Better Batter.org and she also includes variations, which also look amazing.
Now I am happy!
Enjoy!
http://betterbatter.org/frozen-custard-base-and-variations-vegan


Hello everyone, I am so sorry for the disappearing act.
A few months ago my boyfriends mother was diagnosed with cancer.
So we packed up our stuff and have temporarily moved 1200 miles away from Santa Monica California to a small town outside of Tulsa Oklahoma. .. Skiatook Oklahoma. Just north-east of Tulsa.
Thank goodness the operations went well and she is doing fantastic, they were able to remove the cancer and is recovering nicely at home.
Our 4th day here, and we start to have storms. I am not sure where you are, but if you know California, you know it really has no weather. Our storms last a day then go away. … Now Oklahoma on the other hand is a whole other story.
These storm clouds are nasty! The thunder roars on forever and its so hot and muggy it feels like you just stepped out of a steam room.
So I was outside weeding the strawberry’s when the thunder and lightning started. …. then I noticed the sky, and a feeling came over me that I can’t explain.
The whole area, that is usually filled with all sorts of noises was completely silent and it was so still, the horses started to freak out and run back and forth.
I stared at this spot in the sky, it was light everywhere but there. It was pitch black.
Then I noticed it was “swirling” and I thought uh oh, even I know that is not a good sign.
So my boyfriend came over, the sky turned green, and he said um … That’s a tornado, it was hard to see because it was rain wrapped. so we dashed inside to see what was happening on the news.
There was a tornado spotted a mile and a half away!!!
So we get my cat into a carrier and jump into the car, because it looked like it was headed straight for us and we knew the roads well enough to get away.
But by the time we hit the drive way it had passed, which is what you see in the picture. It was much closer than that, but I was too busy having a panic attack to take real pictures.
Welcome to the mid-west!
So its been exciting. The same storm system is what leveled Moore Ok. We were super lucky. My heart goes out to all those families.
So anyway, I am still in Oklahoma, but brought my crafting stuff, so I should have some new posts up soon.
Have a wonderful Week!
I am off to feed the horses, dogs, cats and the puddle duck!


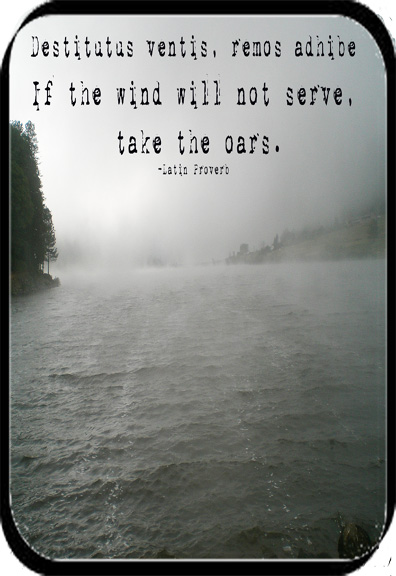
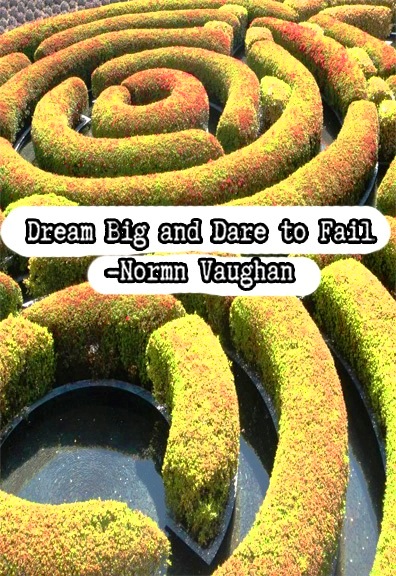
Latin Proverb “If the wind will not serve, take the oars.”
Picture photo-shopped and taken by me at Lake Cuyamaca in San Diego California


It was supposed to be a simple trip to Joann Crafts. I needed an ink pad…and maybe a new stamp.
But there I was…
Surrounded.
It was me and miles of fabric.The Colors, the Prints, the Patterns. Something came over me, ...ahhh, the possibilities!!!
I could not control myself. Maybe It was all the home and garden TV I was watching way too much of, or maybe it was the Ugly Betty re-runs. Whatever it was, I knew that I needed to learn to sew.
So, there was the mission… teach myself to sew.
Equipped with my mom on speed dial, a vintage sewing book and the internet, I was ready to go.
Needless to say I bought way more than a stamp pad.
I needed to start somewhere, so there was no better place to start than with Bags.
Here are a few I made as gifts.


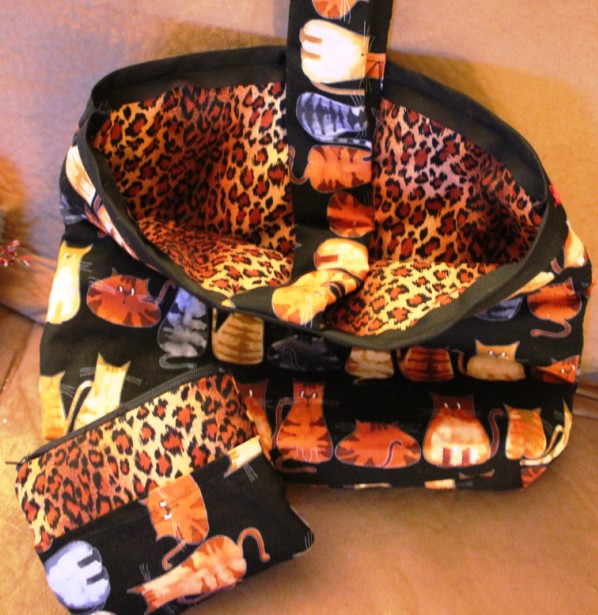
Now I am completely hooked.
Look Forward to some awesome tutorials!
Thank You for stopping by.
Please feel free to comment or message me!

sugarbeetcrafts.com
Oh the wonders in creativity...
creative living
embracing madness
4 out of 5 read-ologists recommend this WordPress.com site. ups and downs of writer's insanity and day to day life. I will write whatever makes the voices happy, for a writer that ignores her inner voices is merely a mental breakdown waiting to happen. Keeping the voices happy and creating new worlds for them to play in is my main goal.
“It takes a lot of imagination to be a good photographer."
Love,Live ,Craft and Sew!!!!
images as thoughts
Aspiring Wordsmith
Creating art on the big canvas and the small ones too
a blog about my garden and my soft spot for cacti and succulents, travelling and art
watercolor and things that fall out of my fingers, art, watercolor, words. I sell stuff too! Email me at martha@marthakeim.com
The simple thoughts of a simple mind.
creative arts by Peta Gwenythe
Visual Artist
Dessert recipes, tutorials and photography


You must be logged in to post a comment.