
Hi everybody!
I hope you are having a fantastic October so far!
Can you believe Halloween is next weekend already! Where does the time go…other than away!
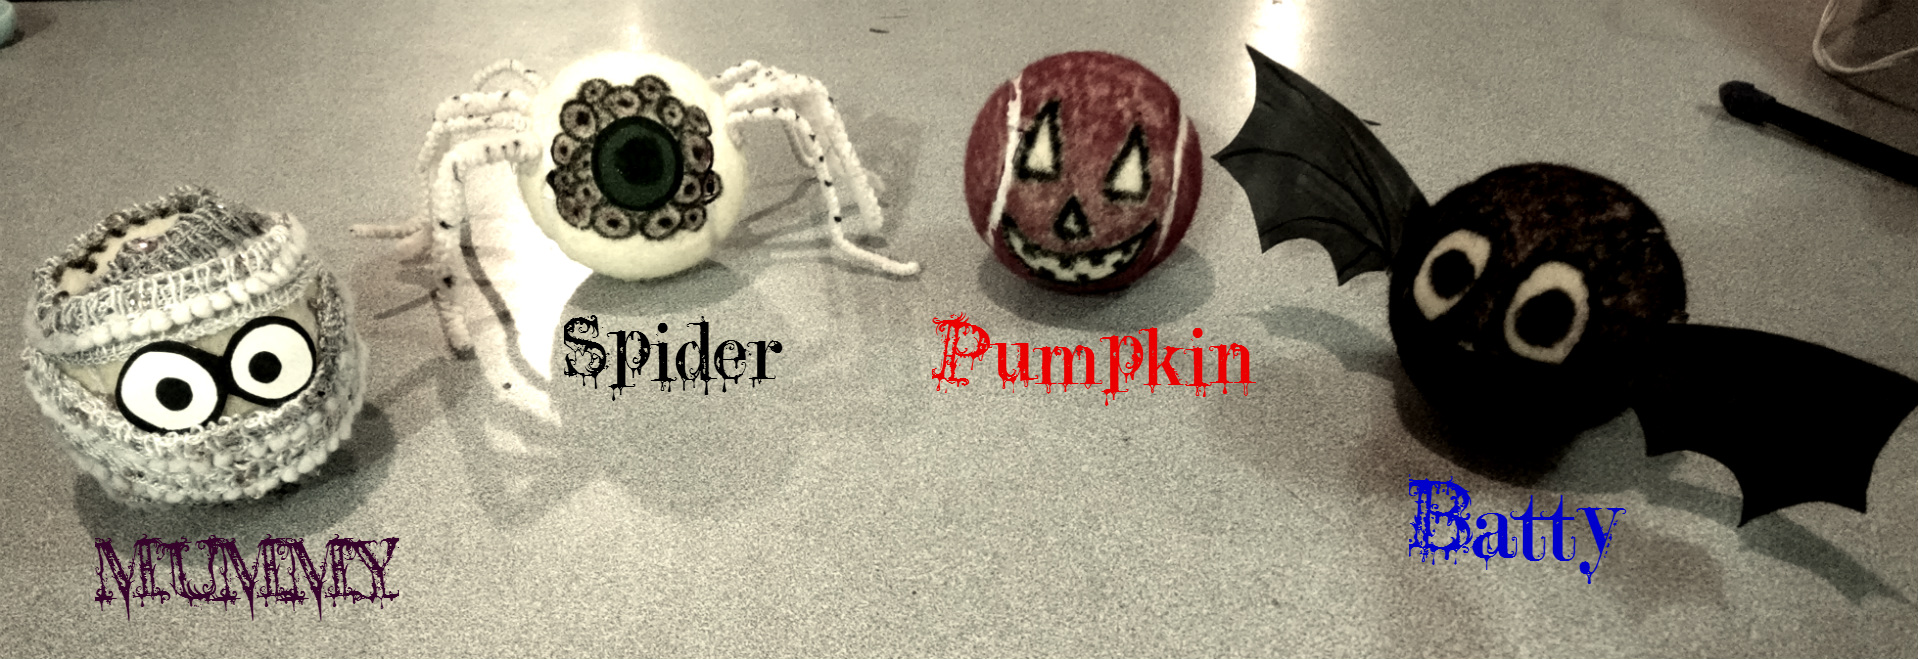
So, I work in a tennis shop, and where there is tennis there are a lot of tennis balls. Rather than throwing out some of the old tennis balls around the shop, I decided to convert them into fun creatures for Halloween, and I must say the kids are loving them so much, that I decided to share them here.
These fun little guys are so easy to make. You only need a few things, most of you probably have around the house already.
Supplies:
- Tennis Balls
- Sharpies
- Glue Gun
- Index Cards
- Tape
- Pipe Cleaners
- Yarn, Fabric or string for mummy
- Optional: Googly eyes instead of drawn in eyes for spider.
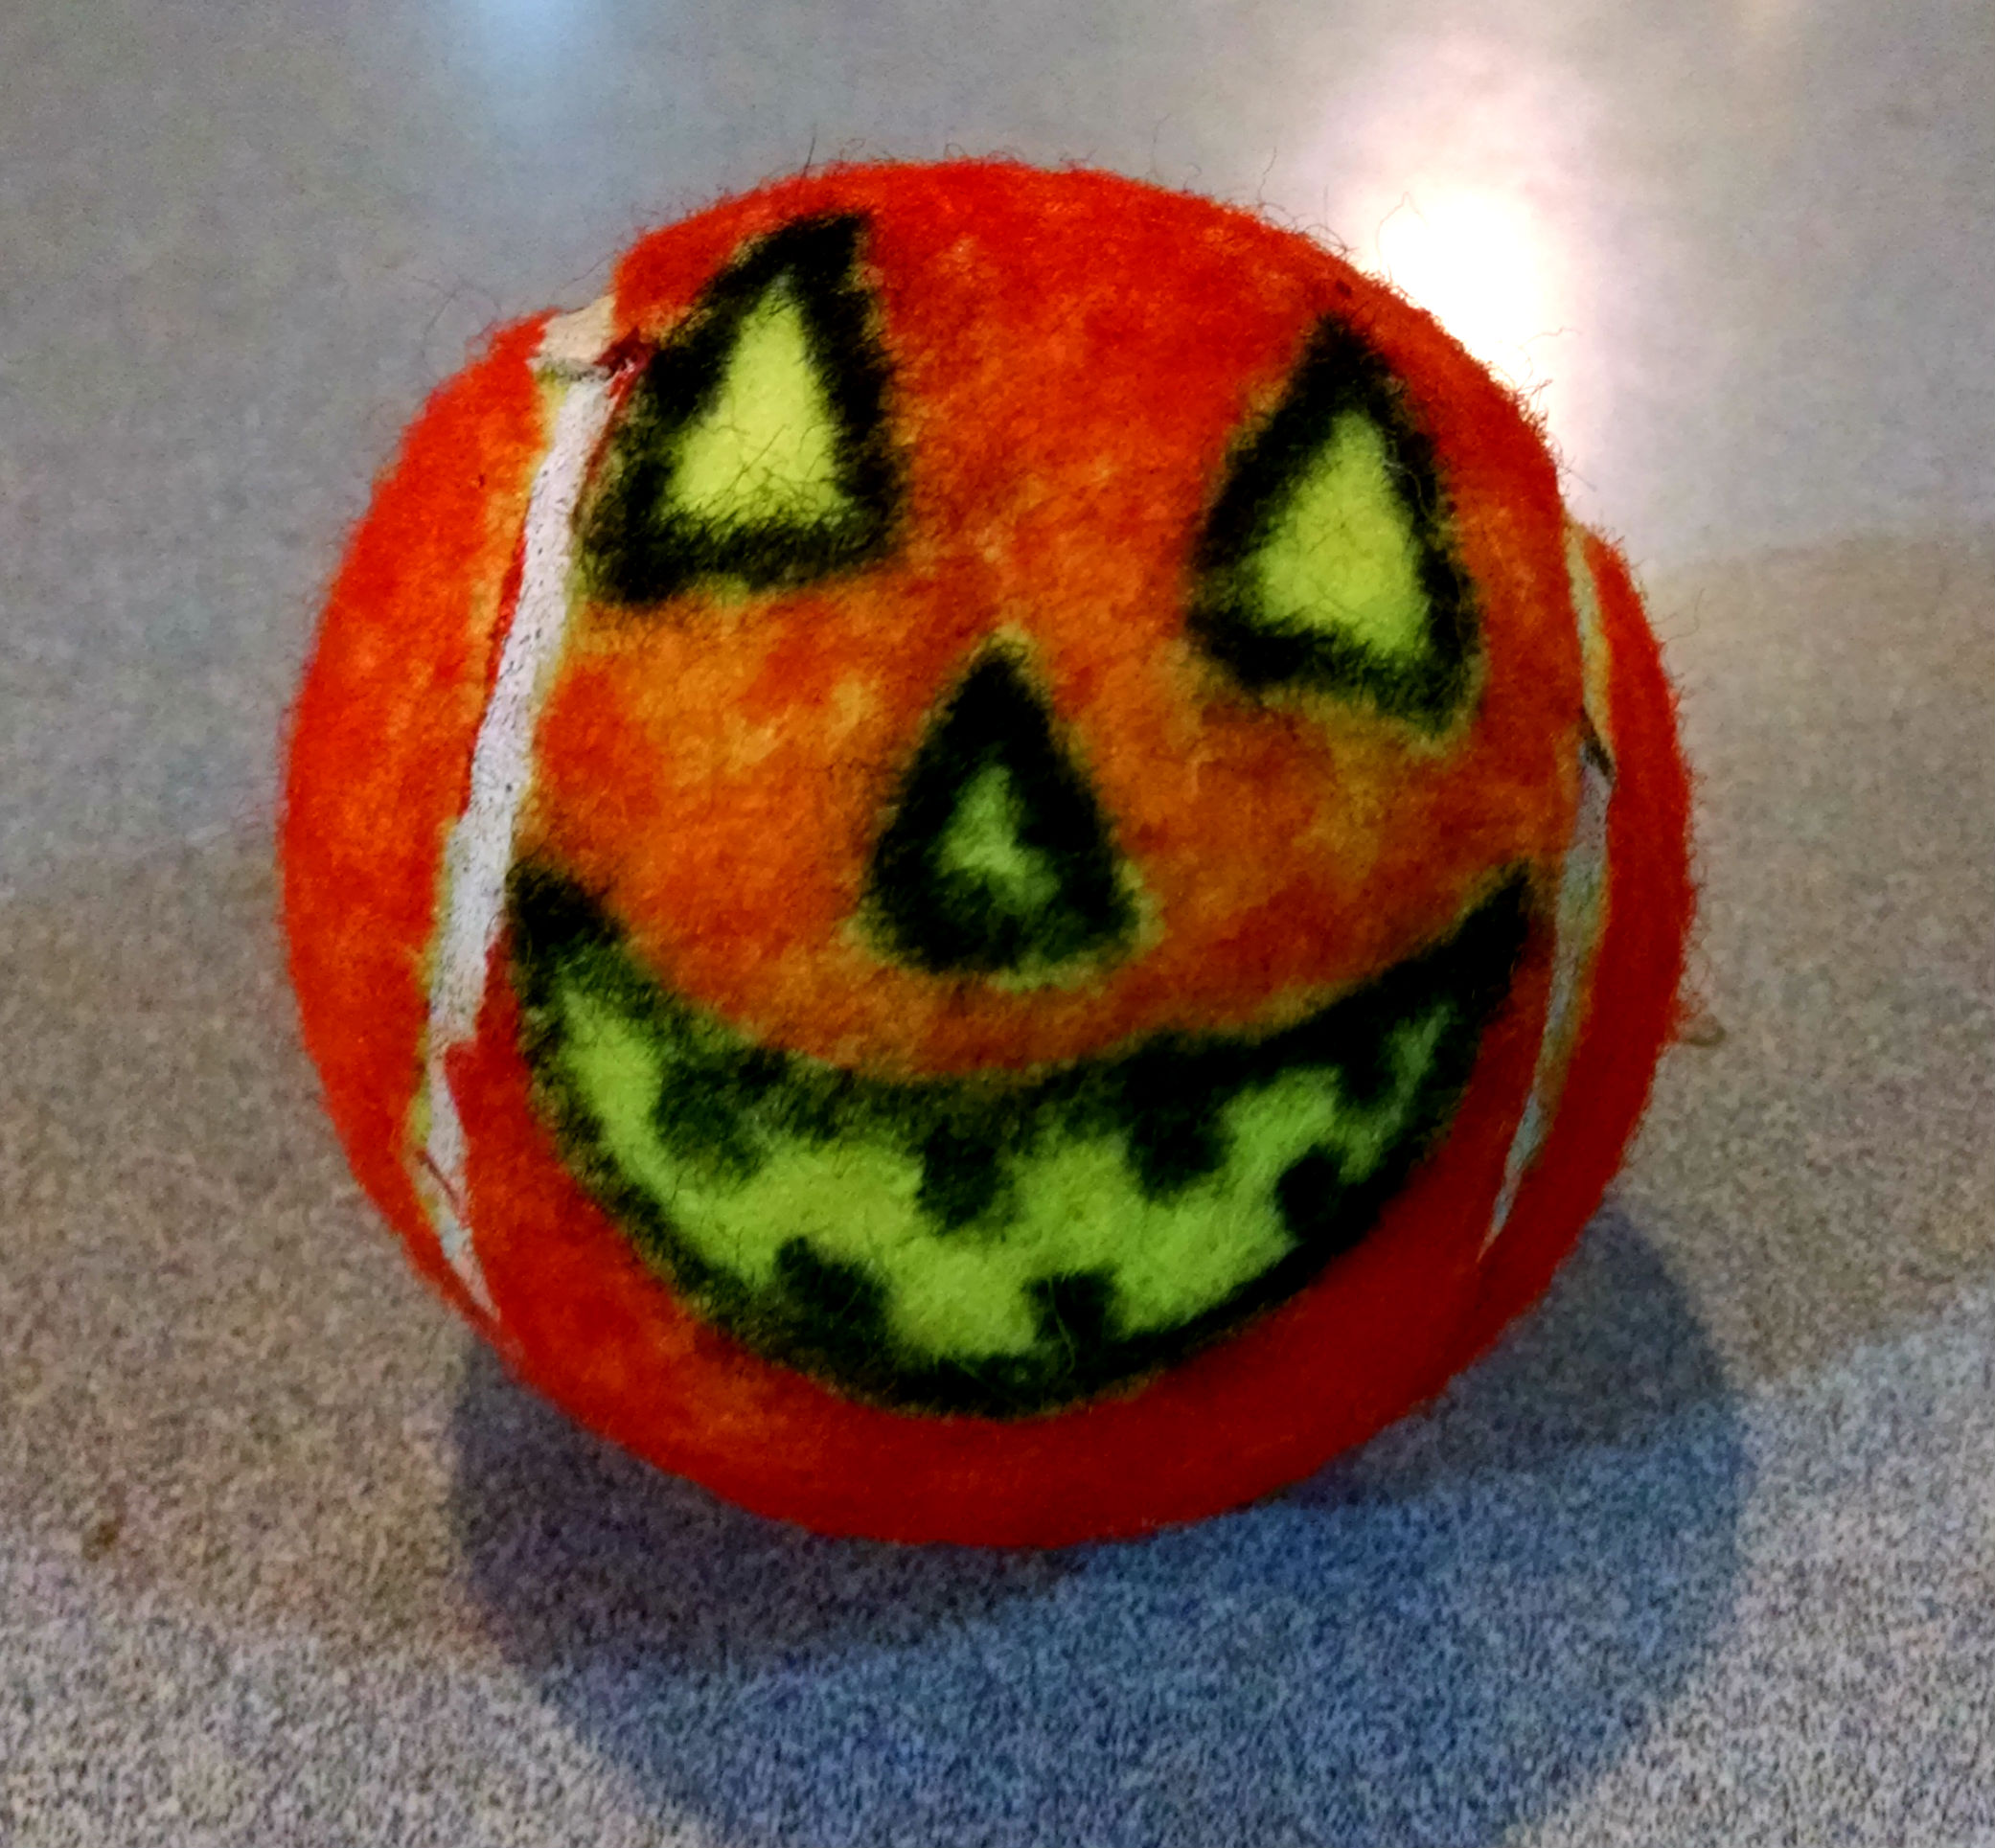
Pumpkin Ball:
- Super easy Just draw with your black sharpie triangle eyes a nose and a mouth.
- Then use an orange sharpie to color everywhere but in the eyes, nose and mouth.
- Let dry for a minute or two.
Ta-Da! Pumpkin Ball!
Batty Ball:
- Also super-duper easy. Draw two large circles for eyes with your black sharpie.
- Then add the pupils.
- Add a circle for the nose and some fangs.
- Use a brown sharpie to color the rest of the ball, you can use black but the details of the face will be hard to see.
- For wings, I used an index card and drew out a wing, then cut it out, and used this wing as a template for the second wing. Just make sure you flip it so it is in the correct direction.
- Once both wings are cut out, use a large marker to color in the wings. I then used a fine tip sharpie to add the details.
- Make a small bend in the wing where it will attach to the body.
- You can either use a glue gun or tape. If you use tape, put a rolled piece of tape under the bend and then use a few more across the top. If you use glue gun, add a tad of hot glue to the folded part of the wing and stick it to the body.

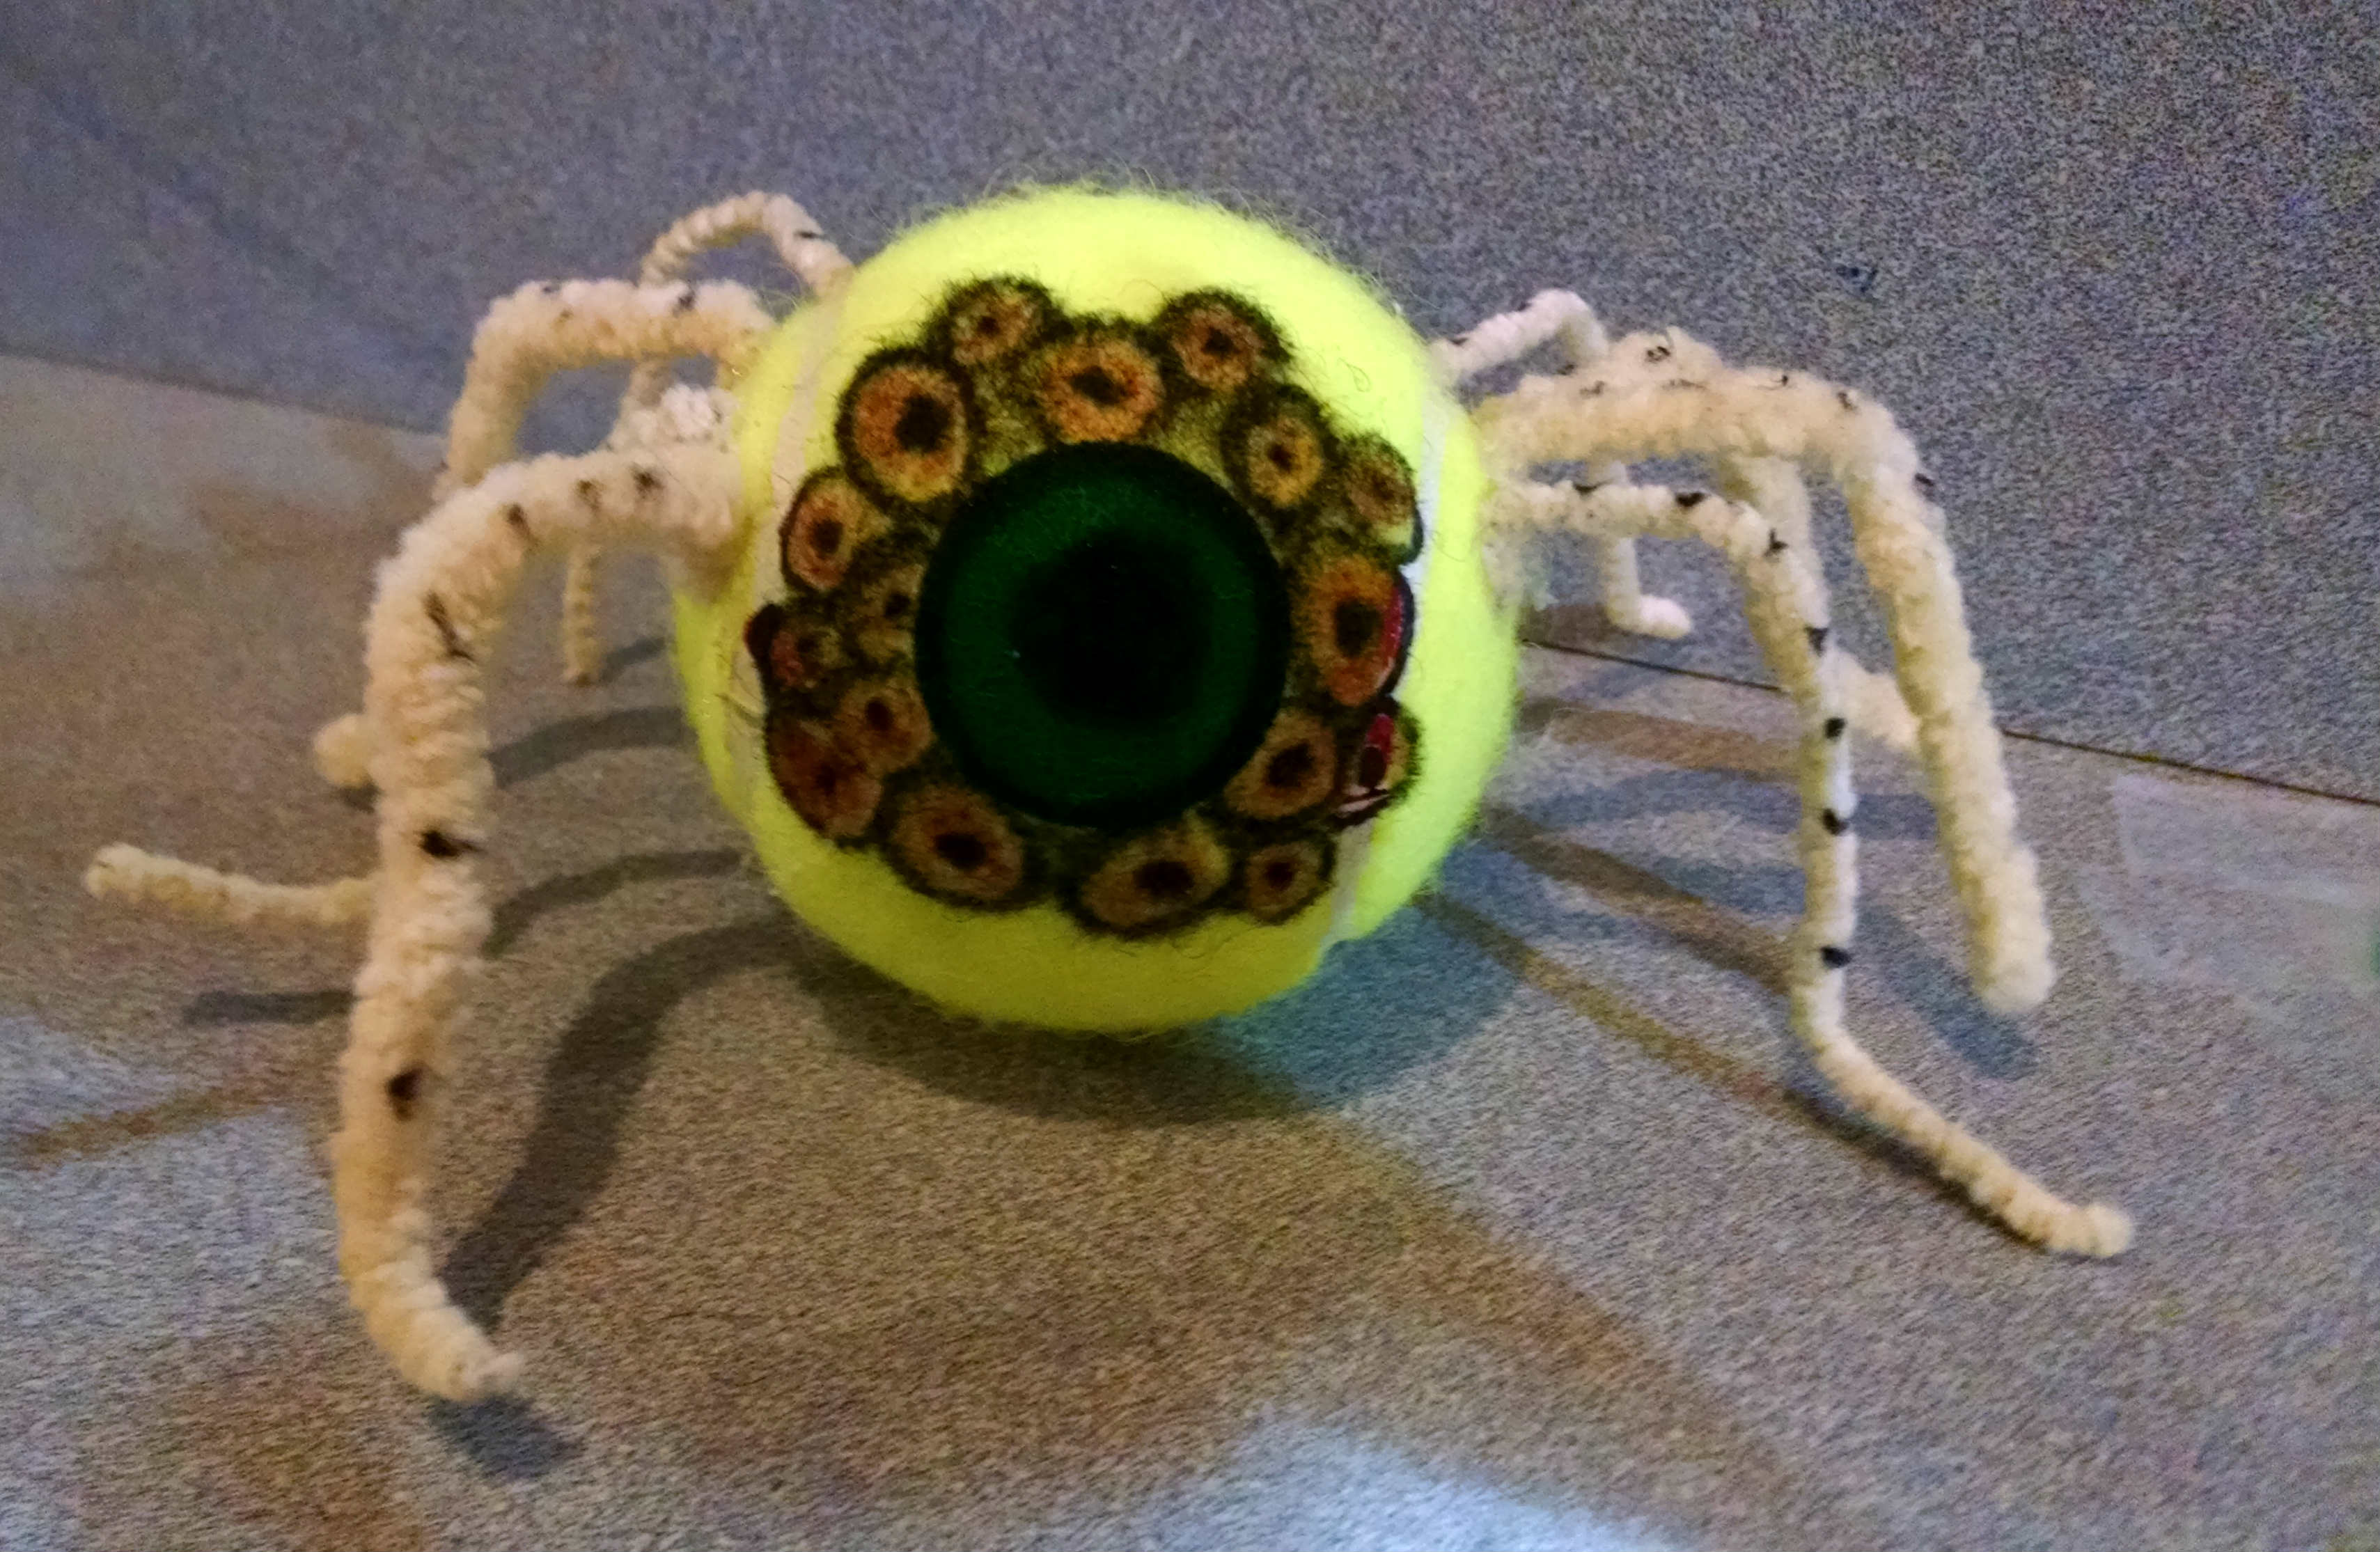
Mr. Spider Ball
- I used 4 small pipe cleaners and cut them in half.
- Use a hot glue gun to attach to the ball. Let dry completely between adding the legs so they don’t fall off.
- Then use a sharpie to draw on eyes. You can also glue on googly eyes if you have them.
- I added a few stripes to the legs. You could also color them in, or use a sharpie to color the whole ball.
Mummy Ball!
- First, use an index card to draw out some eyes.
- Cut them out.
- Use hot glue gun to glue them onto the ball. Let dry.
- Grab your yarn, string or fabric and your glue gun.
- Add a small dab of glue around the top of the ball and slowly start to wrap your yarn around adding tiny dabs of glue all along the way.
- Continue to wrap around until you go all the way around.
- Secure with glue.

The possibilities are endless. I would love to see what you come up with.
I hope you enjoyed this tutorial!
Have a wonderful week!
Would you like some more Halloween inspiration here is a past post on easy Halloween Jar decoration fun: https://sugarbeetcrafts.wordpress.com/2014/10/23/quick-and-easy-jar-decoration/

Mummy, Spider, Pumpkin & Batty


You must be logged in to post a comment.