Let’s Make Stickers!

Hi Everyone! I hope everyone is wonderful.  I spent this weekend going through some of my office supplies, and I found a bunch of packs of labels. Then it happened…the idea!

I don’t know why it took me so long to do this. I love stickers.. I mean LOVE stickers. I have a wicked collection.

Lately, I have been sealing packages and letters with them but I wanted something more personalized without spending a bunch of money.  Then lightning struck, I can make my own!!

So, if your like me your might have packages of labels around collecting dust. I always have leftovers from yard sales and organizational sprees, or if you burn your own CD’s, you might have those CD Label making programs,they usually leave you with left over sticker parts. I keep everything I might be able to use later on (no, I haven’t reached hoarder status…yet).

stickers

stickers 2

I kept the CD label thingy because I thought I could use the round part or the thin CD case labels.

So lets make some stickers…

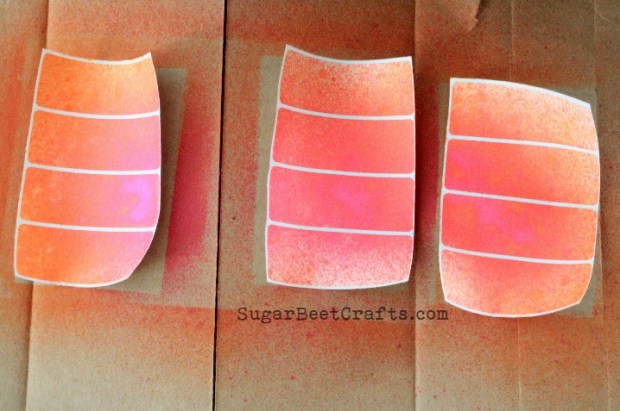
You want to start with a background.

I used Dylusions Ink spray and sprayed the labels. You could totally use ink pads or markers. Once covered let them dry.

stickers 3

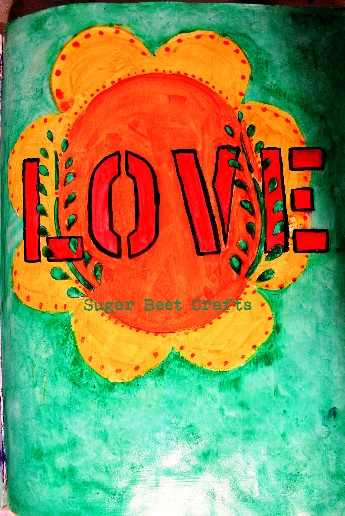
Next, Use a lighter color stamp pad to stamp a pattern onto the background. This part is fun, you can do a million different things.

stickers 4

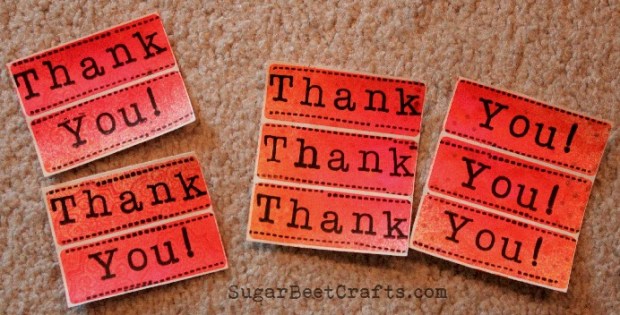
Next, More stamping..Use letters, pictures, whatever your heart desires. I was making Thank You & Sugar Beet Crafts Stickers.

Stickers 6

Stickers 7

ScreenHunter_141 May. 18 20.23

You can use a white or metallic pen to make some fun highlights…

ScreenHunter_142 May. 18 20.23

sticker 17

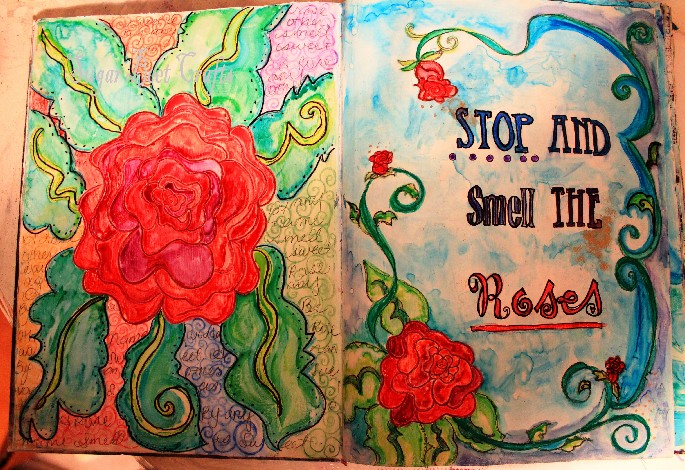
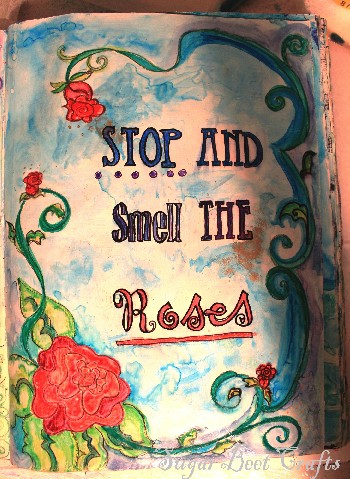
Here are some more fun ideas…stamps and markers. The background was done by rubbing the labels with a stamp pad, stamping and filling in with markers.

Stickers 7

sticker 8

ScreenHunter_120 May. 18 17.29ScreenHunter_118 May. 18 17.29sticker 8ScreenHunter_116 May. 18 17.28

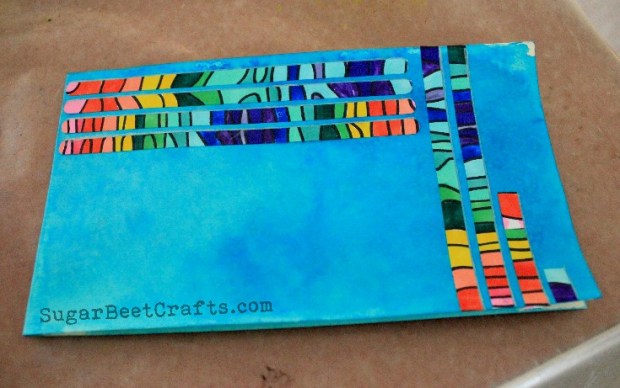
Here is a fun way to use the thin strips of sticker for the side of the CD case…

Doodle across the lines…

sticker 15

Then remove for an awesome sticker!

stickers 18

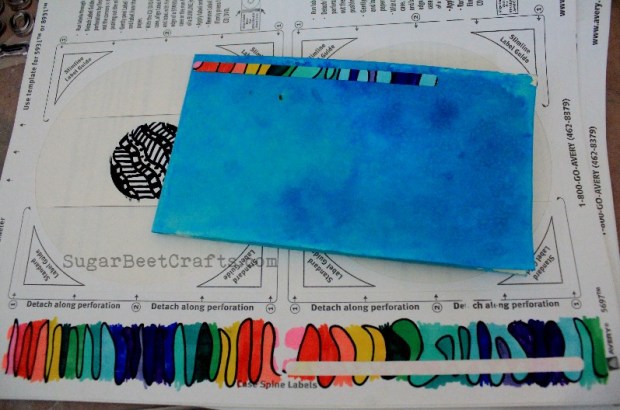
Use it to decorate a card..

sticker 18 ScreenHunter_136 May. 18 19.31

I am already totally addicted. It is a fun way to add some pizzazz to any project. It’s also super sweet to get a personalized handmade anything.

This would be so fun to do with kids, and you have no guilt because you get to use up some extra’s lying around. The environment gives you a big hug for that!

I hope this gets your imagination going!

What will you make?

I would love to see your stickers!

Adventures in Art Journaling – Peacocks Me and U

me and you peacock art journal

I started Art Journaling in Oklahoma last year while we were taking care of my boyfriend’s mom. This was one of my first pages. I used watercolors, stamps, markers, tissue paper and Mod Podge. I thought it would be a fun followup to yesterdays photo!

A New Finished Project!

A New Finished Project!

I had this round white canvas and this extra pocket. I had no idea how this was going to turn out. I had no plan in mind, but I actually really like how it turned out a whole lot. The beads were the best touch, it looked really unfinished before. The beads also really brighten the whole thing. I love how little touches make a big difference.

Would you like to own it? I am selling it here —> https://www.etsy.com/listing/182339541/beaded-canvas-wall-pocket?ref=shop_home_active_4

From Index card to Stencil

From Index card to Stencil!   I try my hardest to make my craft supplies out of things I already have around the house. I would love to go to a craft store and buy things off the shelf but I rarely have the extra cash, and there is nothing like making your own supplies.  I have been really into Journal Art lately and was in need of some fun stencils. I also had a huge stack of index cards someone gave me. I use the really big ones, but of course any size will work.

Let’s get started!

Gather your materials:

  • Index Cards
  • Mod Podge (optional)
  • exact o knife or sharp scissors
  • Image

When I started using index cards for stencils I did not Mod Podge them, I just cut out the pattern. I decided to try the Mod Podge to see if it would make a difference. Here we go, lets make a stencil.

Brush the index card with Modge Podge and let dry. (This step is not necessary, but it’s quick will make your stencil bead up extra ink rather than absorbing it)

       ImageImage

Once completely dry,  trace an image with carbon paper or draw the image directly onto the card.

  Image

Using either a very sharp fine pointed scissor or a exact o knife, carefully cut out your image.  If you are really careful, you should have a positive and negative to use.

Image

Ready to use.

Image

Image

I have been using this method for a while now, I mostly use my stencils with ink sprays, acrylics, gesso, markers,and paint daubers. After each use I let dry before I put away ( I keep them in a plastic sleeve).  So far they have all held up.  What do you think? I would love to hear from you.

Ok crafters, lets get Journaling!!